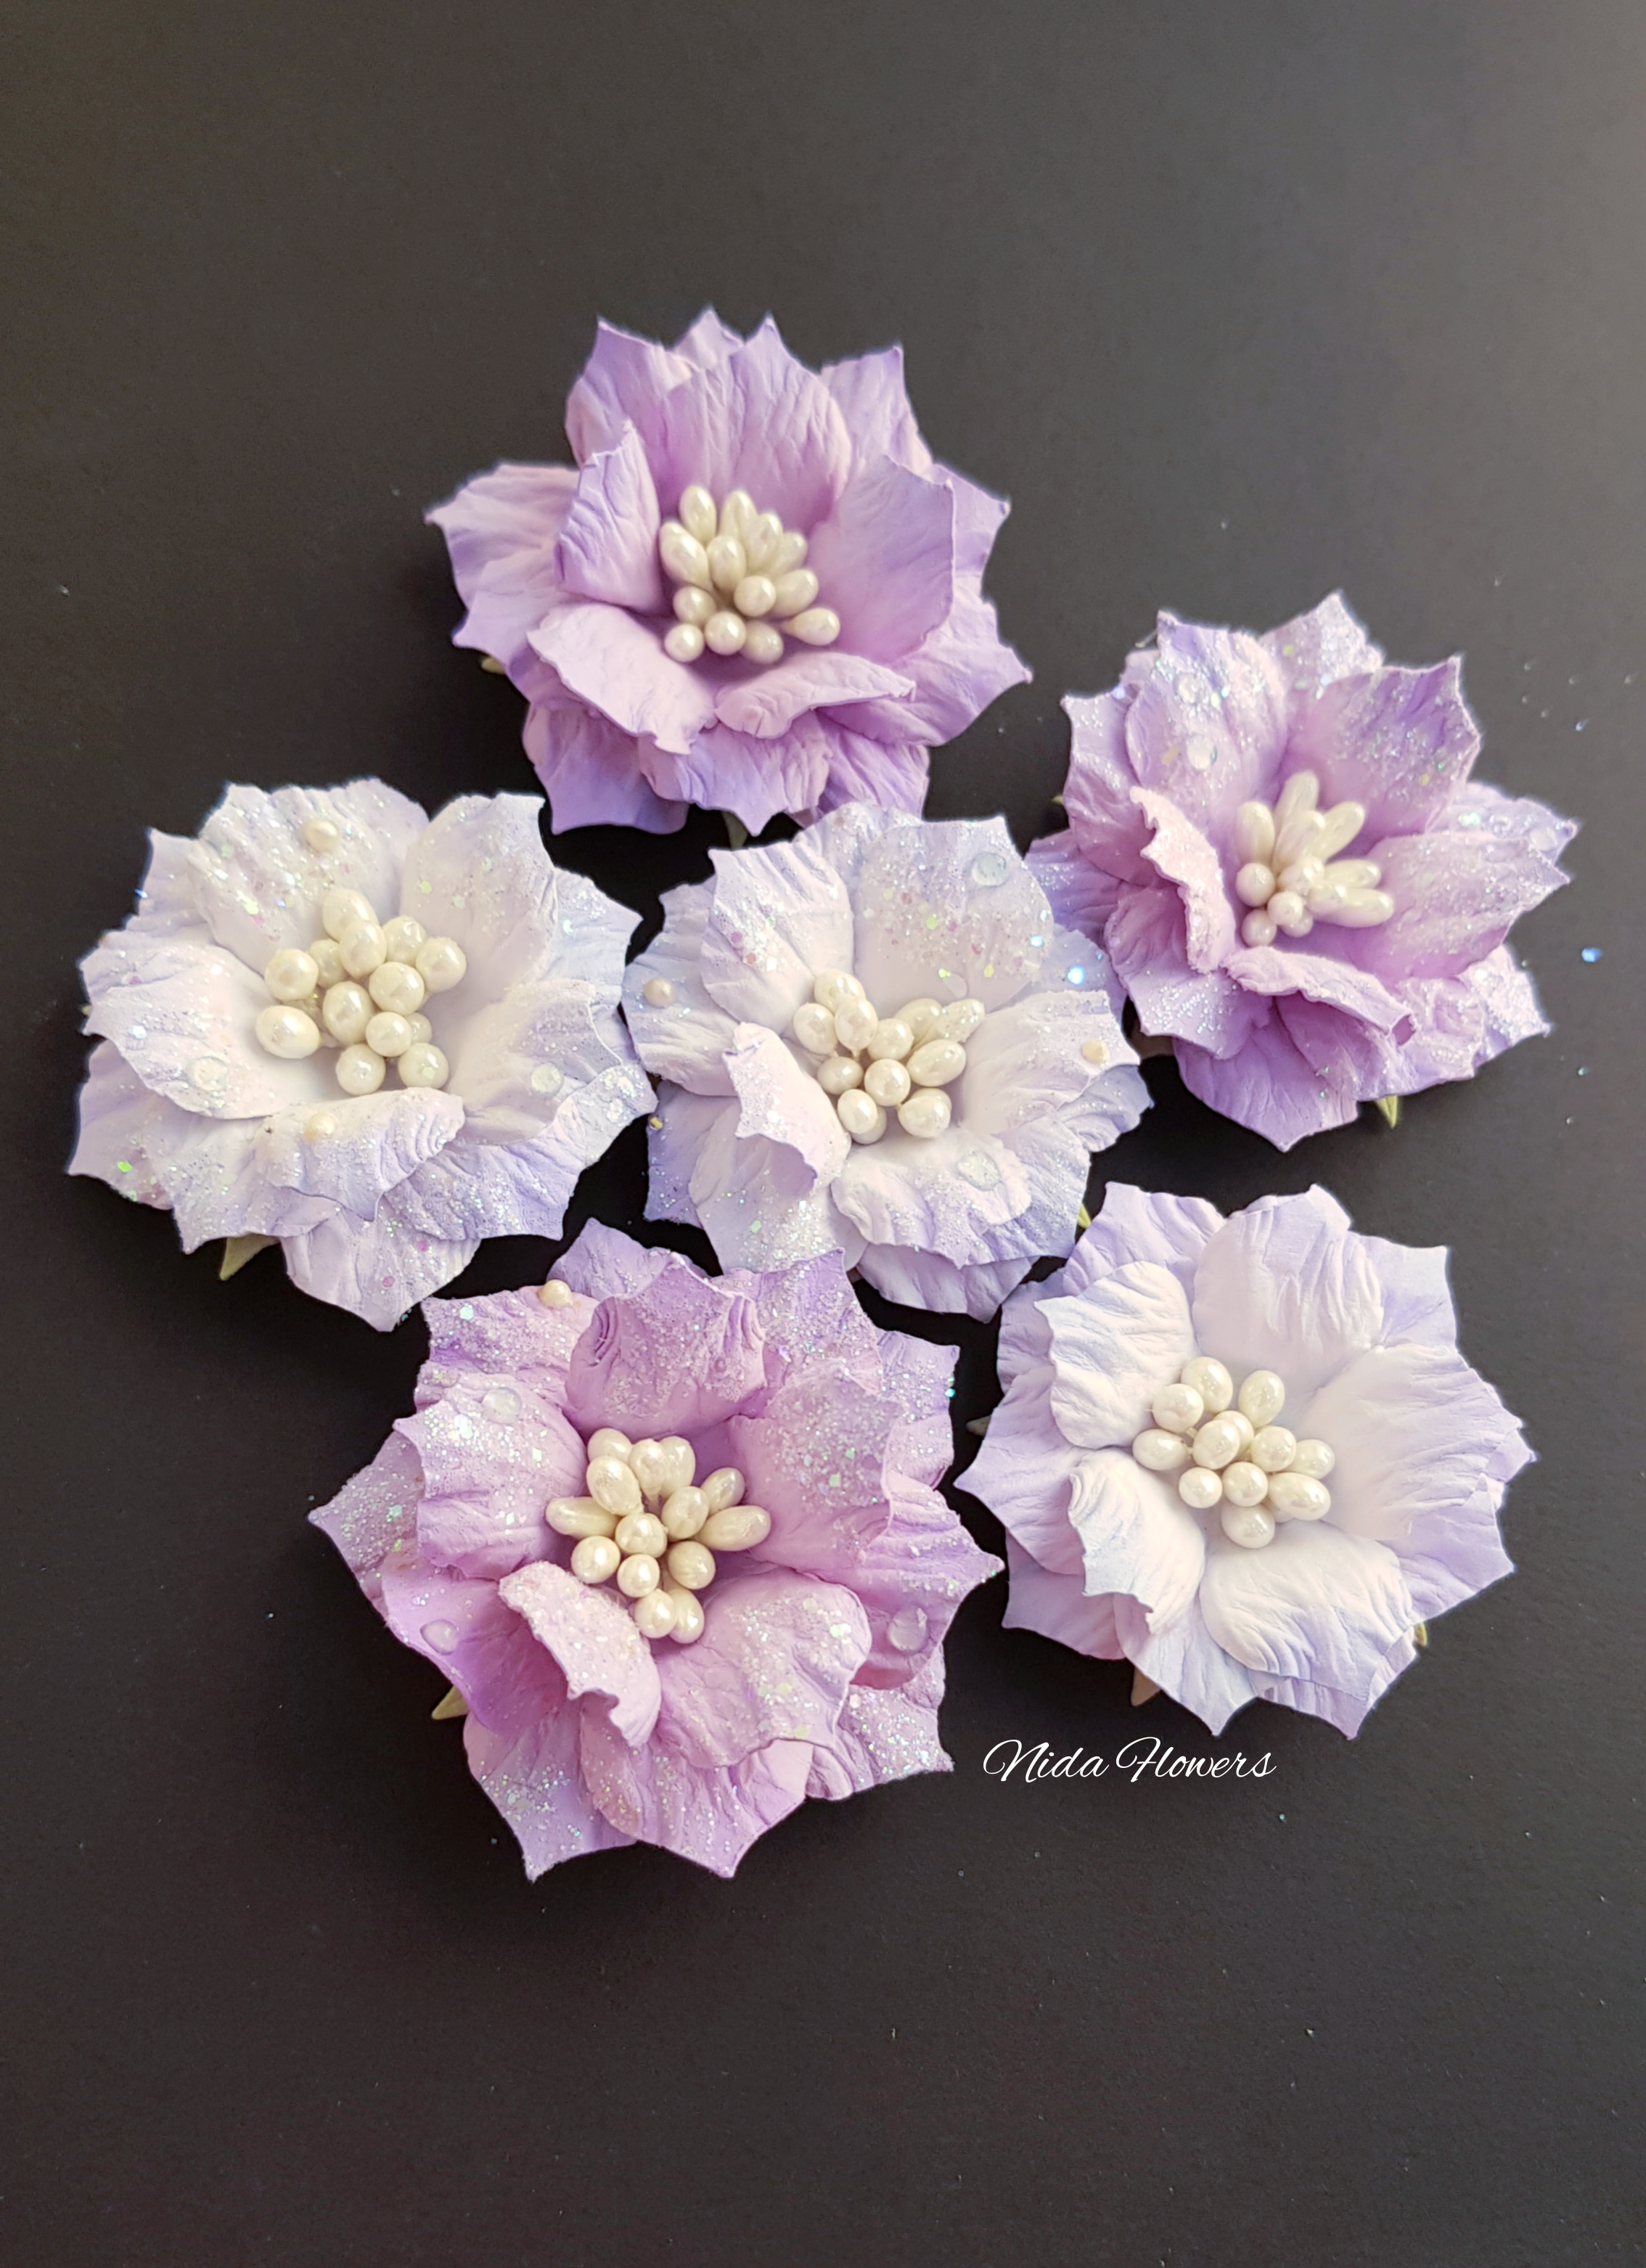
Tuesday, 23 May 2023

Mixmedia Card using Scrapaholics Chipboard Bicycle

In a realm where colors dance & dreams take flight,
A mix of media comes together, shining bright.
On a handmade card, a floral vision unfolds,
Whispering tales of beauty that words can't be told.

 Hello, Excited to share my new mixmedia card today, designed using Scrapaholics Scrapbook Supply chipboard Bicycle, I hope you will enjoy!


My card size is 9 by 6 inches!


Using different moulds of Prima Marketing & Finnabair Products!


You can order this gorgeous Bicycle HERE!


Monday, 20 March 2023

Waterfall Folio Card with Nida Flowers

Hello Buddies!
Sharing waterfall folio card using Stamperia Paper with Gorgeous Nida Flowers.


Card size is 9 inches by 6 inches.


Paper Magik embellishment beads.


Beautiful Poinsettia Flowers!

Tuesday, 14 March 2023

Just Because... Heartfelt Creations

Happy Wednesday!!
Sharing another lovely inspiration designed with Heartfelt Creations Feather Florals Collection.
Sharing very unique card with Vellum Feathers and sparkling Clematis Flowers.


Complete Product List HERE!


Instructions:

Ready card base size 9 by 5 3/4". Trim a panel on cream card measuring 8 3/4 by 5 1/2" and add this panel on the card base using dimentional tape. Trim the panel from Feathery Florals Paper Collection sheet number 10B measuring 8 1/2 by 5 1/4" and add this panel on the card base using clear glue.

Cut 3 strips on the cream card measuring 9 3/4 by 2", 9 by 2" and last 6 1/2 x 2 inches. Trim 3 pattern paper strips from the designer paper which are smaller than cream strips and adhere each on cream stip using clear glue.

Stamp the required images from Floral Feathers Cling Stamp Set and Petite Feathery Florals Cling Stamp Set on  vellum with Versamark ink, cover with white embossing powder and few on sea breeze embossing powder then  heat it using heat tool and die cut using coordinating die.

For the flowers, Stamp the clematis flower images using versamark Embossing ink on mint card, cover the images with snowflake embossing powder and heat using heating tool. Die cut the images using coordinating dies, color the centers of clematis with Salvage patina ink using daubers, use shaping stylus and groove golf shaping tool to shape the petals from back. Use hot glue to assemble the flowers as shown. For the centers add pearls using hot glue. Dab some Dries Clear glue onto a sponge, apply over the petals as desired, sprinkle with Nida Tanweer Glitter Powder and tap off.

Add mould made frame element on the center after placing strips on the card base using hot glue, Arrange all ready elements as shown using hot glue and dimensional tape. Trim sentiment from the paper collection add cream card under the sentiment.

To finish the card, embellish with sequins and decorative beads.

Other Products: Cream Card, Vellum, Mint Card, Nida Tanweer Magic Glitter Powder, Hot Glue, Decorative Beads, Sequins, Versamark Embossing Ink, Pearls, Mould Made Frame Element, Snowflake Embossing Powder, Salvage Patina Ink, Sea Breeze embossing Powder, dimensional Tape.
                                                                  

                 Nida Tanweer Link Tree

Tuesday, 1 November 2022

Colorful Framed Hollyhocks - Heartfelt Creations

Hello Buddies.....! Happy Wednesday.. :)
Sharing card with Heartfelt Creations gorgeous Pastel Hollyhock Flowers & Filigree Accents Die.


Click HERE for complete product details!


Heartfelt Creations BLOG POST!


Instructions:

It’s a ready folding card size 9 by 5 7/8 inches. Cut a panel from Elegant Rose Frame Paper Collection sheet number 6A which is slightly smaller than card base, adhere this panel on the card base using clear glue.

Cut another panel on Deluxe Flower Shaping Paper measurikng 8 1/8 by 4 7/8, take another panel which is slightly smaller than the last panel and emboss it using any emossing folder, adhere this panel on the last panel using clear glue and add this panel layer on the card base using Dimensional Tape.

Cut Deluxe Flower Shaping Paper measuring 7 by 3 1/4 inches, blace 2 border dies from Filigree Accents Die Set and cut the one side edge as shown in the picture, place plain outline die on the pattern paper and die cut the shape, add under the white border shape using clear glue.

Cut strip of the designer paper measuring 6 7/8 by 1 7/8 inches and adhere on border shape right front side using clear glue. Add this border layer on the card center as shown using foam dots.

For the flowers stamp the flower images from Hollyhock Petals & Leaves Stamp Set using embossing ink on deluxe card, cover with white embossing powder, heat it using heating tool and die cut using coordinating dies. Color the flower center using Vivid Chartreuse Ink and petal edges using Coastal Coral Ink with Daubers. Make a hole using groove tool and curl the flower petal edges using groove tool, add stamens in the centers and cut extra thread from the back and add hot glue. Add pearls in the small flowers. Apply clear glue on the flowers using sponge and cover with Nida Tanweer Magic Glitter Powder.

For the leafy accents, stamp images on the vellum using embossing ink, cover with green tinsel embossing powder, heat it using heat tool, die cut using coordinating dies and shape the leaves using groove golf tool.

Stamp the sentiment from Celebrate Love Sentiment Stamp Set using Leaf Green Ink on the designer paper and diecut the sentiment using die from the Cut Mat Create 1A Die Set.

Add mold made element on the card using hot glue, add lace. Next, arrange all flowers and leafy accents as shown using hot glue.

Embellish the card with decorative beads and sequins with pearl string.

Other Products: Pearls, Pearl strings, Vellum, Embossing Folder, Dimensional Tape, Embossing Ink, Decorative Beads, Green Tinsel Embossing Powder, Sequins, Nida Tanweer Magic Glitter Powder, Lace, Mold made element, Hot Glue Gun.

Thursday, 13 October 2022

EZ Step by Step Tutorial: Create a one of a kind card perfect for any occasion with the Elegant Rose Frames Collection!


 Hey Friend!
Are you a crafter that loves making stamped framed cards but sometimes feel limited, or uninspired? Do you feel stuck when trying to add extra beauty and decoration to the confines of a card? Don’t waste another minute feeling frustrated with limitations! Join us and learn the steps to create an elegant card your friends and family will love!

The elegant frame dies are designed to be paired with coordinating stamps which allow you to create quick and easy one-of-a-kind framed cards paired with one of a kind sentiments; perfect for any paper crafting project! From beginners to advanced crafters, the Elegant Rose Frames Collection gives you professional looking results the quick and EZ way!


Let's Get Crafting!

Step 1: Cut card base and mat layers.

 Card size is 6 inches by 9 inches. Score and fold 12 by 6 inches Deluxe Flower Shaping Paper at 6 inches on the long side to create card base. 

 Cut panel on black card measuring 5 3/4 by 8 3/4 inches.

 Trim designer paper from Elegant Rose Frames Paper Collection measuring 5 1/2 by 8 1/2 inches from sheet 1B.

Step 2: Adhere layers.

 Adhere black cardstock on the card base using dimensional tape.

 Adhere designer paper onto the black panel using dries clear glue.


Step 3:  Create the frame images.

 Stamp the Elegant Rose Frame stamp on black cardstock using VersaMark embossing ink 2x. Cover the image with Gold Tinsel Embossing Powder and heat it using heating tool.

Cover the image with Gold Tinsel Embossing Powder and heat it using heating tool.

 Place the coordinating die of Elegant Rose frame on the image.


Step 4: Die cut the images.

 Die cut both stamped images.

 Die cut 2x extra shapes for the sturdiness of frames, and add under the frame image using designer dries clear glue.


Step 5: Create the sentiment.

 Stamp the sentiment “Have a Wonderful Day” from Elegant Rose Sentiments Stamp Set on the black cardstock using VersaMark embossing ink. 

Cover the image with Gold Tinsel Embossing Powder and heat it using heating tool.

 Die cut the sentiment shadow die on deluxe card and adhere shadow image under the sentiment image using clear glue.


Step 6: Adhere the frames to the card base.

 Adhere one frame in the top left side of the card front using clear glue. 

 Add dimensional tape on the back side of the other frame and place second frame at the bottom right of the card.

 Adhere the sentiment in the center of the card front.


Step 7: Create branches.

 Stamp the branch from Stylish Rose Frame Stamp Set on the designer paper sheet number 12B using VersaMark embossing ink 4x.

Cover the images with Gold Tinsel Embossing Powder and heat it using heating tool.

 Place the coordinating die of Elegant Rose frame on the image and die cut all the images.

 Shape the branches using Deluxe Flower Shaping Kit.


Step 8: Create the flowers and leaves.

 Stamp the flowers and leaf images from Classic Rose Stamp Set on Vellum Paper using VersaMark Embossing Ink.

Cover the flowers image using Snowflake Tinsel Embossing Powder and leaf images with Lime Tinsel Embossing Powder, heat the images using heating tool and die cut using coordinating dies.

Color the flower centers from the back side using Cactus Flower Archival Ink with daubers and leaves image with Leaf Green Ink.

Shape the flowers and leaves in the Rose Shaping Mold. Finish the shaping using the Deluxe Flower Shaping Kit and make a few flowers using hot glue gun.


Nida Tanweer Link Tree