Showing posts with label Cards. Show all posts

Tuesday, 7 December 2021

Debuting Heartfelt Creations Moments in Times Collection

Hello my friends! .... Happy Wednesday!
Experience the ease of creating elegant shaped cards with Heartfelt Creations the Moment in Time Collection, perfect to celebrate life's special moments! The beauty of this collection is awesome, the designs are timeless & can be used for the years. I designed something different using this collection and sharing my first inspirational Vintage Card using mix media and stamping technique with metal charms and moulds.
Check All Products List HERE!


Other Products: Die Cutting Machine, Brown Cardstock, grey cardstock, Light Brown Cardstock, Versamark Embossing Ink, Metal Charms Golden Embossing Powder, Black Embossing Powder, Ranger Liquid Platinum Embossing Powder, Vintage Photo Distress Ink, Ink Blender Brushes, Wooden embellishments, stencil, art pebbles, Molds, Brats, Brush, White Paint, Dimensional Tape, Hot Glue Gun, palette knife.

Instructions : It is a ready folding card measures 9 1/2 by 6 inches, cut a panel on grey cardstock measures 9 1/4 by 5 5/6 and adhere on to the card base using dimensional tape, cut a panel on Deluxe paper measures 8 7/8 by 5 3/8 and color the panel front with French Ultra Marine Ink using ink brush, then color the panel edges with Seafarer Ink, then apply Night sky ink on the edges and last apply jet black ink on the panel edges. Stamp the 'Precious Time' stamp on the panel using black ink from Timepiece Sentiments Cling Stamp Set. Apply texture paste on the panel using pallet knife and stencil, let it dry and adhere this panel on the card base using clear glue.

Stamp the different images from Timepiece Sentiments Cling Stamp Set on Brown, Light Brown and white cardstock using versamark embossing ink and cover images with golden, liquid platinum and black embossing powder and heat it using heat tool. Die cut using coordinating die. Heat embossed the clock arms with black embossing powder and diecut using coordinating die.

Stamp the clock image from Simple Moments Timepiece Stamp Set on brown cardstock with versamark embossing ink 2x and cover one image with Liquid Platinum Embossing powder and second image with golden embossing powder, heat it using heat tool, die cut using big circle die from Simple Moments Timepiece Die Set and die cut center clock part of golden clock from using 4th circle die from the same die set. Make a hole for brads in the center of small circle clock using golf groove tool and make a holes on the big clock as shown and add brads, add clock arms on the small clock and close by adding brads.

Color the edges of all diecuts with Vintage photo distress ink. 

Add foam dots from the back side of small clock and adhere on to the big clock.

Paint the moulds and wooden embellishments with Vintage photo distress ink.

Arranged all ready elements using dimensional tape and hot glue gun and embellish the card by applying clear glue randomly and sprinkle mini prills and white acrylic paint.

                                                               Follow me on Facebook!
                                                                  
Follow me on Instagram!
                                                               Follow me on YouTube!
                                                                            Pinterest!

Happy Crafting!

Tuesday, 16 November 2021

Friday, 16 April 2021

Amazing Paper Grace April Die of the Month – Dahlia Dimensional Doily


Hello Buddies,
Hope you all are doing well, today I'm sharing very elegant layered card from Amazing Paper Grace April Die Of The Month.
It's a 9" by 6" read fold card. I added 3 layers on base. First I added silver card using dimensional tape, than second layer of white card using clear glue and third layer I added from designer paper to create my card base.


Supplies: Pearls, Stamens, Rose Hip Stamens, Designer Glue, Art Pebbles, Laces, Fabric Flowers, Nida Tanweer Magic Glitter Powder, Brush, Nuvo Drops. Silver Embossing Powder, Heart Tool, Versamark Embossing Ink, Silver Mirror Card. Dimensional Tape, Glue Gun.
Paper: White Cardstock, Lime Cardstock, Peachy Cardstock, Prima Marketing 12" x 12" Love Story Paper Collection
Ink: Vintage Photo
Accessories:  Amazing Paper Grace April 2021 Die of the Month – Dahlia Dimensional Doily


Thank You!

Follow me on Facebook!


Monday, 22 February 2021

Introducing the Amazing Paper Grace | Make A Scene Collection


Hi crafty friends!  It seems like we have been waiting for months for February to roll around.  We have been working in the background, holding our breath, tapping our feet and waiting on tippie toes to show you a new collection!  Ta-dah!!!  Today we are introducing a new Amazing Paper Grace Collection called Make A Scene!!!  It was designed by Becca Feeken and is available at Spellbinders.  Stay tuned for a video link at the bottom of the post.

 
NOW, TO EXPLAIN THIS TO YOU . . . 

In the past, Becca has created several interactive collections . . remember 3D Vignettes and remember Shadowbox Vignettes?  One of the things Becca does, is she tries to create a new twist on interactive that you can also use with flat cards and with past collections. That means new material for your old material.
 

WHAT IS MAKE A SCENE?

 
Make A Scene is an interactive card collection and a flat card collection, all in one - you choose based on your style.
 
The interactive portion is made with a card base that folds in six different layered scenery options.  The 3D card base folds flat but slides open to reveal a dimensional scene.  Since it has a 3D profile, the opened card makes quite a splash and can be set out on a desk for showing off.  The card base is huge and it offers you the chance to snag one of six scenes that cover many occasions.  If the six scenes are not your occasion du jour, then by all means dive into your huge stash of dies and insert your own contents.

The flat card portion is made with the individual scenes.  Each of the components for the scenes can be cut onto the top of a panel and used on a flat card or as part of a 3D Vignette or as part of a shadowbox scene.
 
Today we are prepared to show you - each Creative Team Member has created both a 3D Card and a Flat Card so that you can see the best of both worlds!
 
My Projects for Today

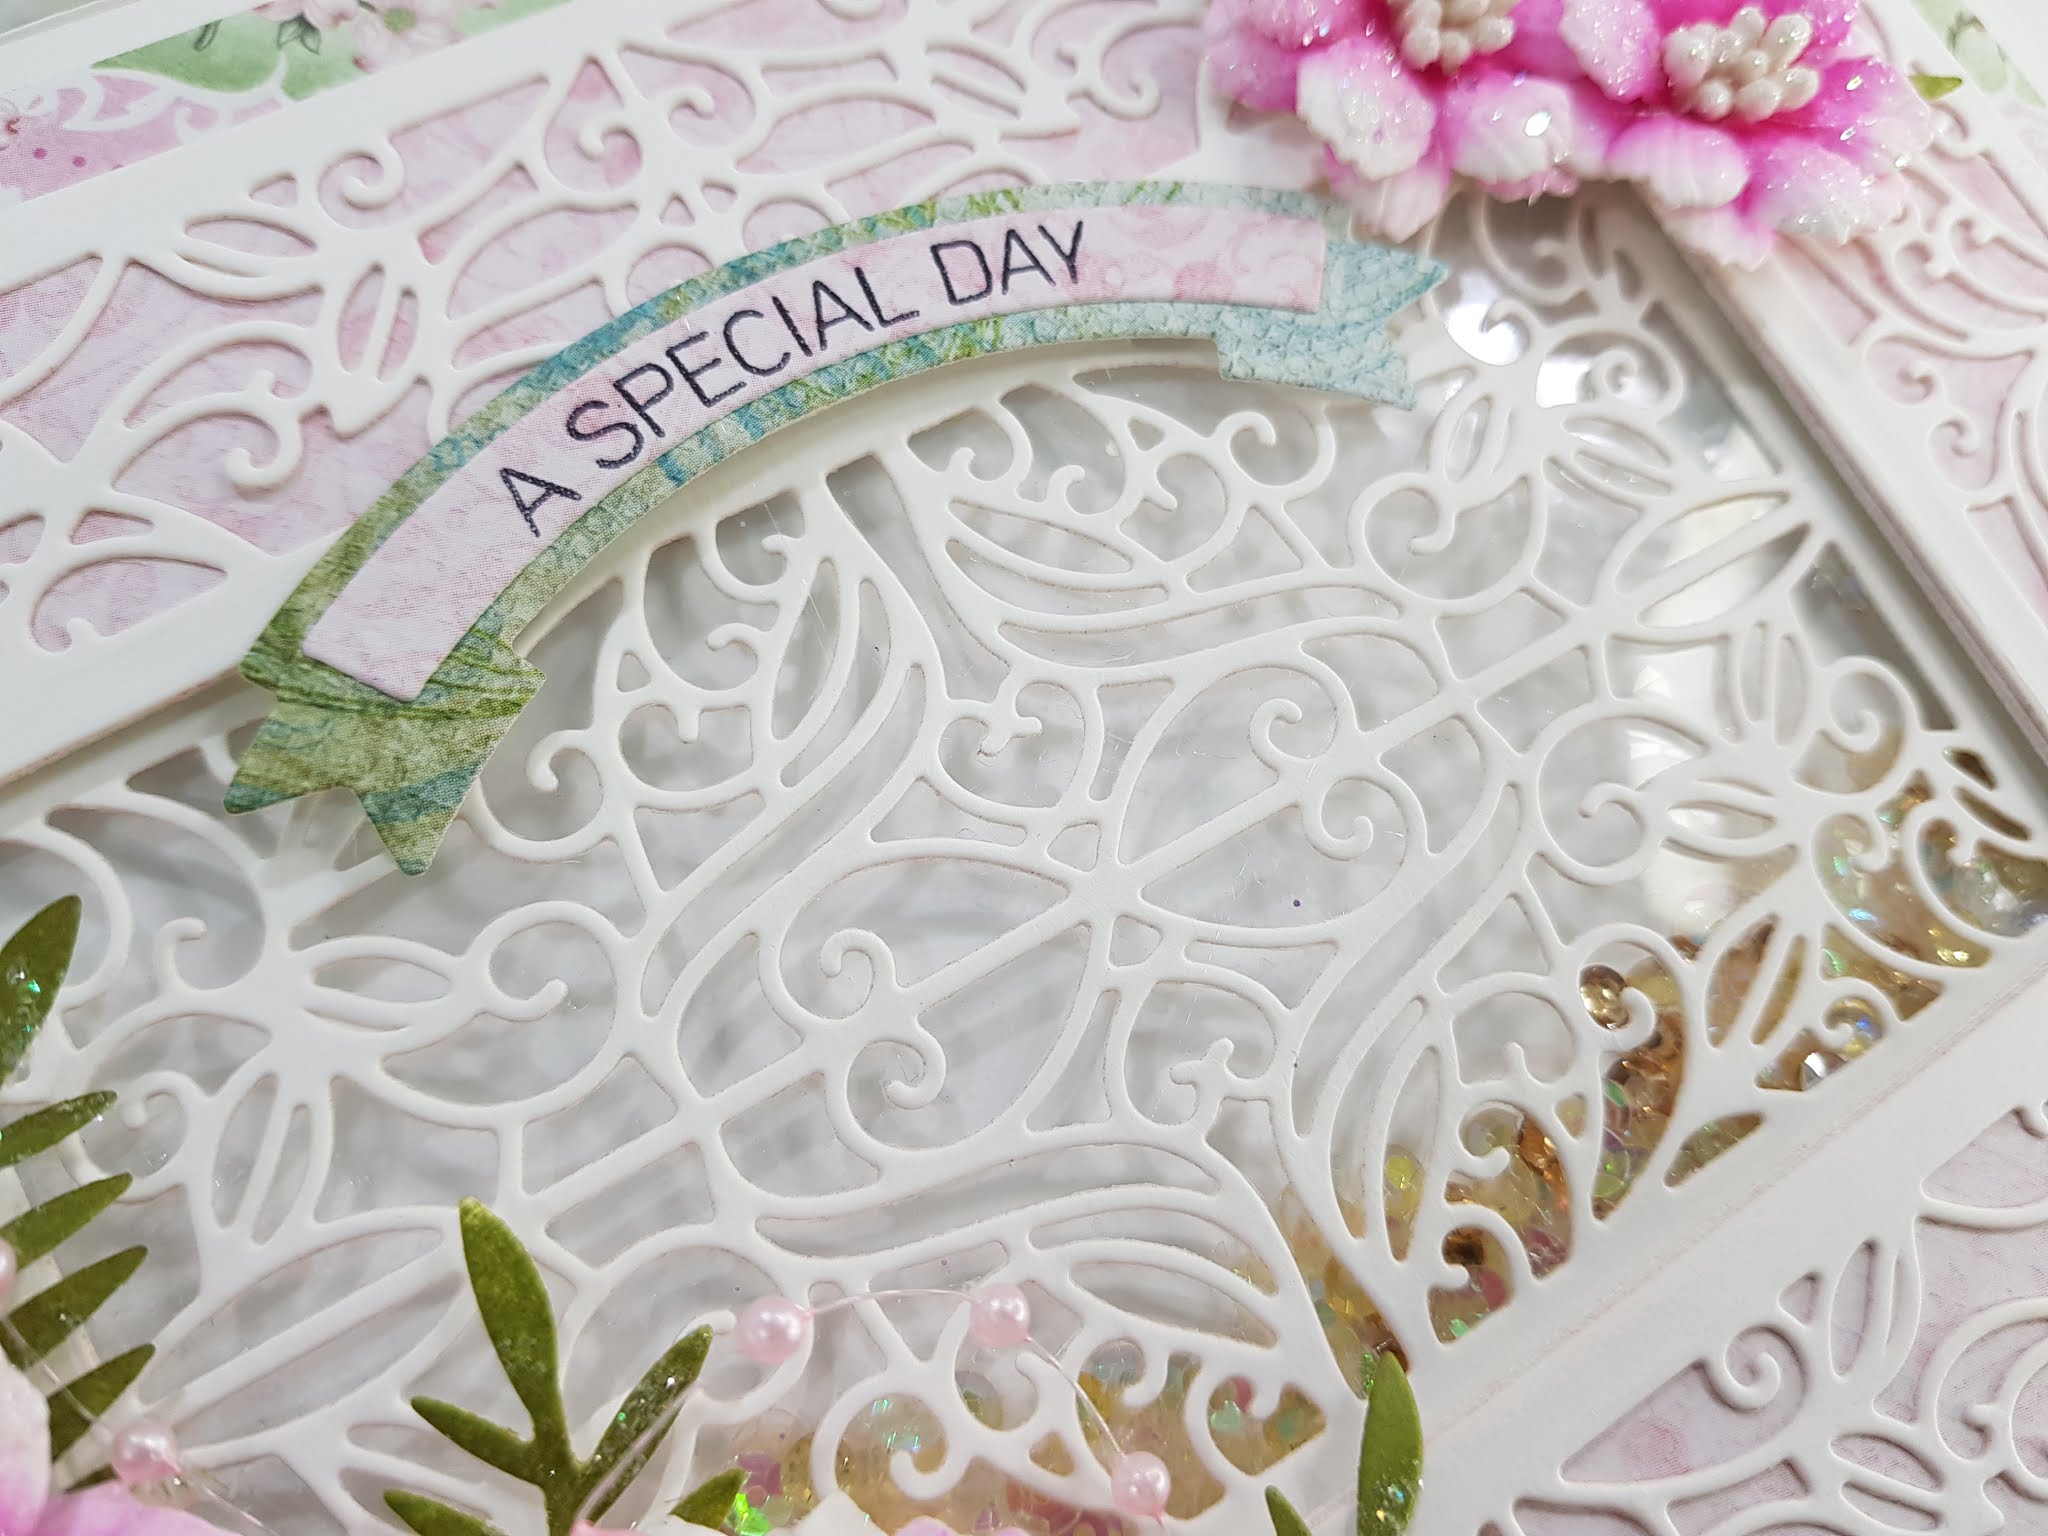
I'm using S6-167 Filigree Facade Frame, STP-025 Make a Scene Sentiments, S5-436 Cinch and Go Grand and S6-165 Make a Scene Card Base


I've design a card and a matching gift bag using same dies combination and flowers.


Designers Tip: Use smallest die of the flower to create filler flowers with large flowers.


How to Assemble:
When you see the card base it will make total sense how this goes together.  Here is a quick start video to lay it all out for you. CLICK HERE

Make A Scene Availability:

These dies and plates are available from Spellbinders right now! Click here:  Make A Scene


Make A Scene Collection Blog Hop!


Click on the links to each member, they're waiting to inspire you to create something beautiful:


Giveaway!  

You could win an Amazing Paper Grace Die of the Month! Enter to win on our new Instagram Account https://www.instagram.com/amazingpapergrace_creates/. All  of the entry details are there, look for this image below:

I love your comments!  Tell me, which scene is calling your name?