Showing posts with label vellum flowers. Show all posts

Tuesday, 16 November 2021

Tuesday, 3 August 2021

Peonies Flowers On Birthday - Heartfelt Creations

Hello my friends...
Happy Wednesday....
Sharing my card which is designed with Heartfelt Creations Peonies Flowers.
Click Here to check products.


Other Products Used:
Smoth White Cardstock, Vellum Paper, Versafine Embossing Ink, Lace, White Embossing Powder, Scissors, hot glue/gun, Pearls, dimensional tape, Nida Tanweer Magic Glitter Powder, Nuvo Drops, Cobalt Archival Ink.


Instructions:
 It’s a ready folding card measures 9 by 5 inches, cut a panel on white card measures 8 3/4 by 5 3/4 add this panel on card base using dimensional tape. Cut pattern paper slightly smaller than first panel adhere it on card base using clear glue. Cut another panel on white measures 7 3/4 by 3 1/4 and trim paper from Floral Shoppe Paper Collection slightly smaller than second panel and adhere on panel, add this layer on card base using dimensional tape.

Add Lace in the center of the card using hot glue, die cut from Majestic Frame die on white card add in the center using dimensional tape. Die cut small frame and second smallest frame from same die set on paper, stamp Birthday Sentiment with Cobalt Ink add this small frame in the center using dimensional tape.

Stamp Peony flowers in versafine embossing ink on vellum and cover with white embossing powder  and heat emboss, die cut using coordinating die, color from back using paradise teal and pink peony ink. Shape the flowers with shaping kit and make few flowers add pearls in the centers using hot glue. Apply clear glue and cover with Nida Tanweer’s Glitter powder. Stamp leafy accents using fern green ink, die cut using coordinating dies. Color leaves using leaf green ink, edges with fern green ink. Shape the leafy accents with in shaping mould.

Arrange all ready elements as shown embellish with Nuvo drops.


Tuesday, 15 December 2020

Vellum Garden - Heartfelt Creations

 Good Morning Buddies..
Happy Happy Wednesday!

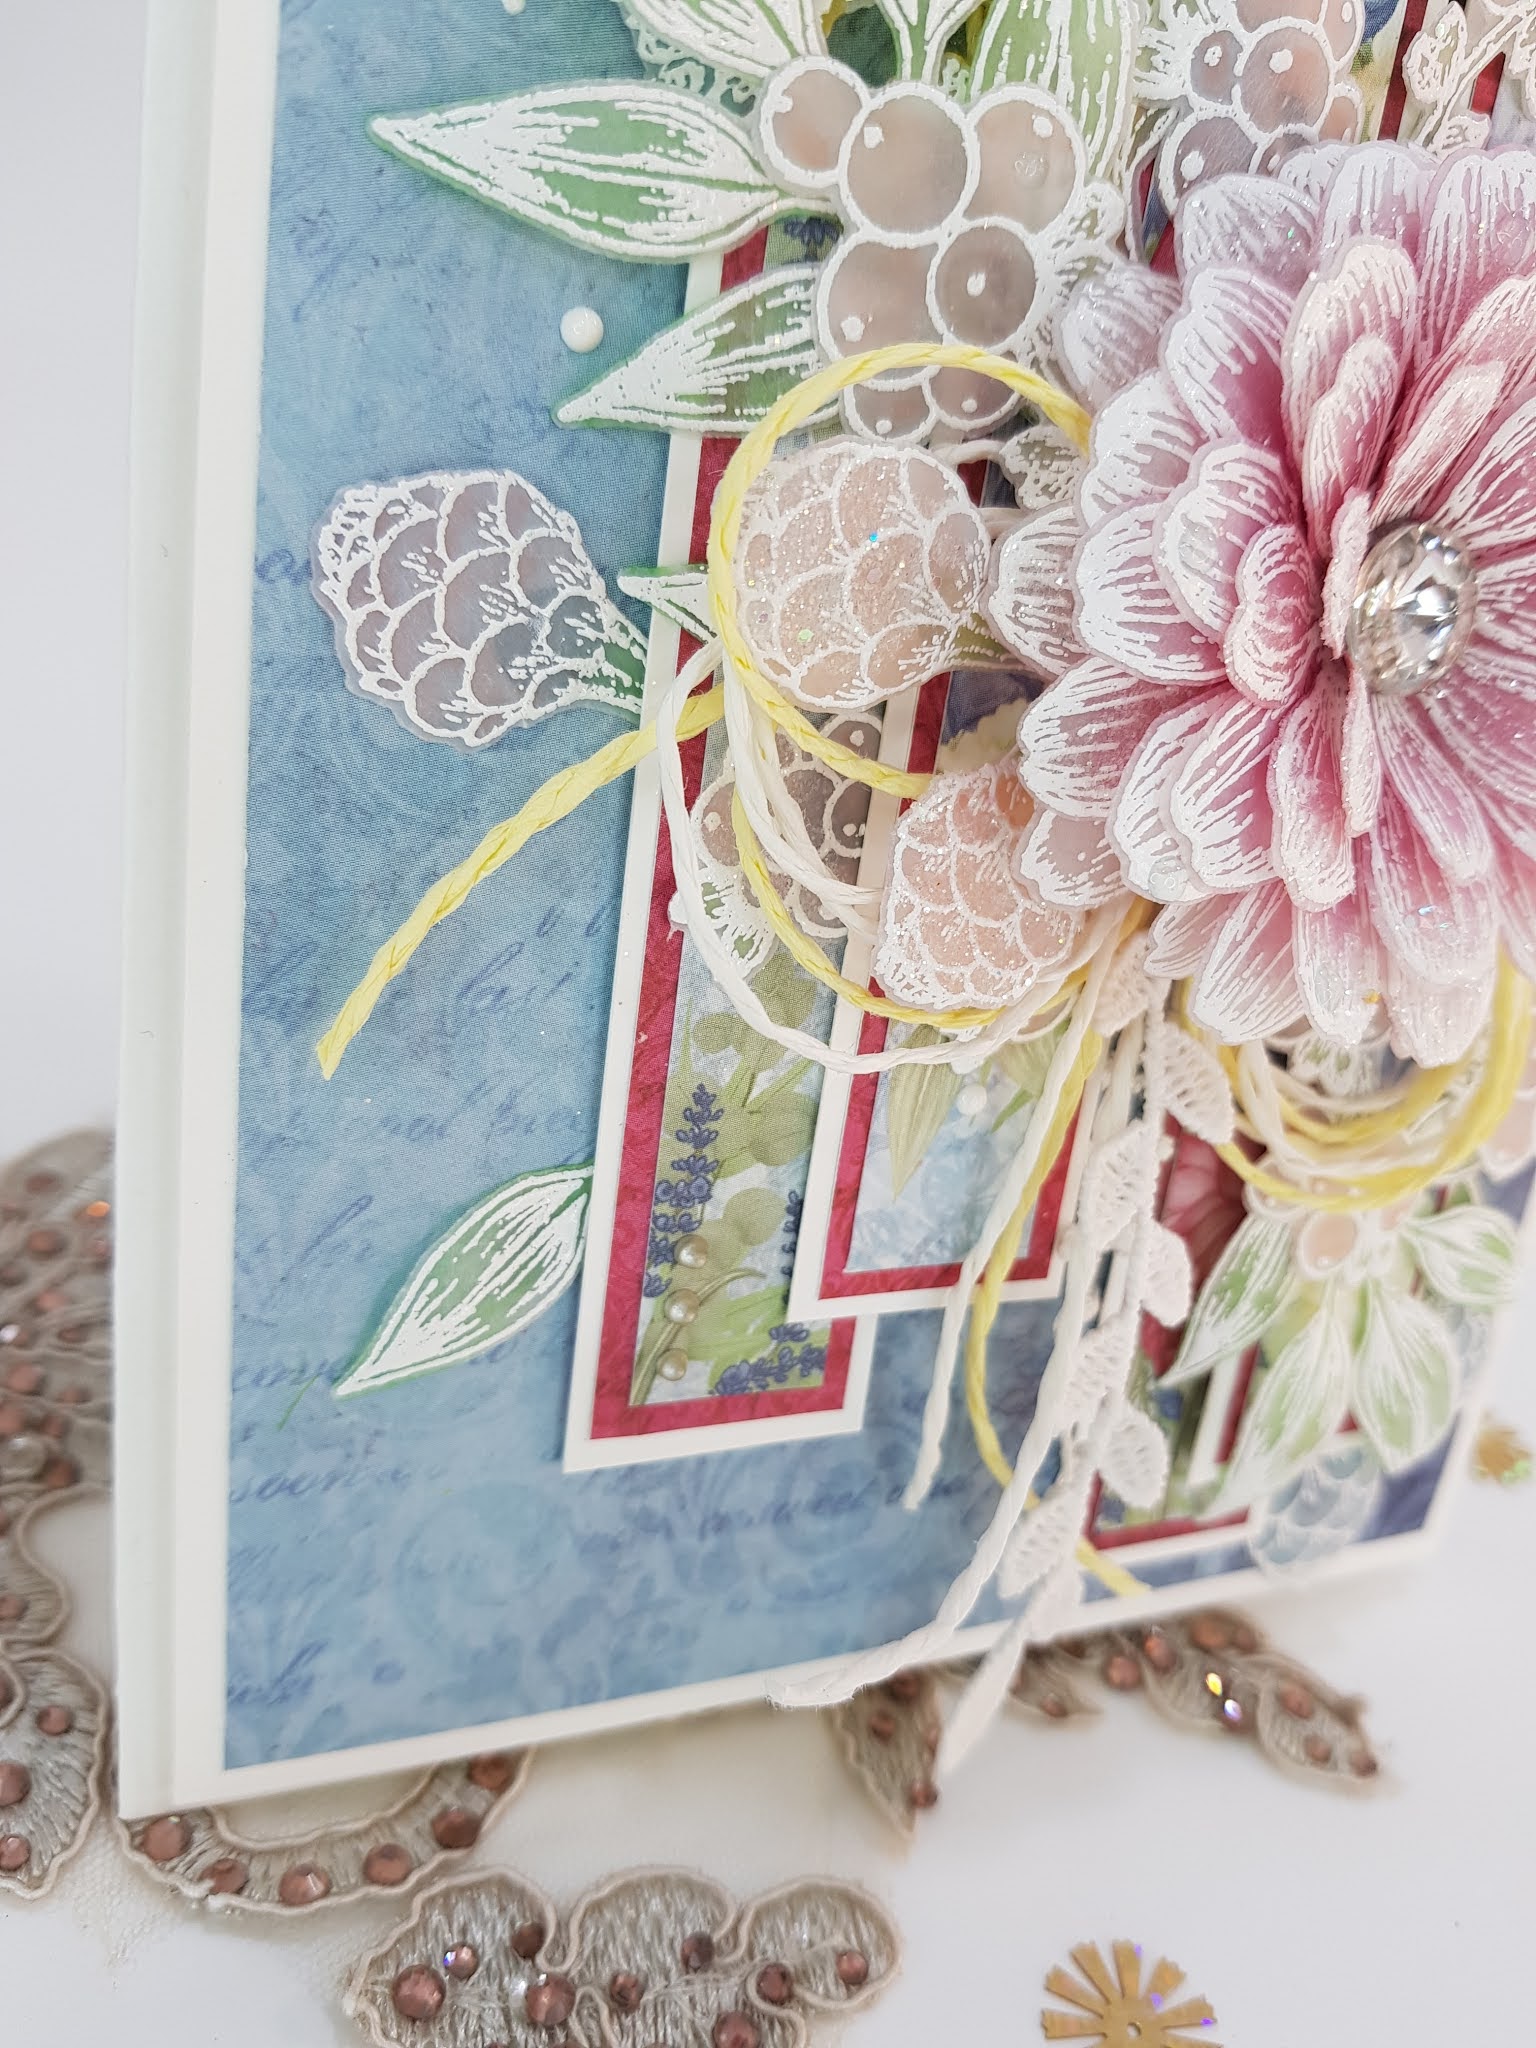
Today I'm sharing very beautiful and my favorite layered card of Vellum, I designed with Heartfelt Creations latest release Floral Shoppe Collection.


Heartfelt Creations Products Used:

Products Used:
Large Floral Urn Die, HCD1-7329
Floral Shoppe Accents Die, HCD1-7330
Floral Shoppe Fillers Die, HCD1-7331
Large Floral Urn Cling Stamp Set, HCPC-3931
Floral Shoppe Accents Cling Stamp Set, HCPC-3932
Floral Shoppe Fillers Cling Stamp Set, HCPC-3933
Floral Shoppe Paper Collection, HCDP1-2122
Small Garden Zinnia Die, HCD1-7315
Small Garden Zinnia Cling Stamp Set, HCPC-3924
Deluxe Flower Shaping Kit, HCST1-401
Ranger Archival Ink Pad - Light House, RACP771
Designer Dries Clear Adhesive, 159723
Metal Tip for Adhesive Bottles, 352854
5pc. Acrylic Block Set, SUAH05
Heat It Craft Tool, RAHT
Double Dots 100pc. -3D Foam Circles, DDOTS
Zig Clean Color Real Brush Markers - 48 Pack, 478594

Other Products: Smooth White Cardstock, Vellum Paper, Versafine Embossing Ink, White Embossing Powder, Scissors, hot glue/gun, Diamond Stone, dimensional tape, Scoring Board, Nida Tanweer Magic Glitter Powder, Nuvo Drops.


Instructions: It’s a ready folding card measuring 9” by 5 1/2”, cut a panel on white card measuring 8 3/4 x 5 1/4” add this panel on card base using dimensional tape. Cut pattern paper panel from Floral Shoppe Paper collection measuring 8 1/2 x 5” adhere on to the card using clear glue. Cut 1” x 7 1/2” strip from white cardstock first, then cut another four strips which are smaller than first one. Next trim 5 more strips from pattern paper which are smaller than first set of strips. Cut third set of strips from light blue pattern paper which are slightly smaller than second strips. Layer all 3 sets using dries clear glue. Arrange these strips onto the card base using dimensional tape as shown.

Stamp Floral Shoppe Accents and Floral Shoppe Fillers and zinnia flowers on vellum with versafine ink and cover with white embossing powder and heat emboss. Color all leaves and fillers with Zig Clean Color Real Brush Markers. Die-cut with coordinating die sets. Color the Zinnia with Archival lighthouse ink using dauber, shape it using shaping kit and make one flower. Add stone inside using hot glue gun. Apply dries clear glue and sprinkle with Nida Tanweer Magic Glitter.

Arrange all ready leaves and fillers as shown, add lace and twine and then add flower. Embellish the card with white nuvo drops.

I love your comments! Which color combo you like the most?

Thank You!
Follow for more inspiration.
@nidahandmadecards


Tuesday, 8 December 2020

Debuting Floral Shoppe Collection - Heartfelt Creations by Nida Tanweer

 Good Morning!
Happy Wednesday...

Sharing Beautiful Card from
Heartfelt Creations
Floral Shoppe Collection.


Products Used:

Large Floral Urn Die, HCD1-7329
Floral Shoppe Accents Die, HCD1-7330
Floral Shoppe Fillers Die, HCD1-7331
Large Floral Urn Cling Stamp Set, HCPC-3931
Floral Shoppe Accents Cling Stamp Set, HCPC-3932
Floral Shoppe Fillers Cling Stamp Set, HCPC-3933
Floral Shoppe Paper Collection, HCDP1-2122
Stairway Gardens Die, HCD1-7281
Luxe Gold Cardstock, HCGP1-488
Cut Mat Create 1B Die, HCD2-750
Elaborate Birthday Cling Stamp Set, HCPC-3937
Stack and Store Daubers-Pack of 6, HCDA1-449
Deluxe Flower Shaping Kit, HCST1-401
Designer Dries Clear Adhesive, 159723
Metal Tip for Adhesive Bottles, 352854
5pc. Acrylic Block Set, SUAH05
Heat It Craft Tool, RAHT
Double Dots 100pc. -3D Foam Circles, DDOTS
Zig Clean Color Real Brush Markers - 48 Pack, 478594

Other Products: Smoth White Cardstock, Vellum Paper, Versafine Embossing Ink, Ranger Tinsel Embossing powder, White Embossing Powder, Distress Ink Faded Jeans, Scissors, hot glue/gun, beads, dimensional tape.


Instructions: It’s a ready folding card measuring 7” by 7”, cut a panel on white card measuring 6 5/8 x 6 5/8 add this panel on card base using dimensional tape. Cut Luxe Gold card measuring 6 3/8 x 6 3/8 adhere on the card using clear glue. Cut a 6 1/4 x 6 1/4 paper from Floral Shoppe Paper Collection and adhere. Cut scalloped frame from Stairway Gardens Die on white card and adhere on to the card base using dimensional tape cut 6” by 6” panel from paper collection and adhere onto the scalloped frame using clear glue.

Stamp large Floral Urn in versafine embossing ink on smooth white cardstock and cover with tinsel embossing powder and heat emboss. Stamp Floral Shoppe Accents and Floral Shoppe Fillers on vellum with versafine ink and cover with white embossing powder and heat emboss. Color with Zig Clean Color Real Brush Markers. Die-cut with coordinating die sets. Die-cut another Large Floral Urn and adhere together, shape the urn slightly to a bow shape and adhere the ends with dries clear glue.

Arrange all ready leaves and fillers into the Urn as shown. Add beads using clear glue. Stamp ‘Hope Your Day Was Amazing’ in Distress Oxide Faded Jeans from Elaborate Birthday Cling Stamp Set and die cut with cut mat create die add this tag to the left bottom corner using dimensional tape.

Thank You!

Follow for more inspiration.
@nidahandmadecards


Wednesday, 29 April 2020

Birthday Card With Vellum Flowers - Heartfelt Creations

Hello Friends,
Happy Wednesday!


HC Products Used :

HCD2-7309 Elaborate Oval Frames Die
HCD1-7200 Oakberry Lane Blossom Die
HCPC-3842 Oakberry Lane Blossom Cling Stamp Set
HCPC-3843 Special Birthday Sentiments Cling Stamp Set
Calla Lily Paper Collection HCDP1-2110
RACP436 Ranger Archival Ink Leaf Green
Stack and Store Daubers-Pack of 30
Deluxe Flower shaping paper –pack of 50
159723, Designer Dries clear Adhesive
352854 Metal Tip for Adhesive Bottles
DDOTS Double Dots 100pc. -3D Foam Circle
D120601 Darice Adhesive Foam Strips
ANC825 Ribbit Prills

Other Products: White half Pearl Beads string, Vellum card, Ranger White Embossing Powder, Versamark Ink, Heat Tool, scoring board, die cutting machine, white card stock, Ribbon Glitter dust, Nuvo drops.


Instructions: The finished card measures 8.5 inches by 6 inches. Trim both half sides of the card base with border die and make folding card base. Trim card front panel from paper collection and adhere it using clear glue. Trim 2 frame bases with border die and layer it, cut frame die from Calla Lilly patterned paper and layer it as shown. Cut the small frame on patterned paper, stamp the sentiment with leafy green ink and adhere using foam dots.
Add pearl strings on the card borders top and bottom. For the flowers, stamp the flowers and leaves images using versamark embossing ink, cover with white embossing powder and heat it with heating tool. To color the flowers, use shaded lilac from the back side add ribbit prills in the centers after shaping. Make many flowers.
Arrange the flowers and leaves on the card front as shown. Add nuvo drops to embellish the card.