Showing posts with label Masculine Cards. Show all posts

Monday, 29 August 2022

Vintage Card - Scrapaholics

 
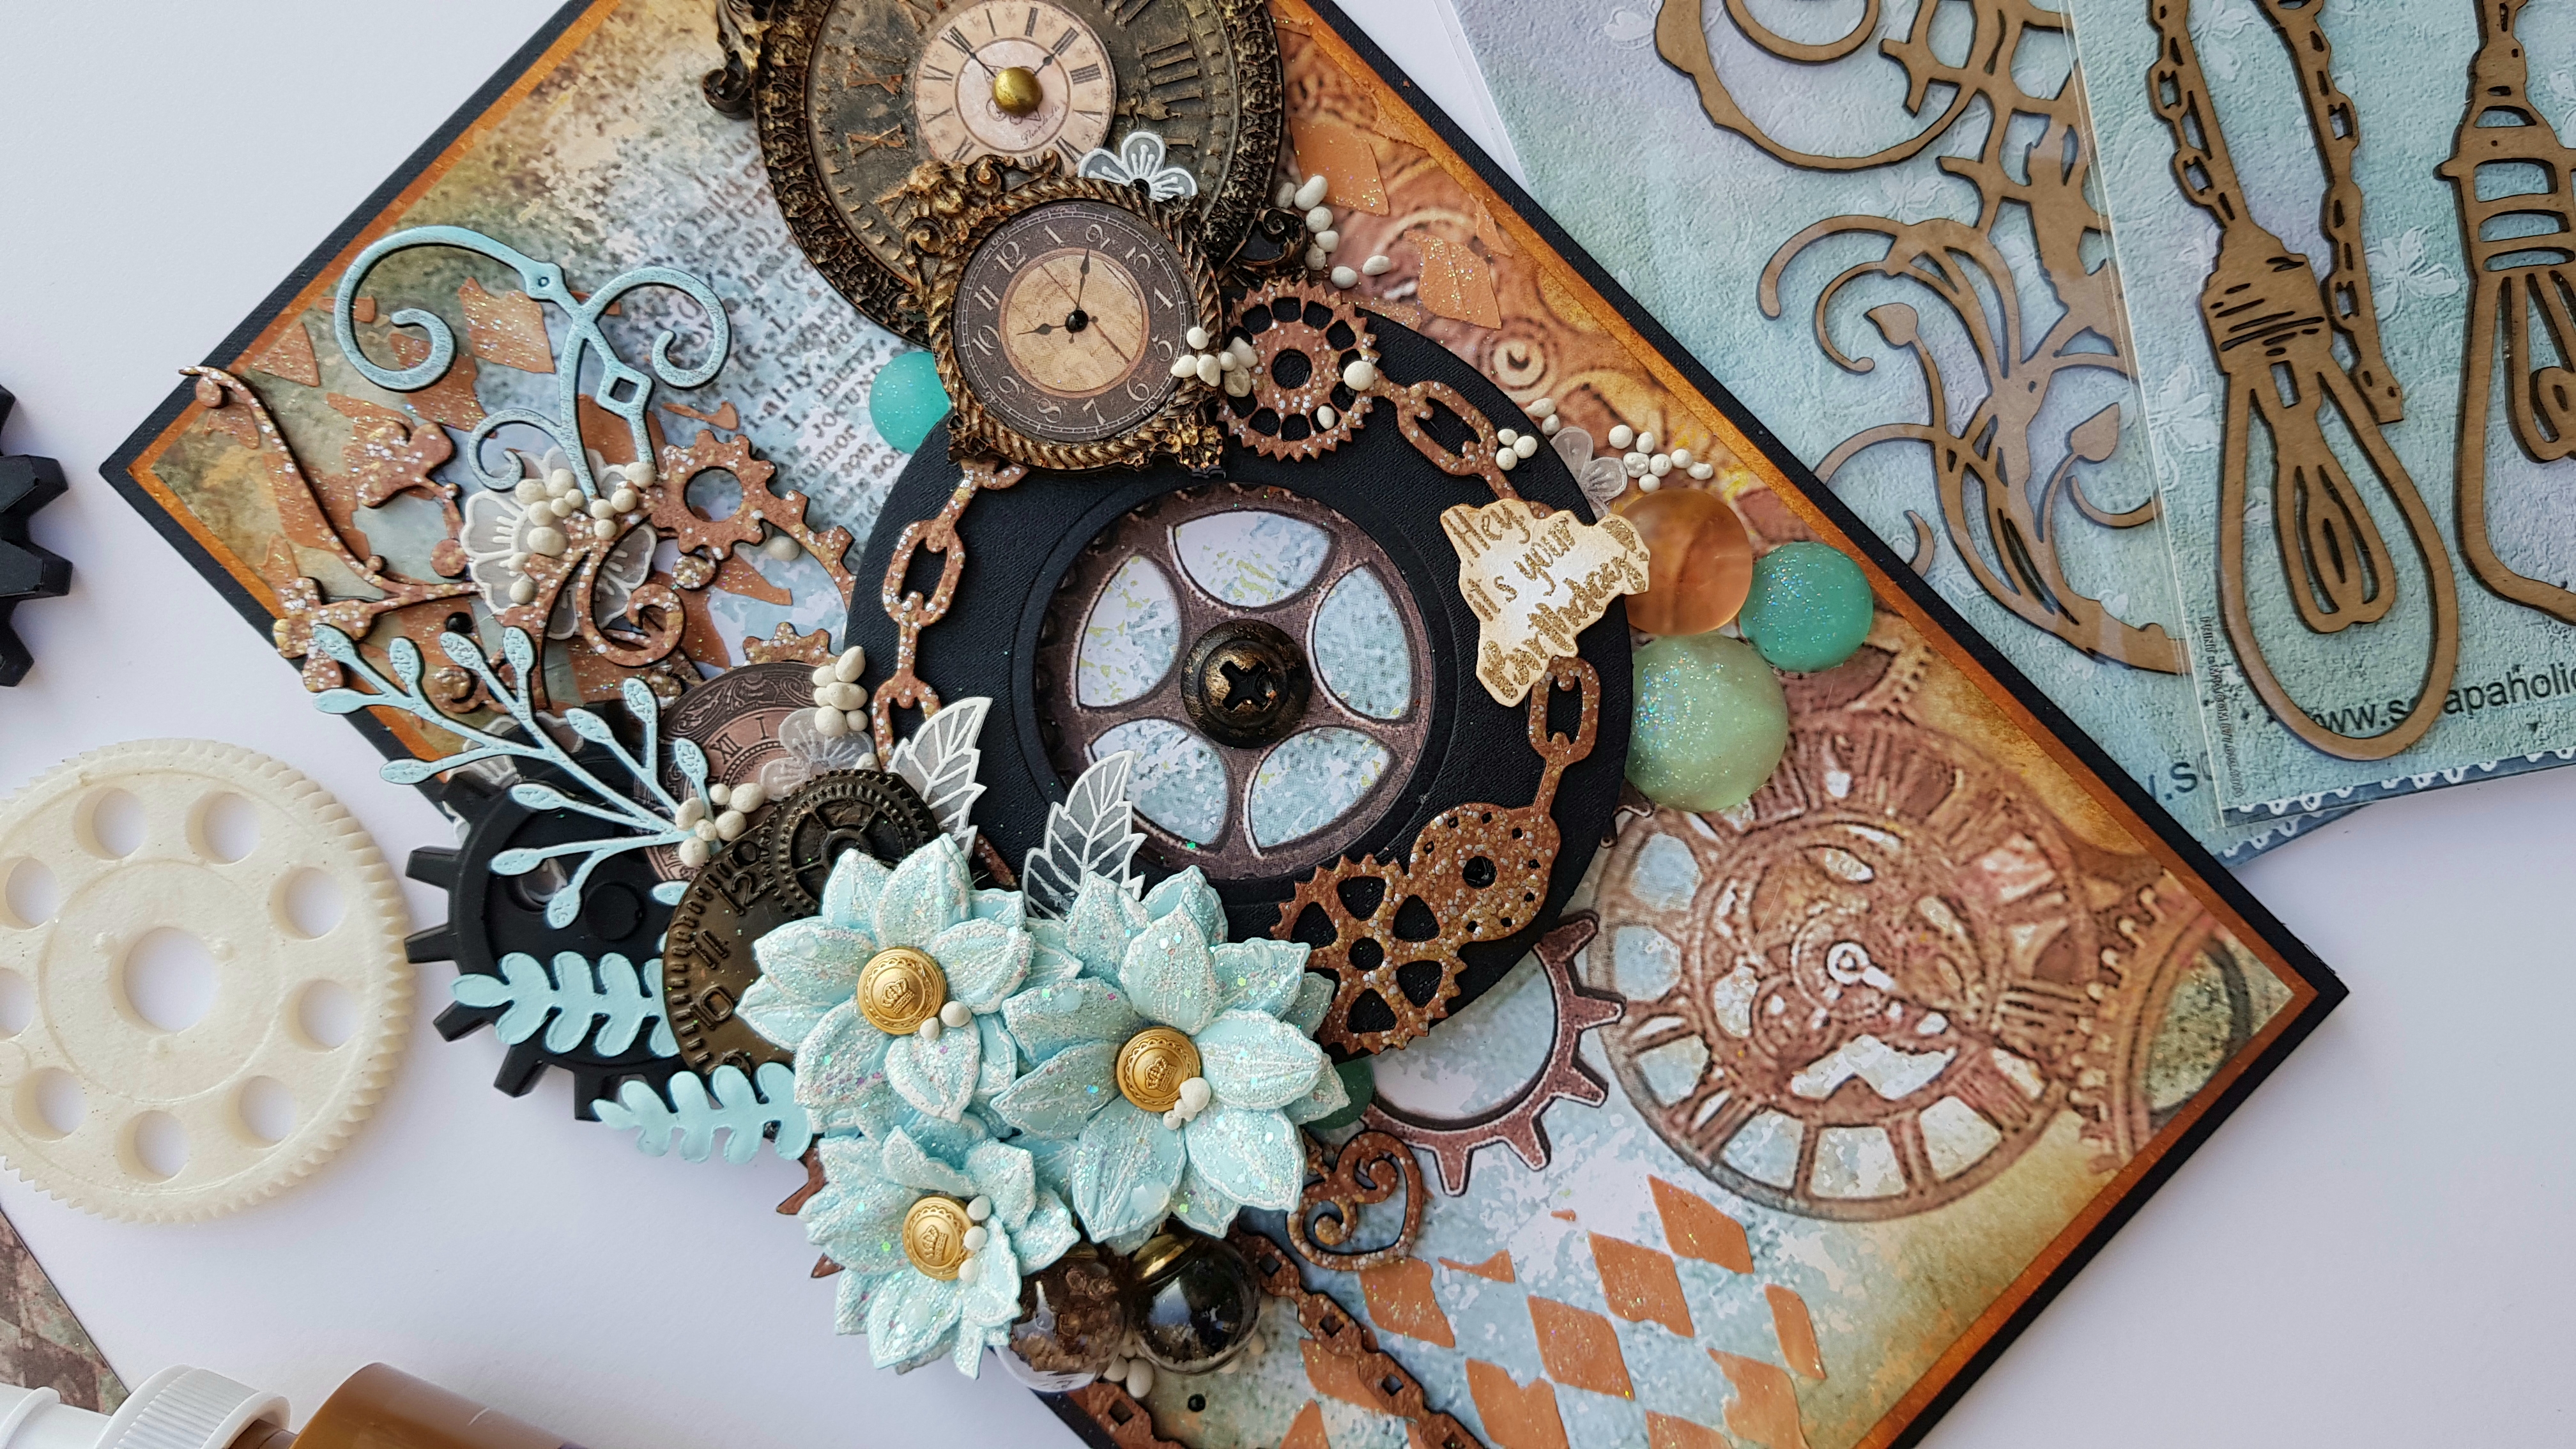
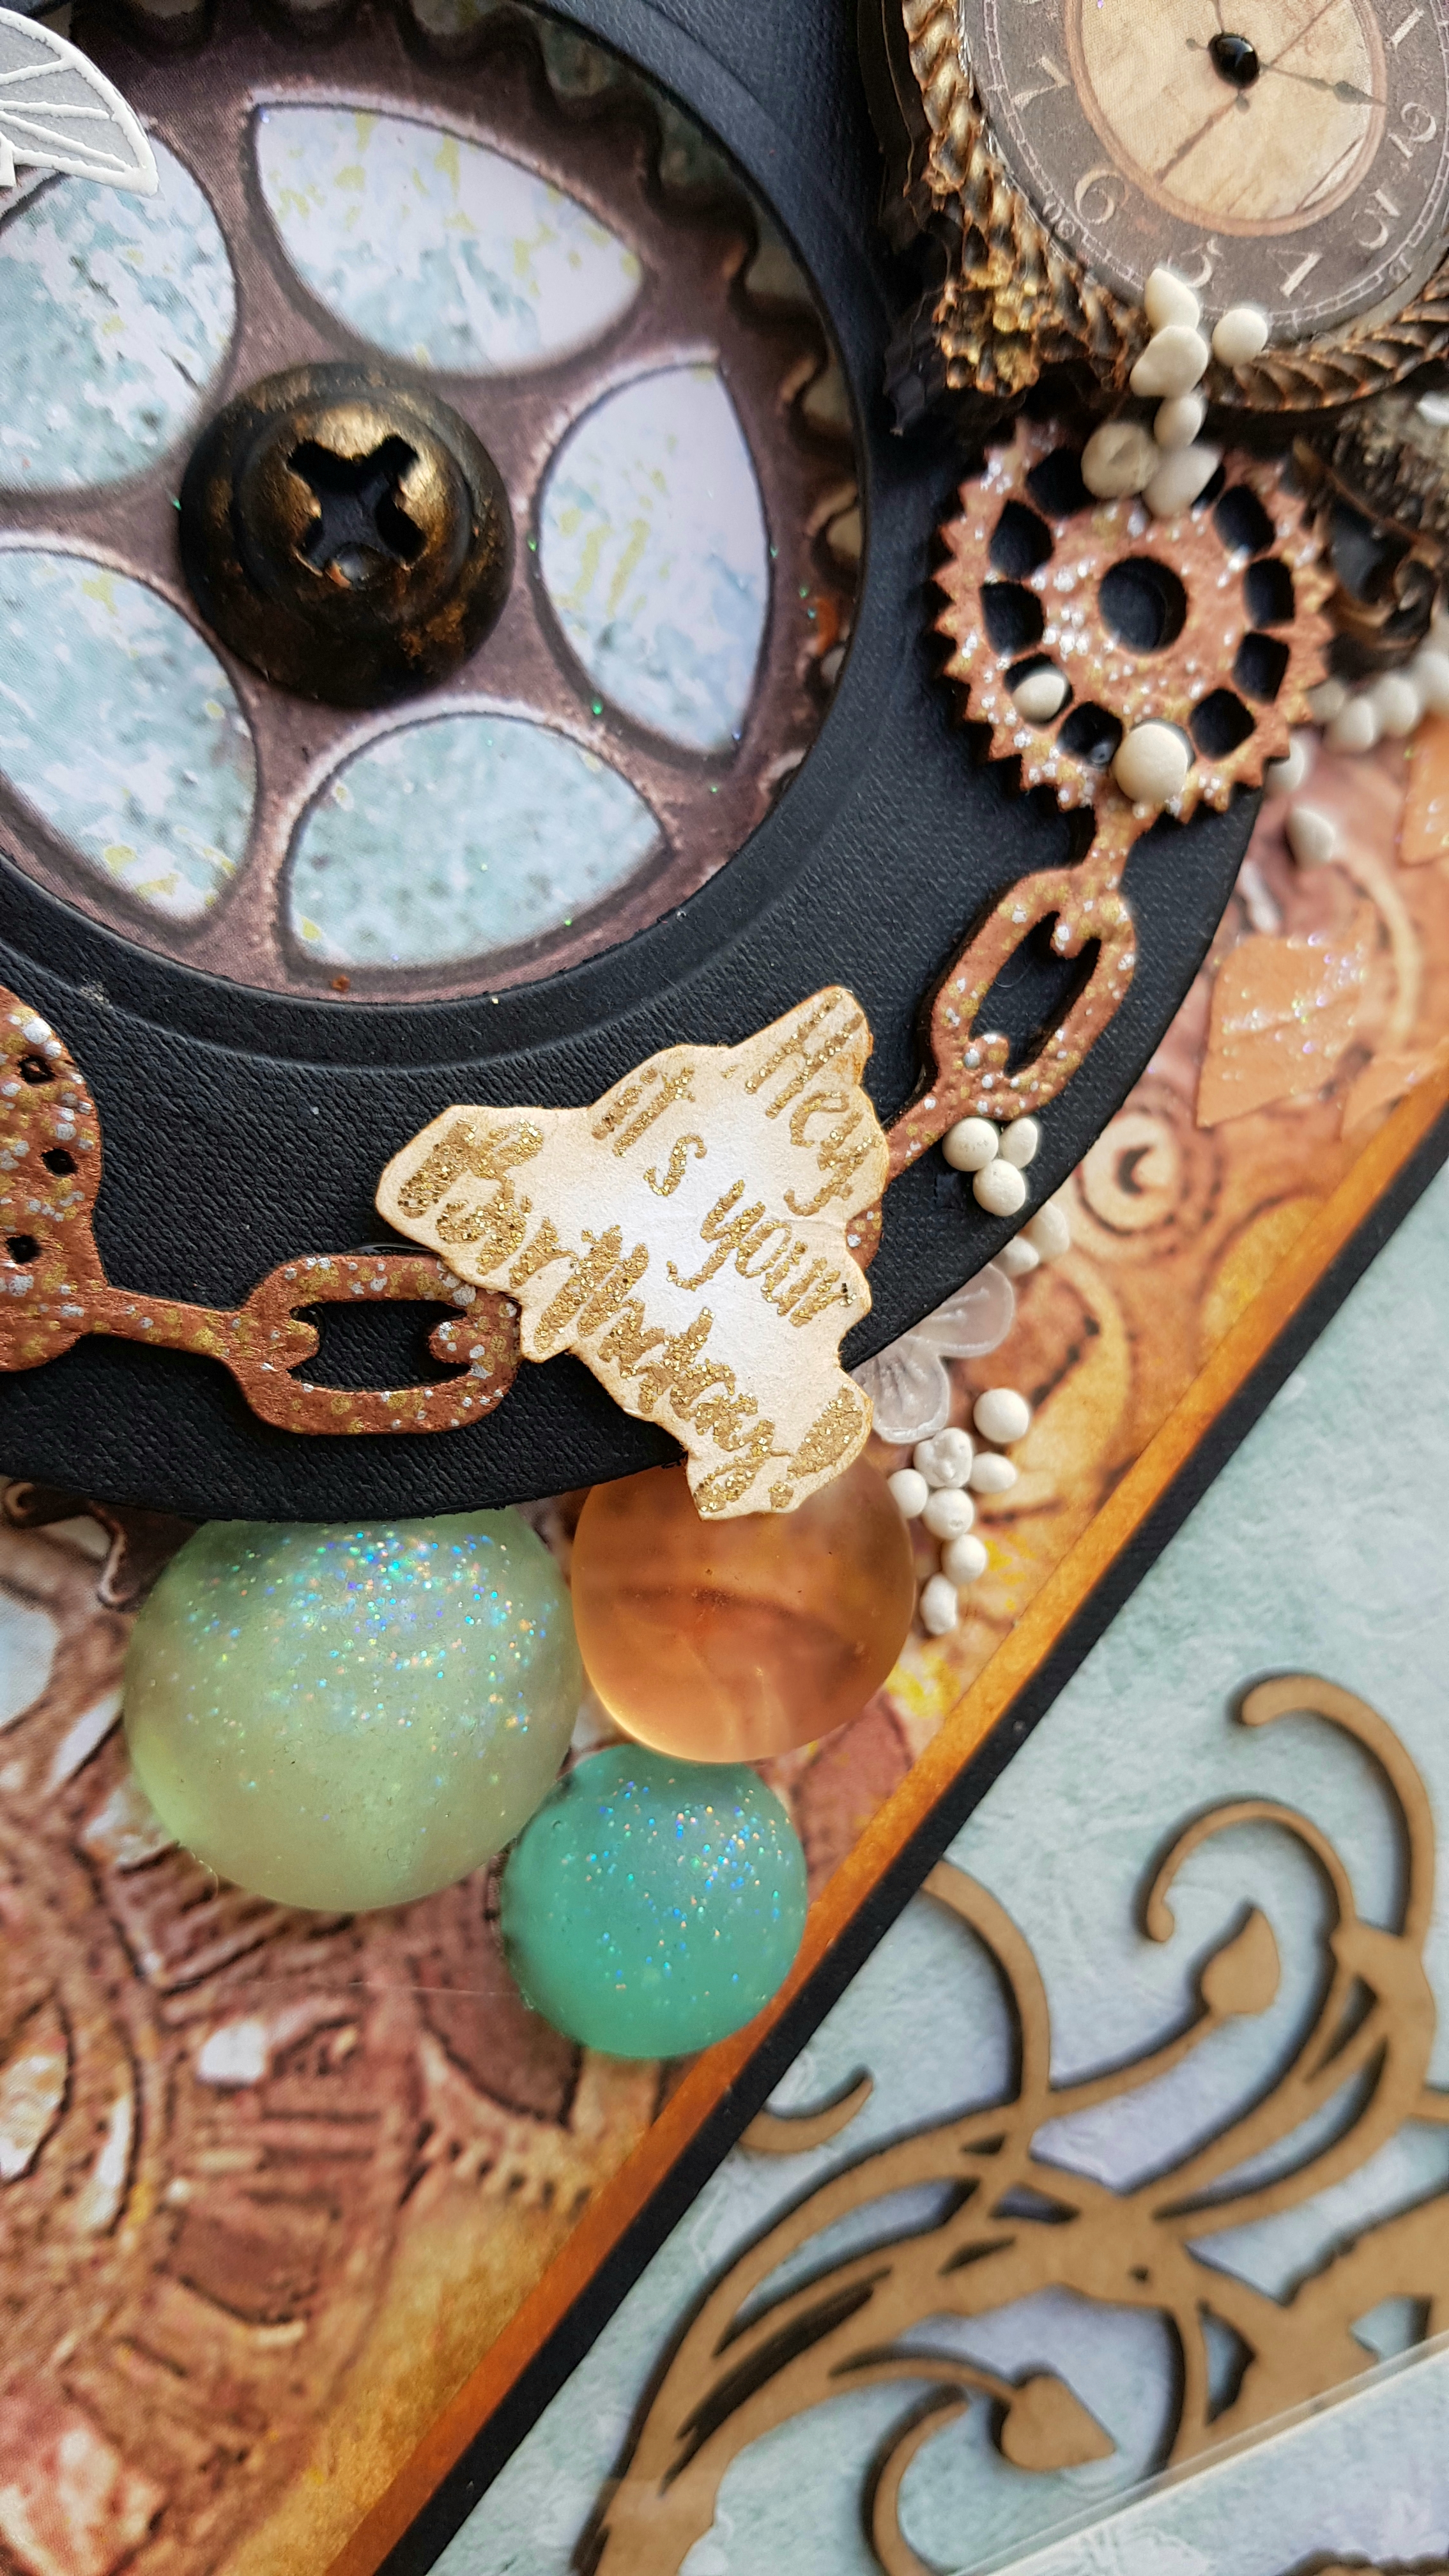
Vintage card designed using SCRAPAHOLICS Chipboards Pieces, Stamperia Paper with Finnabair mixmedia techniques and it turned out stunning!


I used Heartfelt Creations Climbing Clematis Flowers Stamp & Die Sets with heart embossing technique.


Tuesday, 7 December 2021

Debuting Heartfelt Creations Moments in Times Collection

Hello my friends! .... Happy Wednesday!
Experience the ease of creating elegant shaped cards with Heartfelt Creations the Moment in Time Collection, perfect to celebrate life's special moments! The beauty of this collection is awesome, the designs are timeless & can be used for the years. I designed something different using this collection and sharing my first inspirational Vintage Card using mix media and stamping technique with metal charms and moulds.
Check All Products List HERE!


Other Products: Die Cutting Machine, Brown Cardstock, grey cardstock, Light Brown Cardstock, Versamark Embossing Ink, Metal Charms Golden Embossing Powder, Black Embossing Powder, Ranger Liquid Platinum Embossing Powder, Vintage Photo Distress Ink, Ink Blender Brushes, Wooden embellishments, stencil, art pebbles, Molds, Brats, Brush, White Paint, Dimensional Tape, Hot Glue Gun, palette knife.

Instructions : It is a ready folding card measures 9 1/2 by 6 inches, cut a panel on grey cardstock measures 9 1/4 by 5 5/6 and adhere on to the card base using dimensional tape, cut a panel on Deluxe paper measures 8 7/8 by 5 3/8 and color the panel front with French Ultra Marine Ink using ink brush, then color the panel edges with Seafarer Ink, then apply Night sky ink on the edges and last apply jet black ink on the panel edges. Stamp the 'Precious Time' stamp on the panel using black ink from Timepiece Sentiments Cling Stamp Set. Apply texture paste on the panel using pallet knife and stencil, let it dry and adhere this panel on the card base using clear glue.

Stamp the different images from Timepiece Sentiments Cling Stamp Set on Brown, Light Brown and white cardstock using versamark embossing ink and cover images with golden, liquid platinum and black embossing powder and heat it using heat tool. Die cut using coordinating die. Heat embossed the clock arms with black embossing powder and diecut using coordinating die.

Stamp the clock image from Simple Moments Timepiece Stamp Set on brown cardstock with versamark embossing ink 2x and cover one image with Liquid Platinum Embossing powder and second image with golden embossing powder, heat it using heat tool, die cut using big circle die from Simple Moments Timepiece Die Set and die cut center clock part of golden clock from using 4th circle die from the same die set. Make a hole for brads in the center of small circle clock using golf groove tool and make a holes on the big clock as shown and add brads, add clock arms on the small clock and close by adding brads.

Color the edges of all diecuts with Vintage photo distress ink. 

Add foam dots from the back side of small clock and adhere on to the big clock.

Paint the moulds and wooden embellishments with Vintage photo distress ink.

Arranged all ready elements using dimensional tape and hot glue gun and embellish the card by applying clear glue randomly and sprinkle mini prills and white acrylic paint.

                                                               Follow me on Facebook!
                                                                  
Follow me on Instagram!
                                                               Follow me on YouTube!
                                                                            Pinterest!

Happy Crafting!

Tuesday, 12 November 2019

Debuting Wilderness Retreat Collection from Heartfelt Creations by Nida Tanweer

Hello Everyone,

 Yes It's Wednesday ... 
Today Heartfelt Creations debuting new collection.

Leave the busyness of life behind, with an awe-inspiring wilderness retreat! Breathe deeply, enjoy a starry sky, and immerse yourself fully in the tranquility of nature! Enjoy the isolation of a quaint little cabin in the woods, surrounded by statuesque trees, towering mountain views, and a quietly winding river! Enjoy a day trip that begins at the water’s edge! Push off the canoe and paddle your way to becoming one with the great outdoors…perhaps the ducks will share their favorite spot among the reeds, as the trout jump from the water, beckoning you to paddle further upstream! As the dusk begins to settle, listen for the howling coyotes in the distance and enjoy the deer grazing silently in the meadows. By now it’s time to head back to the cabin, lay your head on the pillow and dream about the new adventures tomorrow will bring! Join us as we take time to pause, slow down, and enjoy God’s beautiful creations with the new Wilderness Retreat Collection from Heartfelt Creations! Take a hike through this tranquil paper collection filled with illustrations of glorious wilderness scenes featuring old mills, babbling brooks, mountainside cabins, and a variety of wildlife! Rustic browns, river blues, sunrise yellows, and sunset reds create incredible backdrops for pleasing plaids, stunning stripes, and charming checkered patterns, perfect for all of your masculine themed creations! A wonderful assortment of wilderness themed cling stamp sets, along with coordinating dies, are sure bring all of your outdoor themed paper crafting creations to life, and allow you to create an abundance of different wilderness settings for all of your handmade greeting cards, scrapbook layouts, and memory keeping albums! Create breathtaking views with beautifully detailed illustrations of wilderness cabins, old work mills, fish filled rivers, howling coyotes, and soaring eagles. Create your own escape from reality, with the beauty and tranquility of the Wilderness Retreat Collection!


Products Used:

Designer Dries Clear Adhesive, 159723
Color In Watercolor Brush - Fine, 409311
Zig Clean Color Real Brush Markers - 36 Pack, 
478455
Double Dots 100pc. -3D Foam Circles, DDOTS
Eyelet Oval & Basics Large Die, HCD1-7157
Album Tags and Accents Die, HCD1-7202
Wild Aster Die, HCD1-7257
Wild Aster Scroll & Cluster Die, HCD1-7259
Create a 'scape Trout Lake Die, HCD1-7269
Create a 'scape Nature Die, HCD1-7270
Wilderness Retreat Paper Collection, HCDP1-2108
Wild Aster Cling Stamp Set, HCPC-3887
Wild Aster Scroll & Cluster Cling Stamp Set, 
HCPC-3889
Create a 'scape Trout Lake Cling Stamp Set, 
HCPC-3895
Create a 'scape Nature Cling Stamp Set, HCPC-3896
Deluxe Flower Shaping Kit, HCST1-401
Ranger Archival Ink Pad - Leaf Green, RACP436
Ranger Archival Ink Pad - Coffee, 
RACP451

Other Products: Smooth White Cardstock, Distress Tool, Distress ink spiced marmalade, Twisted Citron Ink, Crushed Olive Distress Ink, Green String, Diecutting Machine, Score-Board, Hot Glue Gun.


Instructions: The ready top fold card from smooth white cardstock measures 6.1" by 9". Cut panel of white cardstock measuring 5.9” by 8.8” and rough the edges with distress tool. Choose the 5.7” by 8.6" panel from the Wilderness Retreat designer paper, distress the edges using distress tool and glue it on the white cardstock. Using Album Tags and Accents Die, cut the Tag apart on white cardstock. Choose another scenic paper and layer it behind the window. Create another layer from blue paper from the same collection, cut the center using eyelet oval die. Adhere the blue tag on the white tag using adhesive foam and layer this tag on card front.
Stamp all the images needed from Create a 'scape Trout Lake Cling Stamp Set and Create a 'scape Nature Cling Stamp Set, using coffee and leaf Green archival ink and color the images using Zig Clean Brush Markers. Cut all the images using their coordinating dies. Add an extra layer to add strength.
Place all the images inside tag and outside as shown.
For the flowers, Stamp multiple images of all florals from Wild Aster Cling Stamp Set on White cardstock with coffee ink, color the flowers on both sides with distress ink spiced marmalade and cut them using their coordinating dies. Shape them using Deluxe Flower Shaping Kit. Prepare 2 large, 2 medium and 2 small flowers, add stamens in center. For leaves, I have used Leaf green Archival ink for stamping and twisted citron and crushed olive for coloring. Assemble a small bouquet of Wild Aster Florals around the window Tag as shown using hot glue. Add glitter to add extra sparkle to the flowers. For the fillers I used wild Aster Scroll & Cluster stamp set colored with zig markers and peeled paint ink, stamped with Archival Leaf Green and leaf green archival Ink.
Finish the card using a sentiment from the same collection cut with Album Tags and Accents Die and add green string.


Thanks!


Tuesday, 15 October 2019

Lighthouse Keeper from Heartfelt Creations by Nida Tanweer

Happy Wednesday Friends....

Today I'm here with my new inspirational card which is from Heartfelt Creations new Sea Breeze Collection.


HC Product Used :

Designer Dries Clear Adhesive, 159723
Metal Tip for Adhesive Bottles, 352854
Color In Watercolor Brush - Fine, 409311
Zig Clean Color Real Brush Markers - 36 Pack, 478455
Darice Adhesive Foam Strips, D120601
Swirly Accent Spray Die, HCD1-7263
Sea Breeze Harbor Die, HCD1-7264
Sand and Sunsets Die, HCD1-7265
A Day at Sea Die, HCD1-7266
Stack and Store Daubers-Pack of 30, HCDA2-450
Sea Breeze Paper Collection, HCDP1-2107
Sea Breeze Harbor Cling Stamp Set, HCPC-3890
Sand and Sunsets Cling Stamp Set, HCPC-3891
A Day at Sea Cling Stamp Set, HCPC-3892
Ranger Archival Ink Pad - Coffee, RACP451
Ranger Archival Ink Pad - Jet Black, RACP468


Other Products: White Cardstock, Brown cardstock, Paper Trimmer, Brads, Die Cutting Machine, Distress Ink Vintage Photo, Rusty Hinge, Hot Glue Gun, White Nuvo Drops.


Instructions: 
The ready top fold card measures, 6” by 9”. Cut panel of white cardstock measuring, 5.7” x 8.7” and adhere it on card using foam strips, choose second panel from paper collection measuring 5.5” x 8.5”, shade the edges with vintage photo ink and adhere it on white panel using glue. Cut another panel from off white cardstock measuring, 4.7” x 4.7” set a side, chose frame from paper collection and glue on white square panel. Adhere this small panel on the center of the card.
Stamp all required images with black archival ink and coffee ink and color with zig markers and set aside.
Arrange all images as shown and add sentiment from paper collection. Embellish with Nuvo drops.

Wednesday, 5 June 2019

“Best Father Card” for PAZZLES


“Best Father Card”

Again it’s time to share inspiration for Pazzles. So, today I’m sharing a masculine themed card for Father’s Day with some gears, beautiful net cutting files with elegant flower touch.
 Love it!


Download all instructions and cutting files from HERE.


I hope you enjoyed!

Nida Tanweer