Showing posts with label scrapbooking. Show all posts

Thursday, 14 December 2023

GAME CHANGER - NIDA FLOWERS

 Hello Crafters!
Hope you are enjoying this cool weather breeze of winter.
Today I'm launching the GAME CHANGER FLOWERS of your crafting skills, beautifully handmade with delicately detailed.
This new collection has 6 same size glittery flowers in two shades of blue, also available in all colors.
Visit for the collection HERE!


Saturday, 9 September 2023

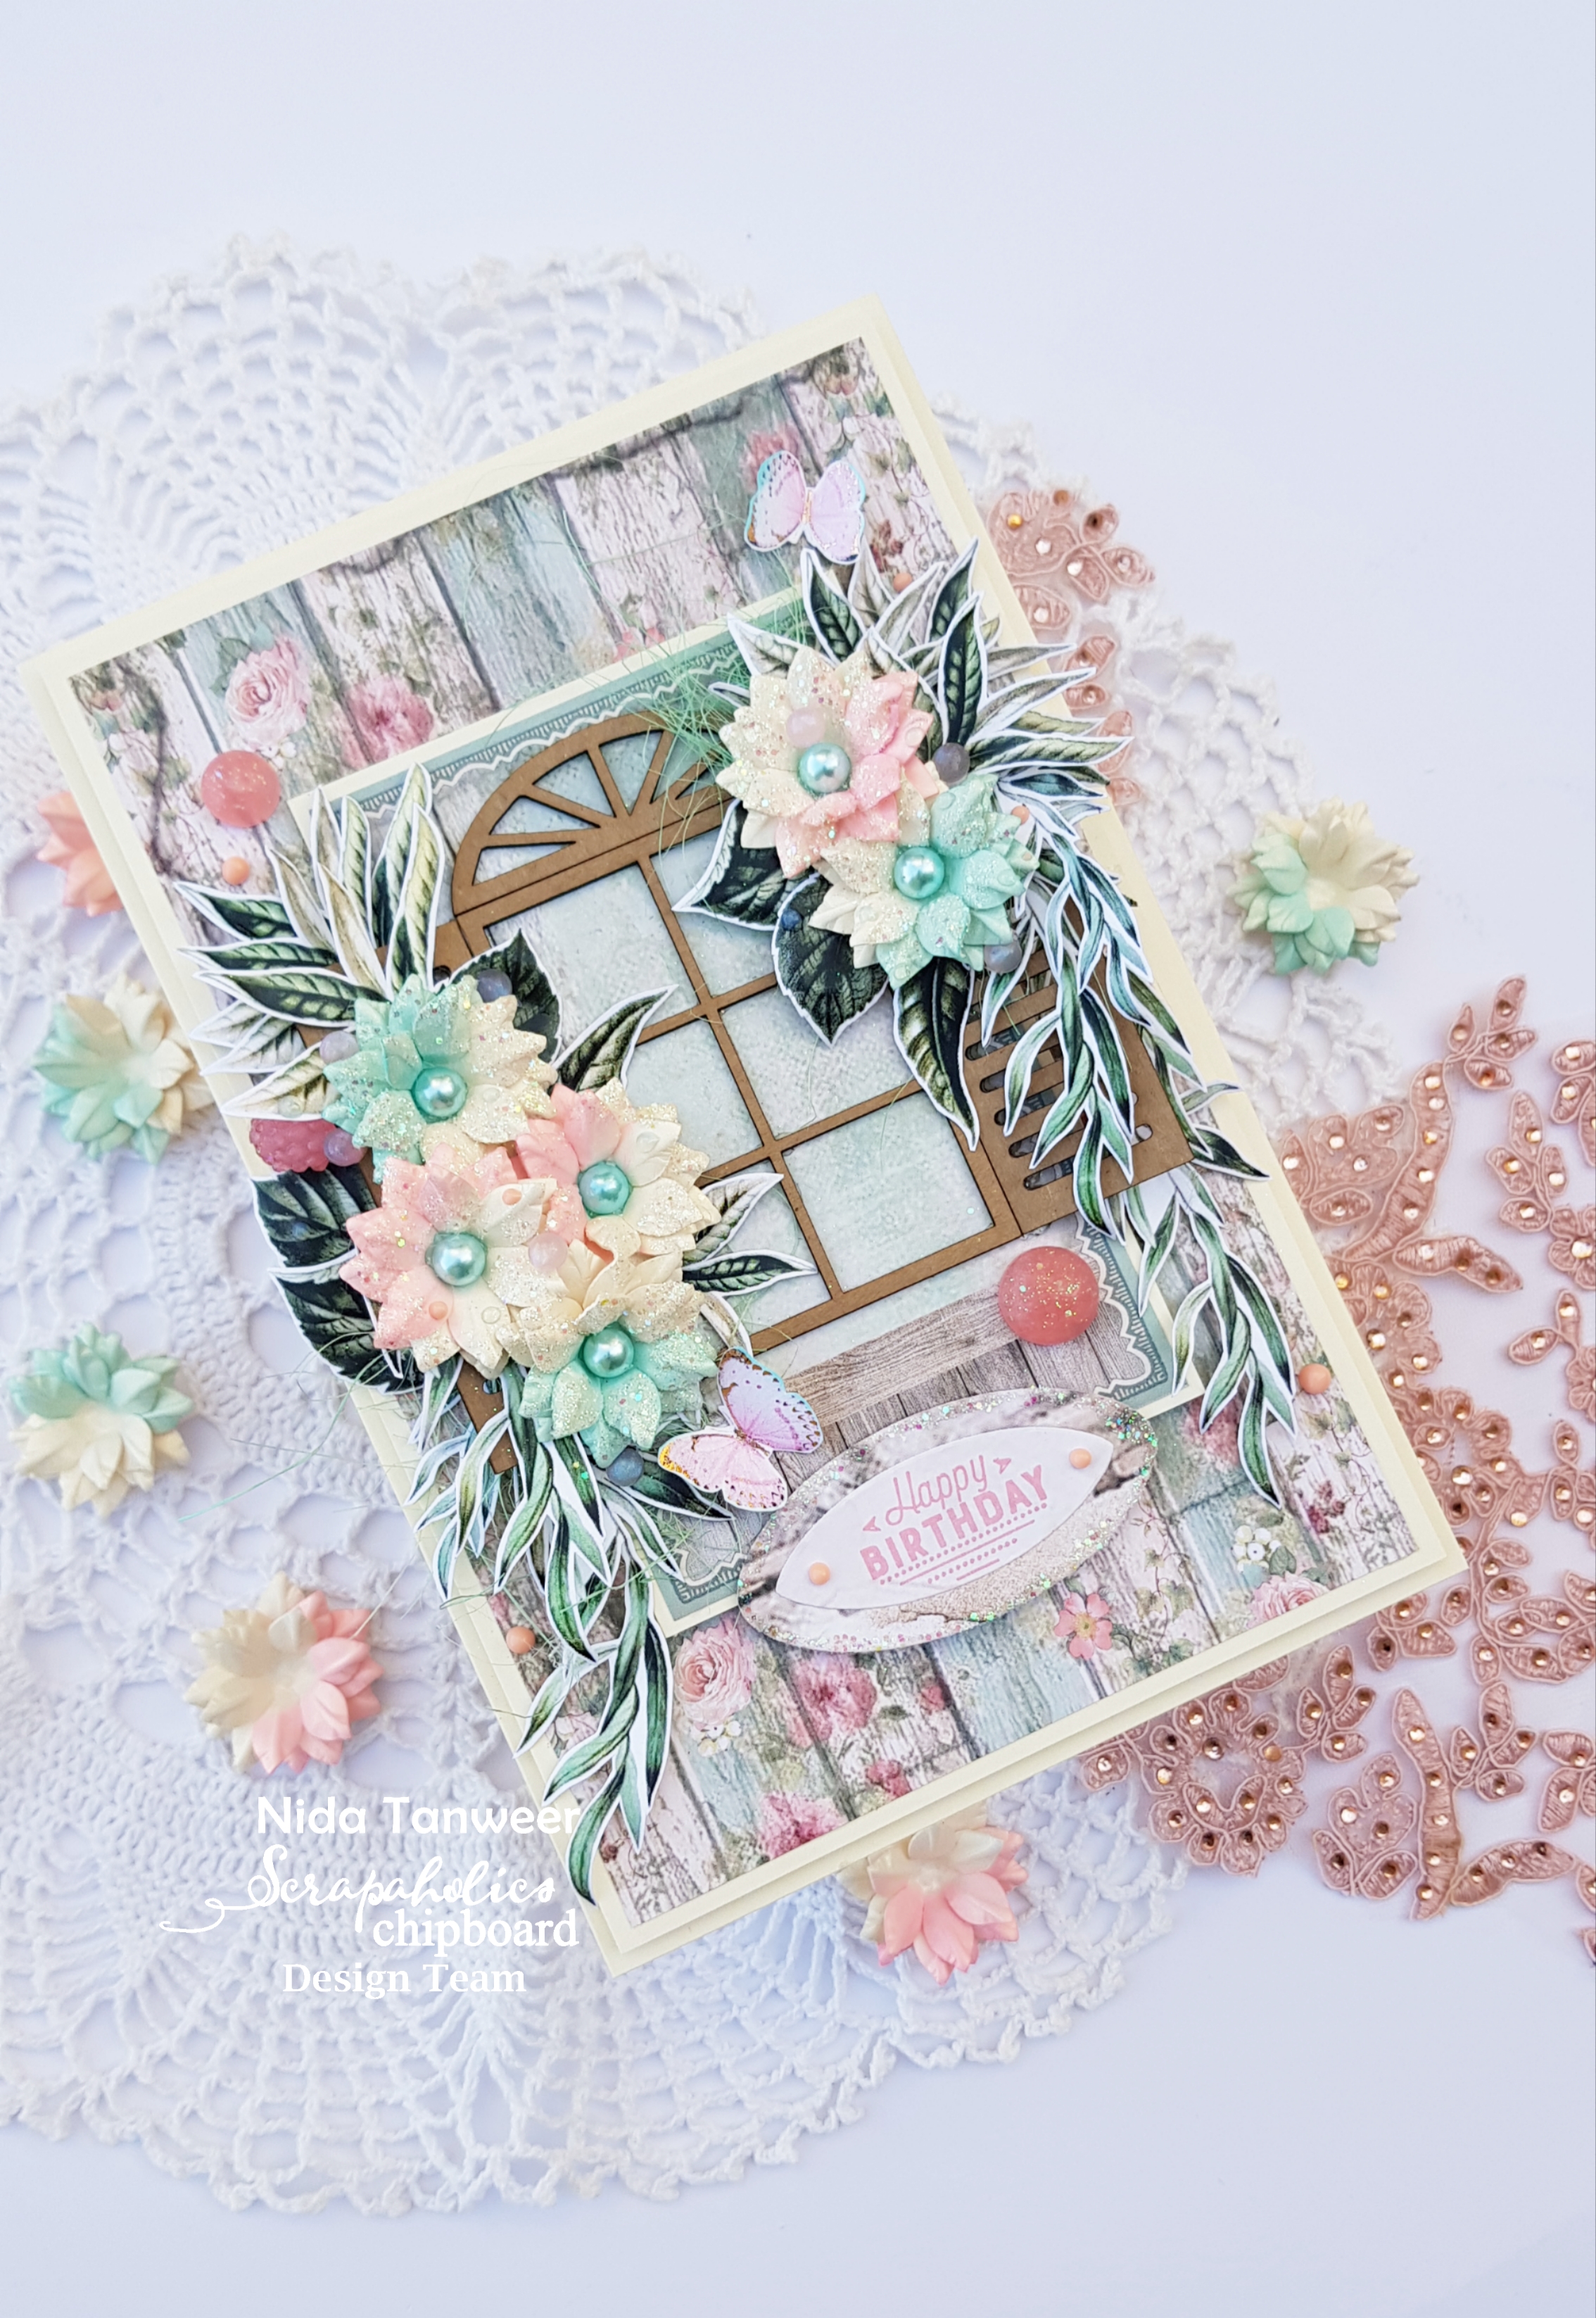
Window Card - Scrapaholics Chipboard

Hello Crafters!
Designed this beautiful card using Scrapaholics Chipboard Basic Window with my handmade pearly blooms, I hope you will enjoy.


For the card base, use off-white cardstock measuring 9" by 12", score from the long side, and fold it into half.
Add another panel of the same card stock which is slightly smaller than the card base. Next, add a second panel from Stamperia Paper Collection.


Tuesday, 14 March 2023

Just Because... Heartfelt Creations

Happy Wednesday!!
Sharing another lovely inspiration designed with Heartfelt Creations Feather Florals Collection.
Sharing very unique card with Vellum Feathers and sparkling Clematis Flowers.


Complete Product List HERE!


Instructions:

Ready card base size 9 by 5 3/4". Trim a panel on cream card measuring 8 3/4 by 5 1/2" and add this panel on the card base using dimentional tape. Trim the panel from Feathery Florals Paper Collection sheet number 10B measuring 8 1/2 by 5 1/4" and add this panel on the card base using clear glue.

Cut 3 strips on the cream card measuring 9 3/4 by 2", 9 by 2" and last 6 1/2 x 2 inches. Trim 3 pattern paper strips from the designer paper which are smaller than cream strips and adhere each on cream stip using clear glue.

Stamp the required images from Floral Feathers Cling Stamp Set and Petite Feathery Florals Cling Stamp Set on  vellum with Versamark ink, cover with white embossing powder and few on sea breeze embossing powder then  heat it using heat tool and die cut using coordinating die.

For the flowers, Stamp the clematis flower images using versamark Embossing ink on mint card, cover the images with snowflake embossing powder and heat using heating tool. Die cut the images using coordinating dies, color the centers of clematis with Salvage patina ink using daubers, use shaping stylus and groove golf shaping tool to shape the petals from back. Use hot glue to assemble the flowers as shown. For the centers add pearls using hot glue. Dab some Dries Clear glue onto a sponge, apply over the petals as desired, sprinkle with Nida Tanweer Glitter Powder and tap off.

Add mould made frame element on the center after placing strips on the card base using hot glue, Arrange all ready elements as shown using hot glue and dimensional tape. Trim sentiment from the paper collection add cream card under the sentiment.

To finish the card, embellish with sequins and decorative beads.

Other Products: Cream Card, Vellum, Mint Card, Nida Tanweer Magic Glitter Powder, Hot Glue, Decorative Beads, Sequins, Versamark Embossing Ink, Pearls, Mould Made Frame Element, Snowflake Embossing Powder, Salvage Patina Ink, Sea Breeze embossing Powder, dimensional Tape.
                                                                  

                 Nida Tanweer Link Tree

Wednesday, 23 March 2022

Pocket Tags Card For Father - Heartfelt Creations

 Hello Craft Buddies, 
Today I'm sharing simple pocket tag card, designed with Heartfelt Creations Tag Die & Floral Banners.


Check Full Instructions & Product Details HERE!


Instructions:

Its a ready folding card measuring 6 by 7 1/2 inches, Trim a panel on pink cardstock measuring 5 3/4 by 7 1/4 inches, adhere on to the card with clear glue, trim panel on deluxe card measuring 5 1/2 by 7 inches and adhere on to the card front. Trim panel from sweet pea paper collections measuring 5 1/4 by 6 3/4 inches and adhere on to the card using clear glue.

Die cut classic companion border die on deluxe card and gold luxe card and adhere together and apply glue on the three plain sides from back and add on the bottom of the card front and make a pocket.

Die cut 2 tags on the deluxe card from Album Tags Die Set and inside tags on the pattern paper and adhere small tag on the big tag using clear glue, make a hole on the top of the tags and add ribbon.

Stamp banner on the deluxe card from Vining Clematis Banner Stamp using cactus flower ink and die cut using coordinating die, color the edges of the banner with Kitsch flamingo ink using daubers and stamp inside the sentiments from Thank You Cling Stamp Set using Leaf Green Ink. Cover the tag with Magic Glitter Powder.

Other Products: Pink Cardstock, Kitsch Flamingo Distress Ink, pink ribbon, Nida Tanweer Glitter Powder, Punch Machine.

Follow me on Facebook!
Follow me on Instagram!
Follow me on YouTube!
Pinterest!

Tuesday, 16 November 2021