Showing posts with label Paper Crafting. Show all posts

Monday, 22 February 2021

Introducing the Amazing Paper Grace | Make A Scene Collection


Hi crafty friends!  It seems like we have been waiting for months for February to roll around.  We have been working in the background, holding our breath, tapping our feet and waiting on tippie toes to show you a new collection!  Ta-dah!!!  Today we are introducing a new Amazing Paper Grace Collection called Make A Scene!!!  It was designed by Becca Feeken and is available at Spellbinders.  Stay tuned for a video link at the bottom of the post.

 
NOW, TO EXPLAIN THIS TO YOU . . . 

In the past, Becca has created several interactive collections . . remember 3D Vignettes and remember Shadowbox Vignettes?  One of the things Becca does, is she tries to create a new twist on interactive that you can also use with flat cards and with past collections. That means new material for your old material.
 

WHAT IS MAKE A SCENE?

 
Make A Scene is an interactive card collection and a flat card collection, all in one - you choose based on your style.
 
The interactive portion is made with a card base that folds in six different layered scenery options.  The 3D card base folds flat but slides open to reveal a dimensional scene.  Since it has a 3D profile, the opened card makes quite a splash and can be set out on a desk for showing off.  The card base is huge and it offers you the chance to snag one of six scenes that cover many occasions.  If the six scenes are not your occasion du jour, then by all means dive into your huge stash of dies and insert your own contents.

The flat card portion is made with the individual scenes.  Each of the components for the scenes can be cut onto the top of a panel and used on a flat card or as part of a 3D Vignette or as part of a shadowbox scene.
 
Today we are prepared to show you - each Creative Team Member has created both a 3D Card and a Flat Card so that you can see the best of both worlds!
 
My Projects for Today

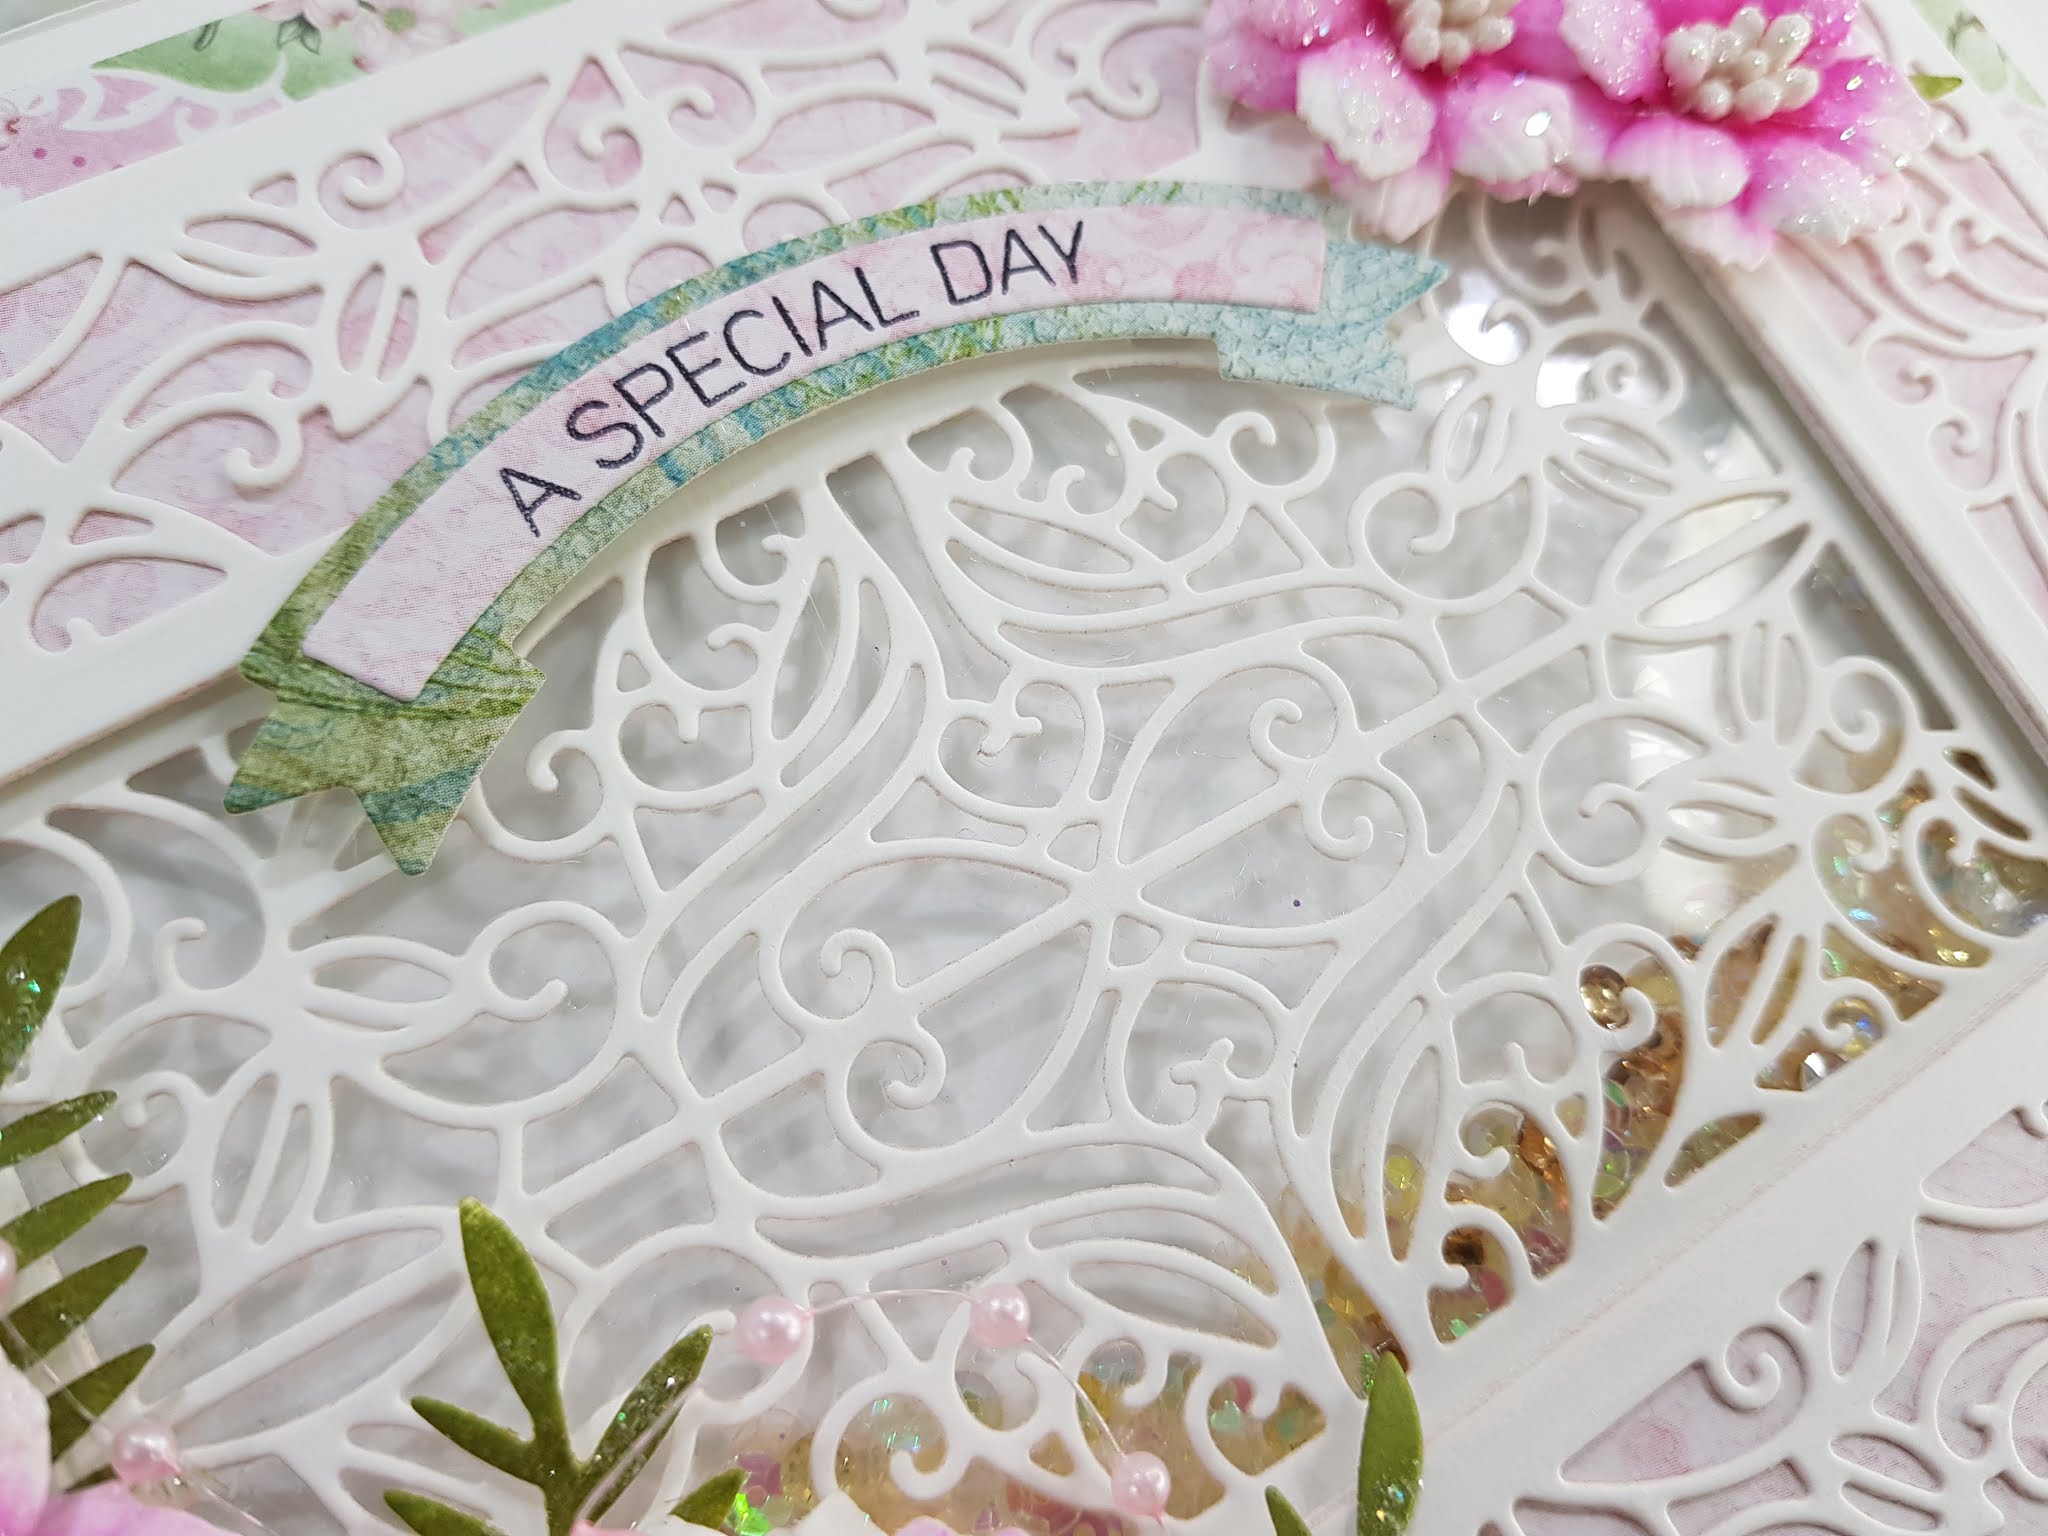
I'm using S6-167 Filigree Facade Frame, STP-025 Make a Scene Sentiments, S5-436 Cinch and Go Grand and S6-165 Make a Scene Card Base


I've design a card and a matching gift bag using same dies combination and flowers.


Designers Tip: Use smallest die of the flower to create filler flowers with large flowers.


How to Assemble:
When you see the card base it will make total sense how this goes together.  Here is a quick start video to lay it all out for you. CLICK HERE

Make A Scene Availability:

These dies and plates are available from Spellbinders right now! Click here:  Make A Scene


Make A Scene Collection Blog Hop!


Click on the links to each member, they're waiting to inspire you to create something beautiful:


Giveaway!  

You could win an Amazing Paper Grace Die of the Month! Enter to win on our new Instagram Account https://www.instagram.com/amazingpapergrace_creates/. All  of the entry details are there, look for this image below:

I love your comments!  Tell me, which scene is calling your name?


Tuesday, 15 December 2020

Vellum Garden - Heartfelt Creations

 Good Morning Buddies..
Happy Happy Wednesday!

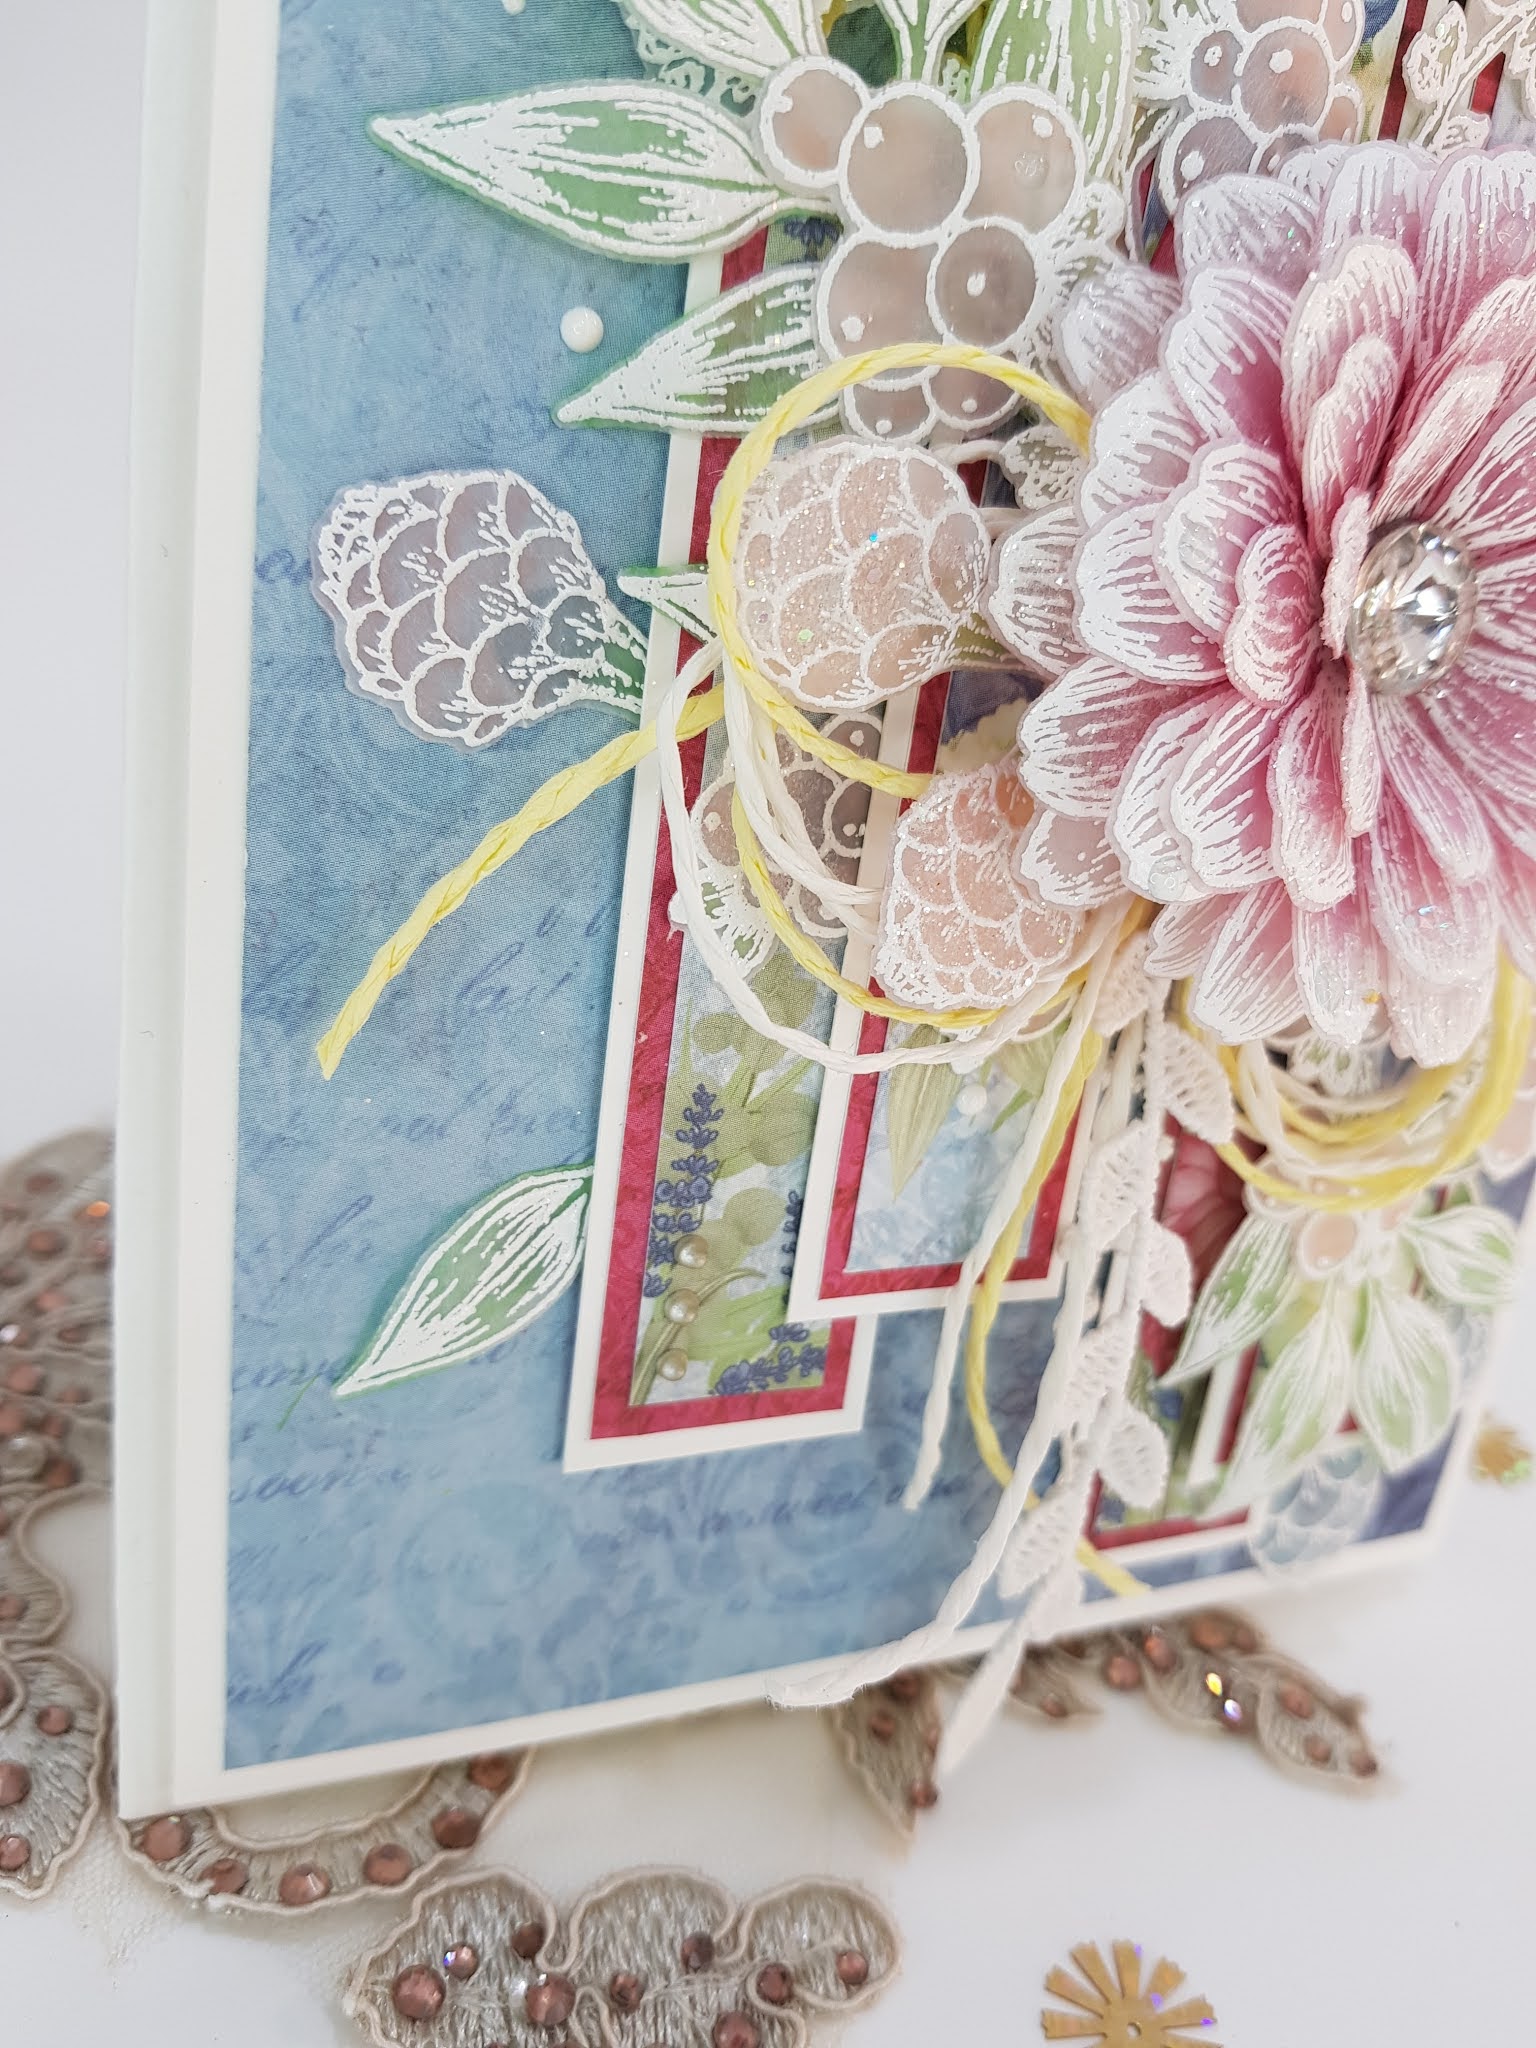
Today I'm sharing very beautiful and my favorite layered card of Vellum, I designed with Heartfelt Creations latest release Floral Shoppe Collection.


Heartfelt Creations Products Used:

Products Used:
Large Floral Urn Die, HCD1-7329
Floral Shoppe Accents Die, HCD1-7330
Floral Shoppe Fillers Die, HCD1-7331
Large Floral Urn Cling Stamp Set, HCPC-3931
Floral Shoppe Accents Cling Stamp Set, HCPC-3932
Floral Shoppe Fillers Cling Stamp Set, HCPC-3933
Floral Shoppe Paper Collection, HCDP1-2122
Small Garden Zinnia Die, HCD1-7315
Small Garden Zinnia Cling Stamp Set, HCPC-3924
Deluxe Flower Shaping Kit, HCST1-401
Ranger Archival Ink Pad - Light House, RACP771
Designer Dries Clear Adhesive, 159723
Metal Tip for Adhesive Bottles, 352854
5pc. Acrylic Block Set, SUAH05
Heat It Craft Tool, RAHT
Double Dots 100pc. -3D Foam Circles, DDOTS
Zig Clean Color Real Brush Markers - 48 Pack, 478594

Other Products: Smooth White Cardstock, Vellum Paper, Versafine Embossing Ink, White Embossing Powder, Scissors, hot glue/gun, Diamond Stone, dimensional tape, Scoring Board, Nida Tanweer Magic Glitter Powder, Nuvo Drops.


Instructions: It’s a ready folding card measuring 9” by 5 1/2”, cut a panel on white card measuring 8 3/4 x 5 1/4” add this panel on card base using dimensional tape. Cut pattern paper panel from Floral Shoppe Paper collection measuring 8 1/2 x 5” adhere on to the card using clear glue. Cut 1” x 7 1/2” strip from white cardstock first, then cut another four strips which are smaller than first one. Next trim 5 more strips from pattern paper which are smaller than first set of strips. Cut third set of strips from light blue pattern paper which are slightly smaller than second strips. Layer all 3 sets using dries clear glue. Arrange these strips onto the card base using dimensional tape as shown.

Stamp Floral Shoppe Accents and Floral Shoppe Fillers and zinnia flowers on vellum with versafine ink and cover with white embossing powder and heat emboss. Color all leaves and fillers with Zig Clean Color Real Brush Markers. Die-cut with coordinating die sets. Color the Zinnia with Archival lighthouse ink using dauber, shape it using shaping kit and make one flower. Add stone inside using hot glue gun. Apply dries clear glue and sprinkle with Nida Tanweer Magic Glitter.

Arrange all ready leaves and fillers as shown, add lace and twine and then add flower. Embellish the card with white nuvo drops.

I love your comments! Which color combo you like the most?

Thank You!
Follow for more inspiration.
@nidahandmadecards


Friday, 23 October 2020

AMAZING PAPER GRACE SWEET CARDLETS by BECCA FEEKEN

 Good Morning Gracelets!

Welcome to my blog! Today I'm sharing two beautiful projects designed with Amazing Paper Grace latest collection Sweet Cardlet.


What's a Cardlet, pray tell?  A Cardlet is a small motif, complete with background, sentiment and character that combine to make small card or layers onto a larger card.  We're delighted to introduce you to the Sweet Cardlets Collection.


Becca Feeken sent over these lovely dies and watercolors for me to try.


Sweet Cardlets show up in a Glimmer format with a matching die.   They are metal plates that are used in the Spellbinders Glimmer Hot Foil System to transfer foil to paper through a combination of heat and pressure.  The Glimmer machine base is rolled through your die cut machine to deliver that pressure.  As long as you have a machine that can accommodate thick dies - like steel rule dies, you're all set. A word to the wise, it is very addicting.  (Compatibility charts on the Spellbinders website)


The Inspiration behind Sweet Cardlets


We gotta fess up here.  There's no such word as cardlets, yep, Becca straight up made it up.  You have to agree though, it sounds really cute, right?  Well that was the inspiration behind sweet cardlets.  As you can imagine it has something to do with cards and moreover, little cards.  


Always mindful of the budget, Becca wanted to create a collection where each set is all you need to make a little card.  Sweet Cardlets are small motifs with a 3" x 3" footprint.  Each has a background, a main character and several sentiments.  


We found it the right size to fit on an A2 card and even to layer onto an A7 card.  In fact, the 3" background can be repeated for a long background or a larger background.  Dies cut out each main character and three sentiments with each set give you lots of options.


Each of our Creative Team members will show you their take on cards made with the Sweet Cardlets Collection.  Today we're all using Jane Davenport Watercolors in some technique to show off Sweet Cardlets.


First up is 5" by 6.2" Lovely Ladybug card which I created using Amazing Paper Grace GLP-235 by Becca Feeken.


It was so much fun creating with glimmer foils.


My second project is a cut gift box measures 3" by 3".


Love the effect of Jane Davenport Watercolors in the background.


Thank You!
Follow for more inspiration.
@nidahandmadecards