Vintage card designed using SCRAPAHOLICS Chipboards Pieces, Stamperia Paper with Finnabair mixmedia techniques and it turned out stunning!

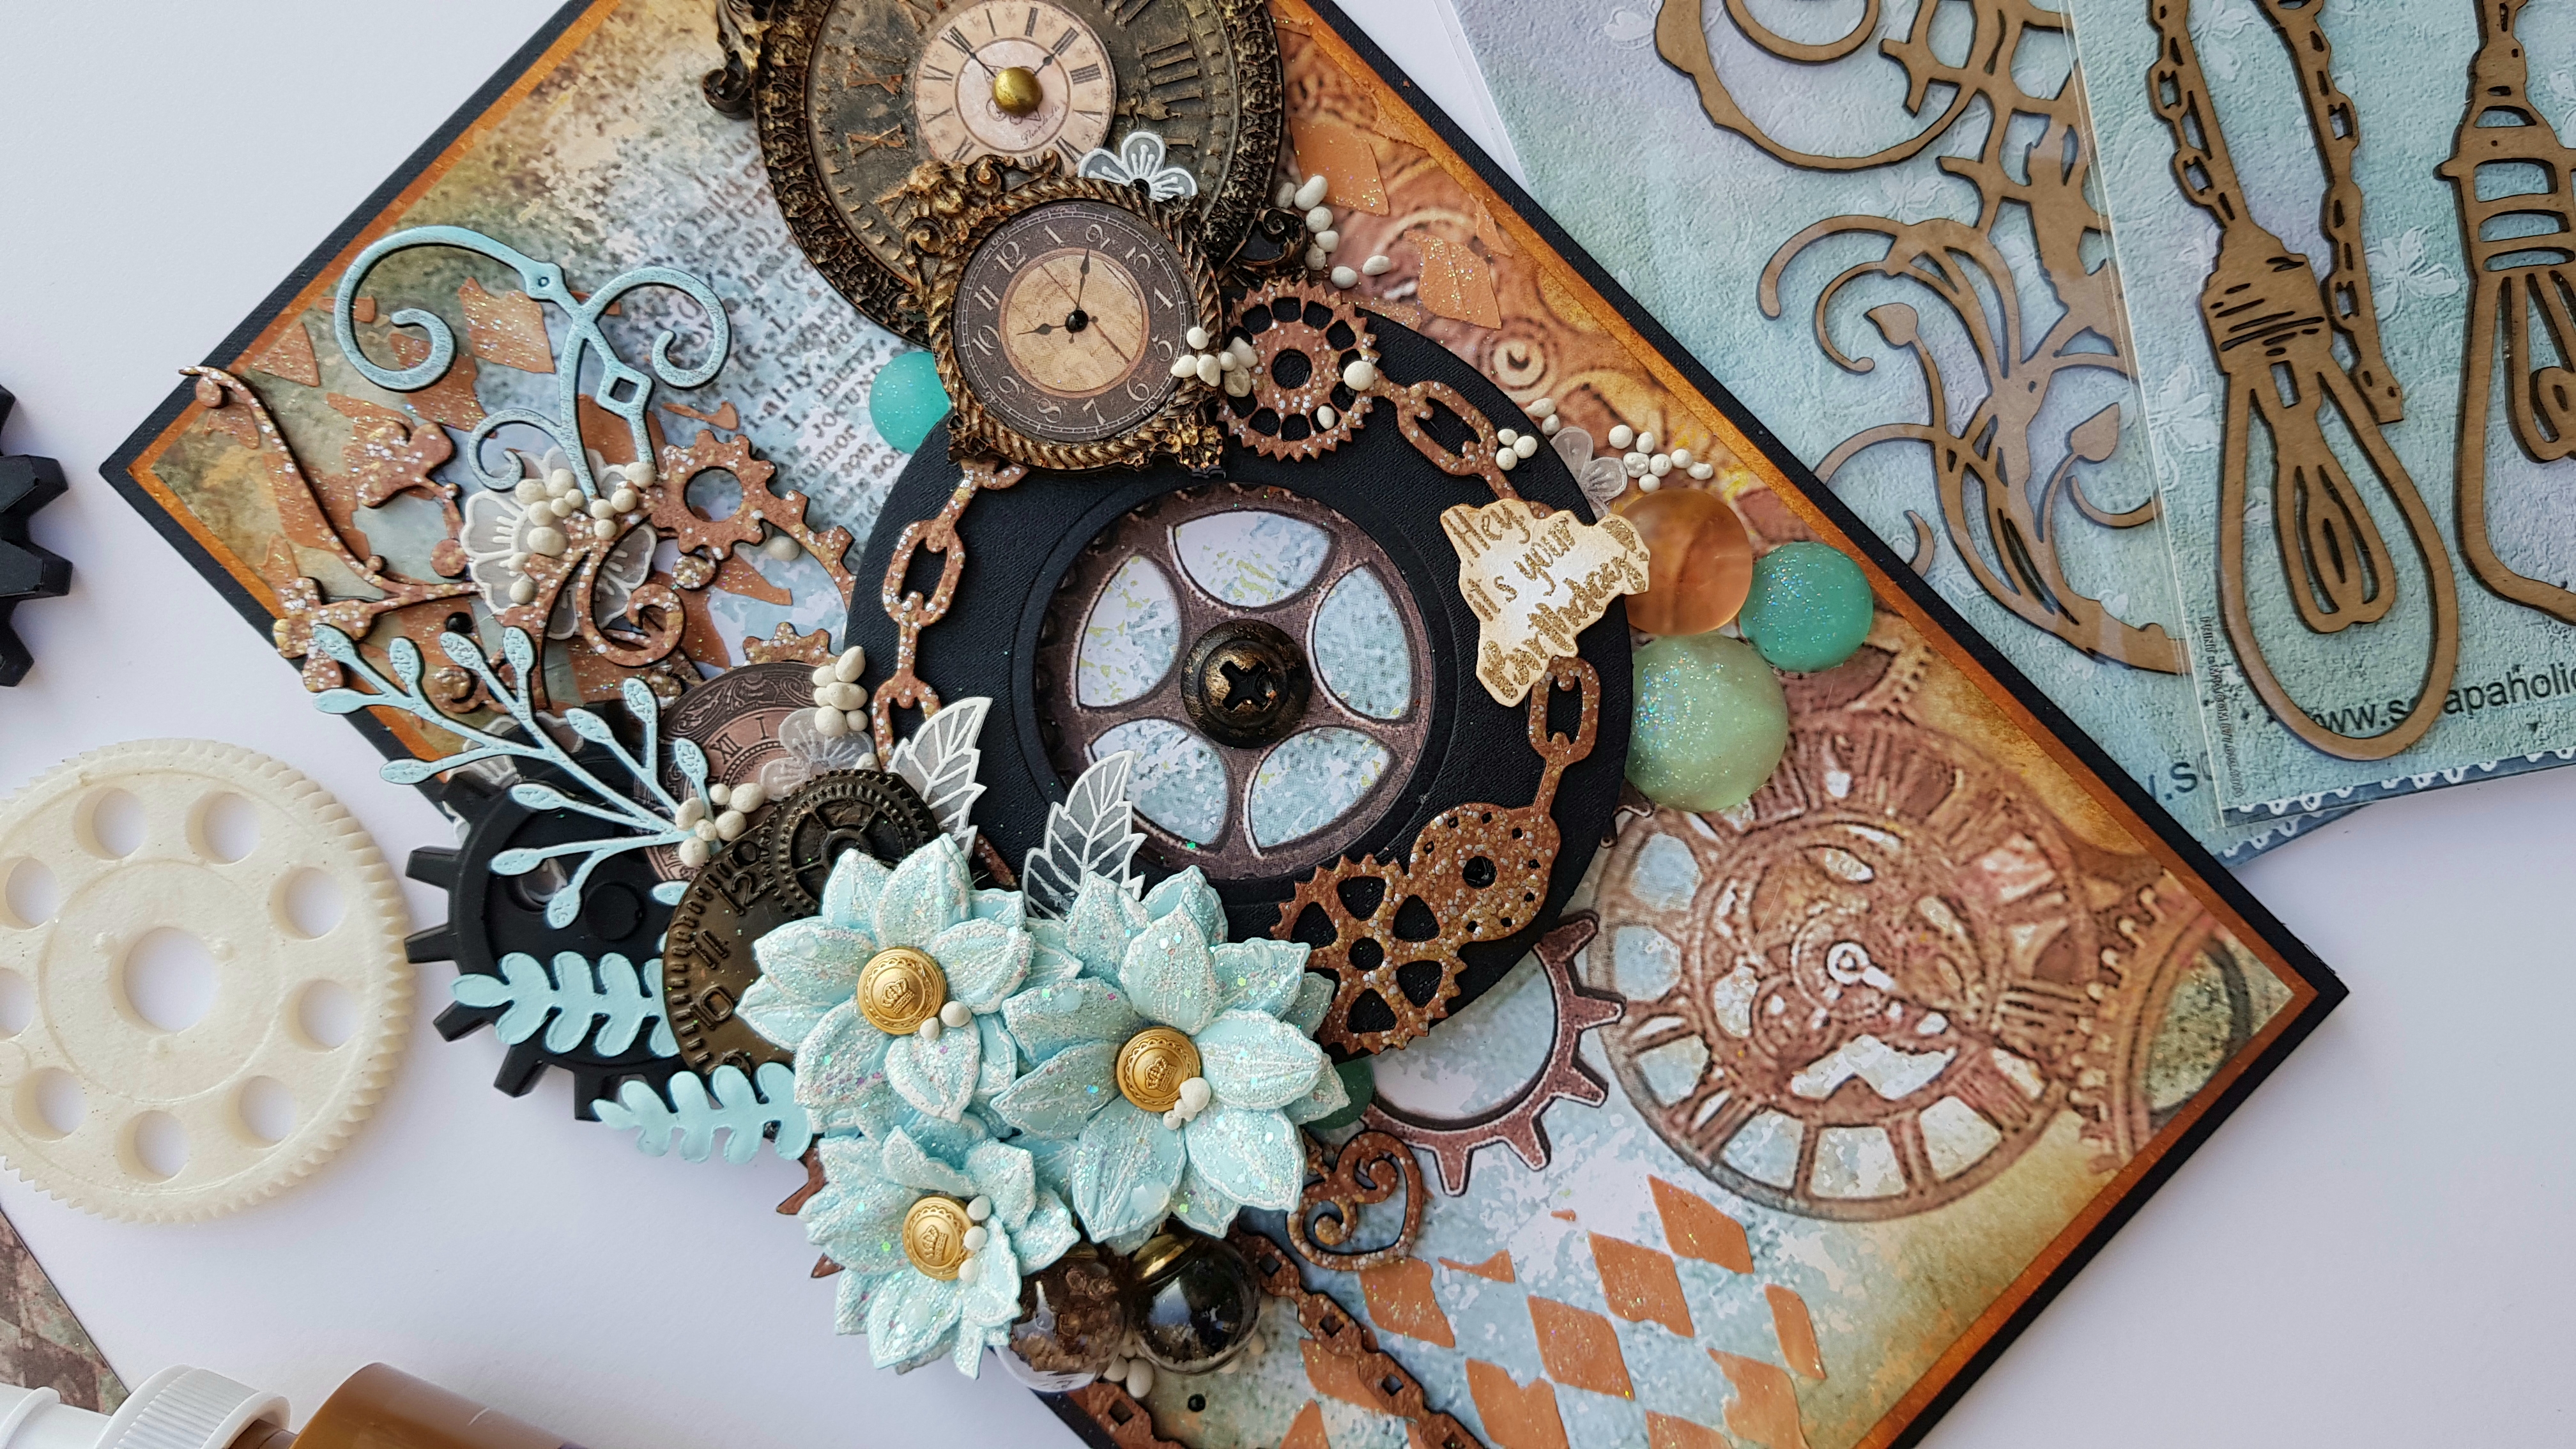

I used Heartfelt Creations Climbing Clematis Flowers Stamp & Die Sets with heart embossing technique.



Instructions:
Its a ready folded card measuring 9" by 6", cut
panel on Deluxe Paper measures 8 3/4 by 5 3/4 and adhere it on the card base
using dimensional tape. Cut another panel from Joyous Noel Paper Collection
measures 8 1/2 by 5 1/2.
For the center, place the smallest die from Fancy Classic
Oval Die Set on the deluxe paper and outer oval die from simple classic oval
frame die together and die cut the shape, apply clear glue on the center using
hydra sponge and cover with magic glitter.
Place the both oval dies from simple classic oval frame die
set on Green paper from paper collection sheet number 11B and die cut the oval
shape and adhere on the white die cut using clear glue.
Die Cut the first big frame die on the blue paper from paper
collection sheet number 2B add extra layer underneath using clear glue for the
sturdiness, add on the card center using dimensional tape, add oval frame on
the center of the card using foam dots.
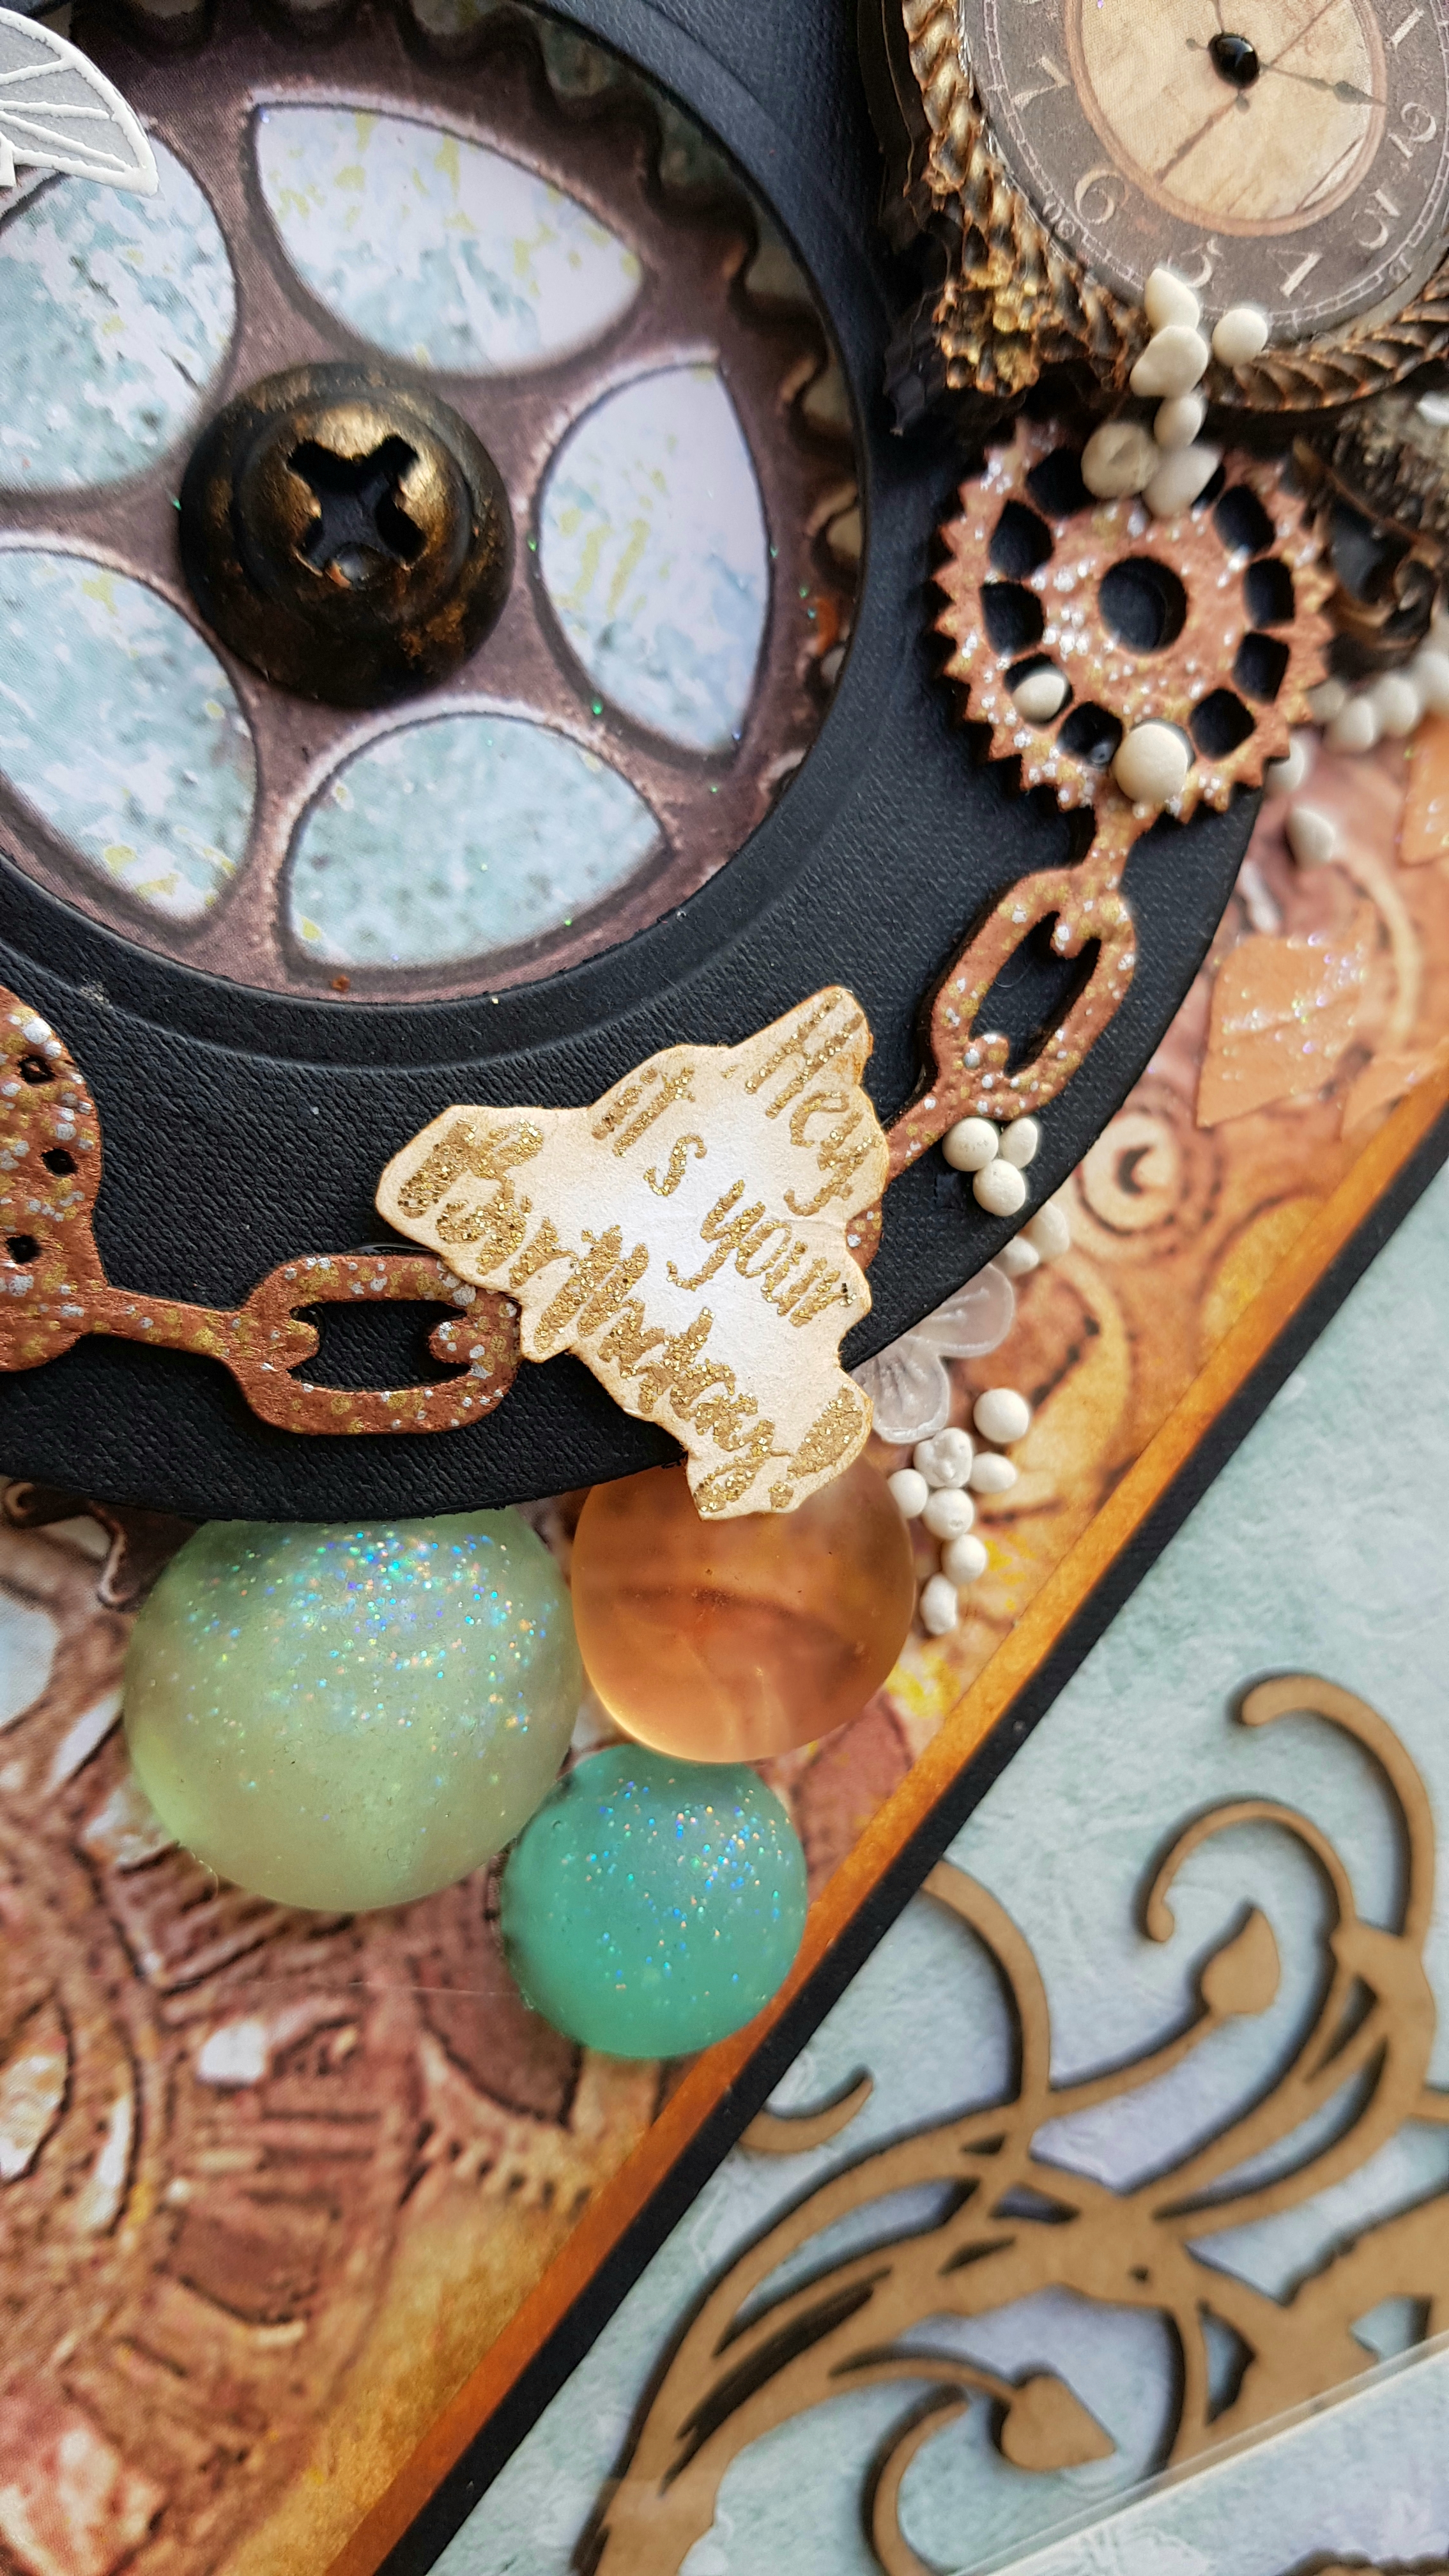
Next, stamp the sentiment using versamark embossing ink from
Celebrate Love Sentiment Stamp Set on vellum and cover with gold tinsel
embossing powder, heat it using heat tool trim and add deluxe card under the
vellum sentiment and add on the card front using hot glue.
Stamp the wild flowers on the deluxe card using periwinkle
ink die cut the images using coordinating dies, shape the flowers shape the
flowers using golf groove tool and finish the flowers using deluxe shaping kit.
Use 3 layers of same size to make 1 flower. Make a few flowers using hot glue,
add pearls in the centers and mini prills using clear glue, apply clear glue
and cover with Nida Tanweer Magic Glitter.
Stamp the images from wild poppy accents stamp set on vellum
using versamark and cover with white embossing powder and heat it using heating
tool and die cut with coordinating dies.
Stamp leafy accents images with leaf green ink on deluxe
paper, color the image with leaf green ink and mowed lawn ink using daubers.
Shape the leaves from back with golf groove tool, apply clear glue and cover
with Nida Tanweer Magic Glitter.
Die cut the corners from simply classic oval frame die on
the deluxe card and green paper as well. add extra layer of corners under the
green paper covers using clear glue and add on the card corners using clear
glue.
Arrange all ready elements as shown using hot glue and
rhinestones and Nuvo drops to embellish the card.
Other Products: Versamark embossing ink, Hot
Glue, Dimensional tape, Nida Tanweer Magic glitter, Rhinestones, Nuvo Drops,
Vellum, Gold Tinsel Embossing Powder, Pearls.


