Showing posts with label Handmade Card. Show all posts

Saturday, 9 September 2023

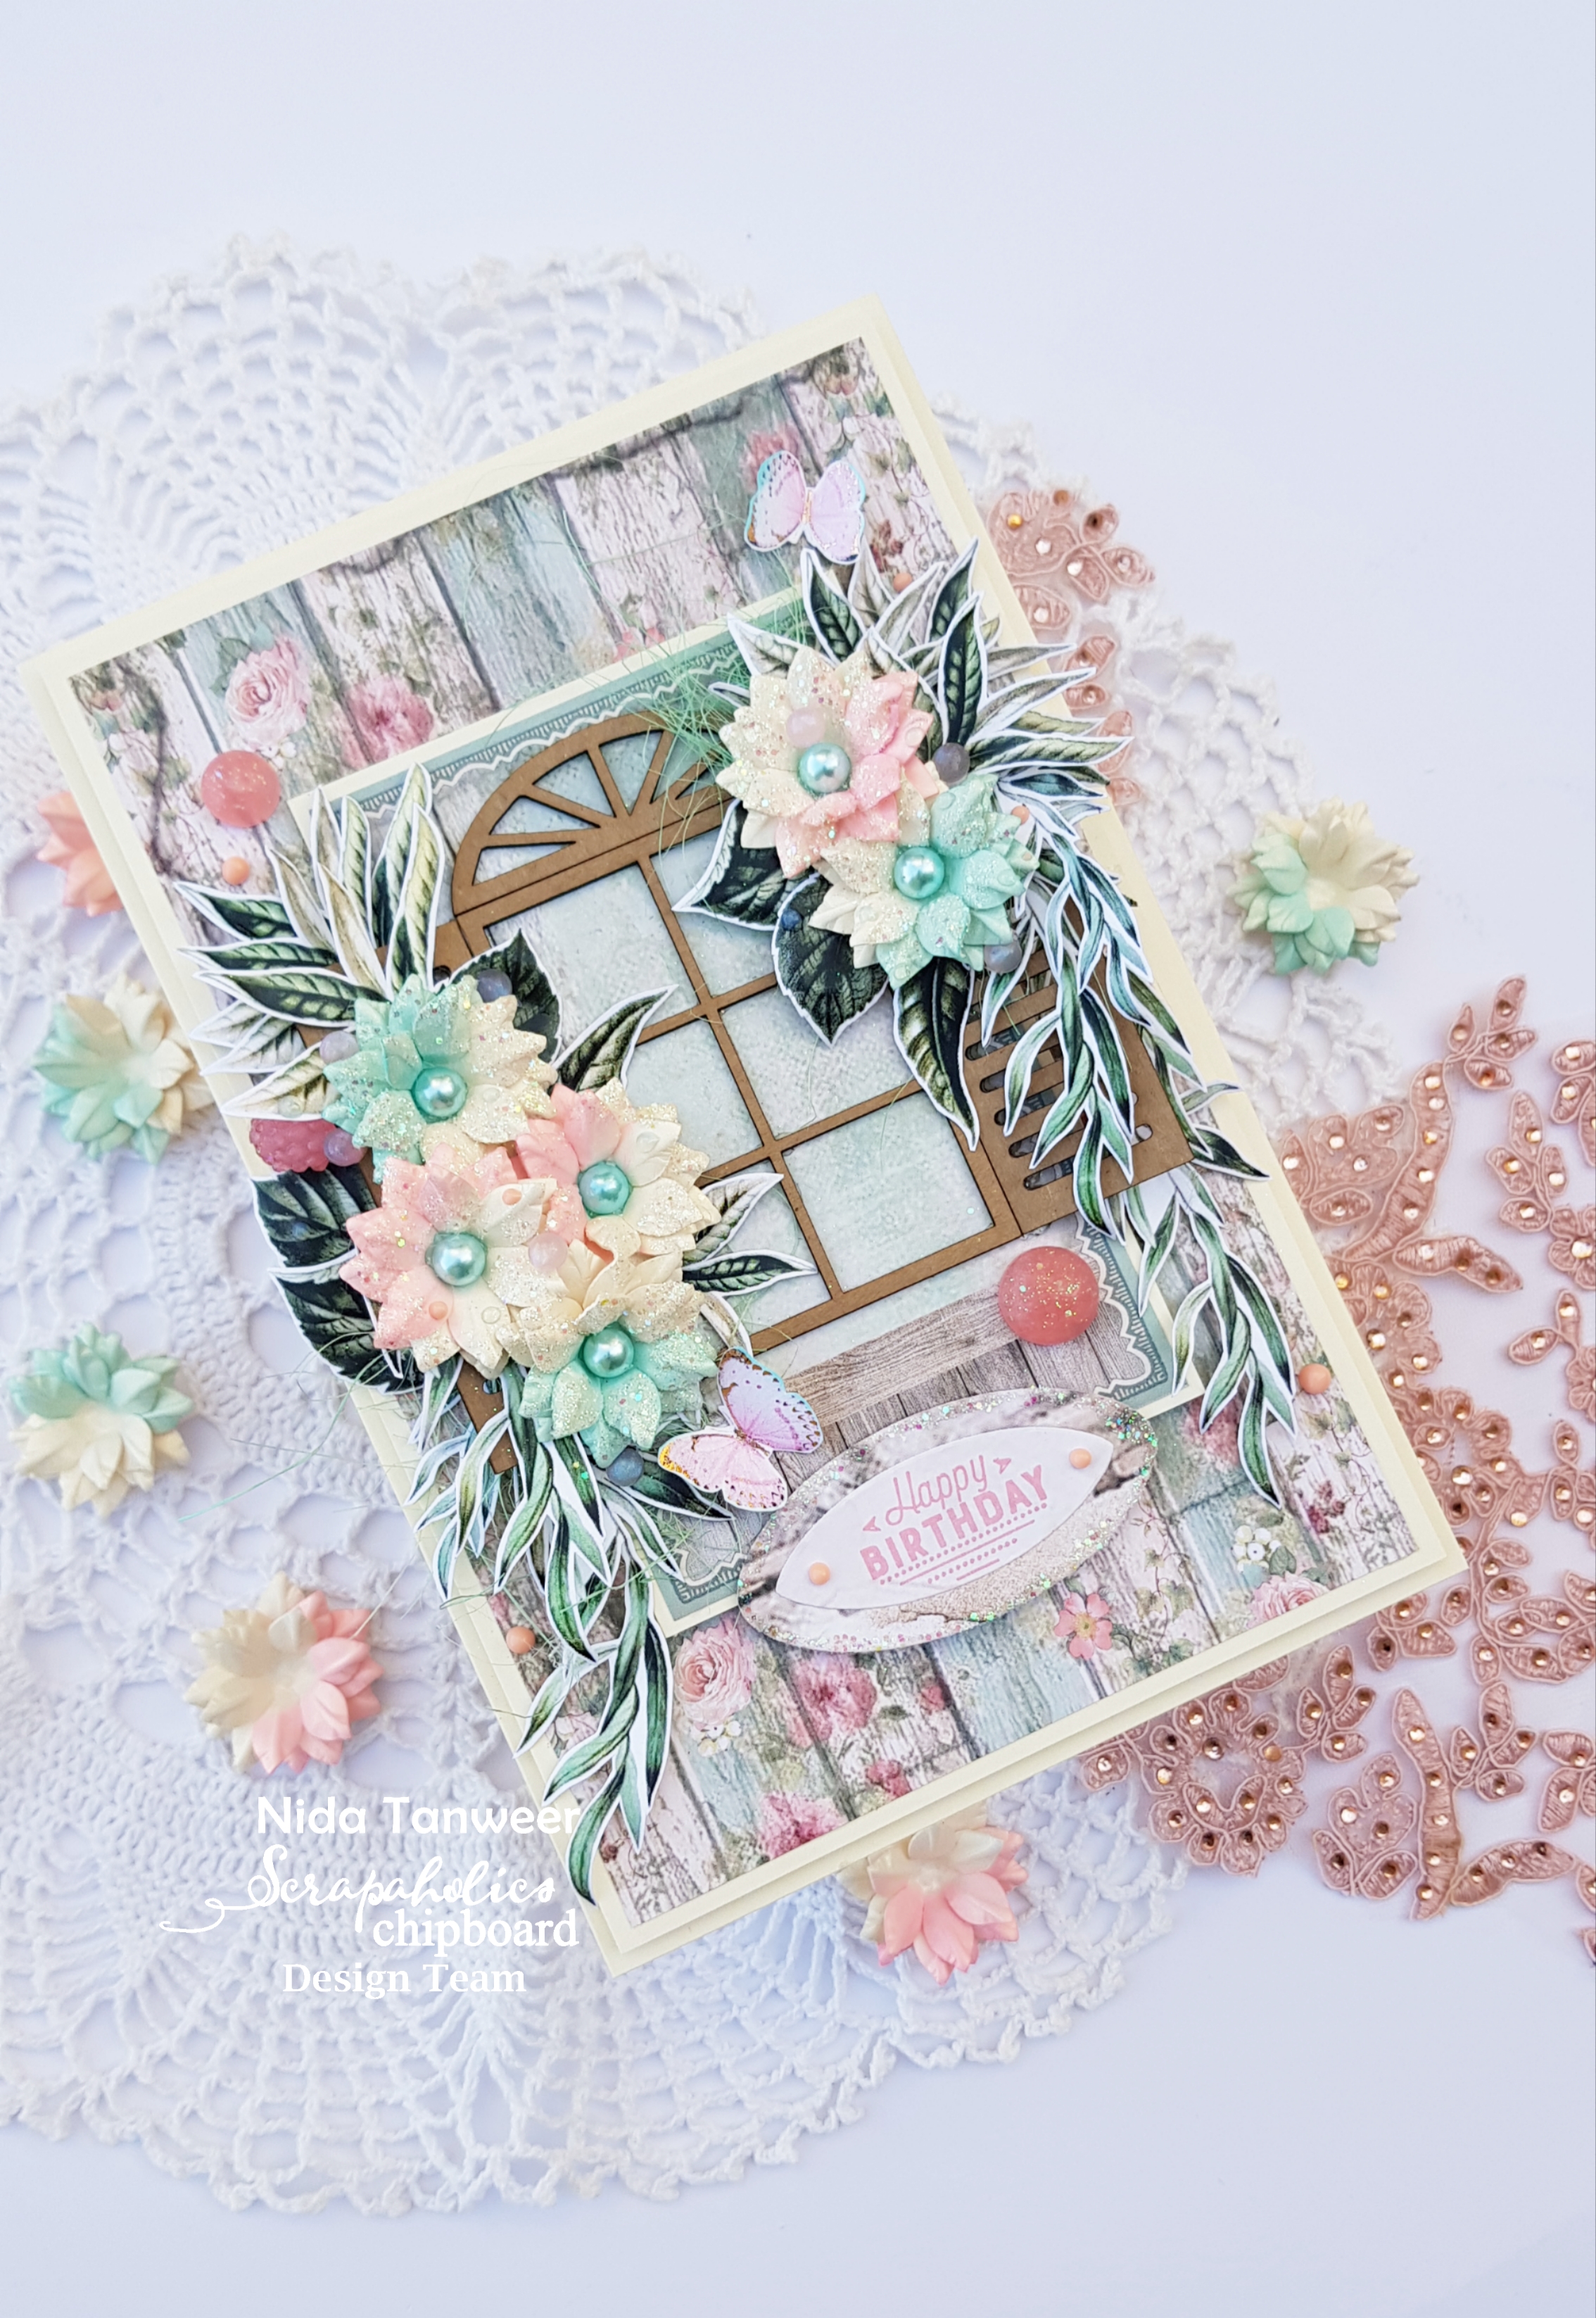
Window Card - Scrapaholics Chipboard

Hello Crafters!
Designed this beautiful card using Scrapaholics Chipboard Basic Window with my handmade pearly blooms, I hope you will enjoy.


For the card base, use off-white cardstock measuring 9" by 12", score from the long side, and fold it into half.
Add another panel of the same card stock which is slightly smaller than the card base. Next, add a second panel from Stamperia Paper Collection.


Tuesday, 11 August 2020

Debuting the Festive Winterscapes Collection - Heartfelt Creatoins by Nida Tanweer

 Hello Friends, 

Happy Wednesday...  Today is the day you all have been waiting for, YES! It is Heartfelt Creations new Festive Winterscapes Collection release day. This beautiful collection have manger scene, snow globe, little read truck, deer all things are gorgeous.


Heartfelt Creations Products Used:

HCD1-7311 Festive Winterscapes Die
HCD1-7312 Woodsy Winterscapes Die Set
HCD1-7213 Elegant Pocket Accents Die
HCD2-752 Cut Mat Create 2B Die
HCD2- 750 Cut Mat Create 1B Die
HCPC-3921 Festive Winterscapes Cling Stamp Set
HCPC-3922 Woodsy Winterscapes Cling Stamp Set
HCDP1-2118 Festive Winterscapes Paper Collection
HCST1-401 Deluxe Flower Shaping Kit
RACP468 Ranger Archival Ink Pad – Jet Black
NU651 Nuvo Crystal Drops – Gloss White
159723 Dries Clear adhesive
D120601 Darice Adhesive Foam Strips
478455 Zig Clean Color Real Brush Markers - 36 Pack
RLHS100 Hydra Sponges

Other Products Used : 
Smooth White Card Stock, glitter Dust, Water Color Brush, Hot Glue.


Instructions: It’s A Window Card, the ready top fold card from white card stock measures 6 ½ by 6 ½. Cut a panel from white card measures 6 ¼ by 6 ¼ and set aside. Select 6” by 6” scene from the paper collection sheet number 2A and adhere it on white panel using clear glue cut a window on this panel using cut mat die and adhere this window on card base using 3d foam strips paste window cutting part inside the window using clear glue.
Die cut both shapes from Elegant Pocket Accents Die on white card, cut extra die cut and glued together for extra strength, add glitter dust and place on card top and bottom as showed.
Stamp all required images using black Archival ink on white card color it using Zig Markers and arranged as showed.

Stamp sentiment using black ink and add on the card, finish card using Nuvo drops to embellish.

Thank You!

Nida Tanweer


Tuesday, 24 March 2020

A Gift For You - Heartfelt Creations - Wild Rose Collection

Good Morning Friends....
It's really hard time for all of us these days because of Corona virus but it's our safety and necessary to stay home and stay healthy, So let's do crafting together. Today is the Wednesday and I'am sharing my third card of Wild Rose Collection from Heartfelt Creations I hope you will enjoy :)


HC Poducts Used: 

HCD1-7289 Small Wild Rose Die
HCD1-7290 Large Wild Rose Die
HCPC-3906 Small Wild Rose Cling Stamp Set
HCPC-3907 Large Wild Rose Cling Stamp Set
HCDP1-2113 Wild Rose Paper Collection
HCFB1-486 Small 3D Wild Rose Shaping Mold
HCFB1-487 Large 3D Wild Rose Shaping Mold
HCS1-490 Assorted Rose Hip Stamens - Large 
Rounded Window Frame Die HCD1-7271
Eyelet Circle & Basics Small Die HCD1-7154
Ornamental Tags Die HCD1-7203
Luxe Gold Cardstock HCGP1-488
HCST1-401 Deluxe Flower Shaping Kit
HCDA2-450 Stack and Store Daubers - Pack of 30
RAHT – Heat It Craft Tool
173842 Scor-Pal
159723 Designer Dries Clear Adhesive 
352854 Metal Tip for Adhesive Bottle
RLHS100 Hydra Sponges
Ranger Archival Ink Pad - Leaf Green RACP436
Darice Adhesive Foam Strips D120601

Other Products: Versamark Embossing Ink, Ranger Gold Tinsle embossing powder, plum cardstock, off White Cardstock,Distress Mowed lawn and Peeled Paint Ink, Diecutting Machine, Hot Glue Gun.


Instructions :

The ready side folds card measures 6.4" by 9.5". Trim a panel of Off white cardstock measures 6.1” by 9.2” adhere on card base using foam strips. Choose the paper from the designer paper collection and cut to size measuring 5.8" by 8.9" to create a front panel, adhere onto first panel using clear glue.
For the left side strip cut off white cardstock measures 1.5” by 8.6” and cut another strip from paper collection measures 1.3” by 8.4”, adhere on the left side using foam strips.
Cut 2 window frames, one on off white cardstock and second on paper collection using Rounded Window Frame Die and glued together, Cut plum circle for inside window frame on paper collection using eyelet circle basics die. And adhere on the window frame. Place this window on the card front right tip corner as showed using foam strips.
For the flowers stamp the small and big wild roses on plum cardstock using versamark ink, cover with gold tinsel  embossing powder heat it with heat tool, I’m not using first big flower stamp I’m taking second stamp from wildrose stamp set, diecut using the coordinating die and shape in the Small and big 3D Wild Rose Shaping Mold. Layer three same size petals together and 4 different size layers to make big flower. Make 5 different sizes roses with filler flowers. Add Assorted Rose Hip Stamens using hot glue gun on 4 flowers and add golden Nuvo in the center on small flowers. Stamp 8 leaves with leafy green ink color it using mowed lawn peeled paint. Die cut and shaped.
For the small front panel trim off white card measures 4.2” by 5.4” and trim another panel from paper collection measures 4” by 5.2” layer together using clear glue. Adhere on card front as showed.
Create a sentiment from using Ornamental Tags Die and adhere as shown. Once all the elements are ready, make a bouquet of flowers and leaves as shown using hot glue gun. Embellished with Nuvo Drops.


Wednesday, 23 October 2019

Beach Bound Card from Heartfelt Creations by Nida Tanweer

Hello Everyone...

Its Wednesday means Heartfelt Creations inspirational day. So today I am here with my new card continuing Sea Breeze Collection I hope you like it. 


Products Used:

Designer Dries Clear Adhesive, 159723
Metal Tip for Adhesive Bottles, 352854
Color In Watercolor Brush - Fine, 409311
Zig Clean Color Real Brush Markers - 36 Pack, 478455
Darice Adhesive Foam Strips, D120601
Sea Breeze Harbor Die, HCD1-7264
Sand and Sunsets Die, HCD1-7265
A Day at Sea Die, HCD1-7266
Eyelet Oval Die, HCD1-776
Stack and Store Daubers-Pack of 30, HCDA2-450
Sea Breeze Paper Collection, HCDP1-2107
Sea Breeze Harbor Cling Stamp Set, HCPC-3890
Sand and Sunsets Cling Stamp Set, HCPC-3891
A Day at Sea Cling Stamp Set, HCPC-3892
Ranger Archival Ink Pad - Jet Black, RACP468


Other Products: White Cardstock, Cardstock, Paper Trimmer, Brads, Die Cutting Machine, Distress Ink Vintage Photo, Rusty Hinge, Hot Glue Gun.


Instructions: The ready top fold card measures 5.7” by 9”. Cut panel of white cardstock measuring 5.5” x 8.8” and set aside. Choose same size panel from paper collection and stack with white cardstock. Place oval die in the center and run through the machine and adhere this pane using foam strips. 
Stamp all required images with black archival ink, color with zig markers, diecut and set aside.
Place cloud and sunset images inside the oval and arrange other images as shown. Add sentiment from paper collection.


Tuesday, 18 June 2019

Good Times Together - Happy Camper By Nida Tanweer

Hello everyone,

Good morning, A warm welcome on my blog again!

It's Wednesday means inspiration for Heartfelt Creations. So, i'm sharing my new card from Happy Camper Collection with Posies flowers.


HC Product Used:

HCD1-7243 My Happy Place Die
HCD1-7244 Elements of Home Die
HCPC-3879 My Happy Place Cling Stamp Set
HCPC-3880 Elements of Home Cling Stamp Set
HCDP1-2103 Happy Camper Paper Collection
HCD1-7248 Regal Frame & Accents Die
HCPC-3811 Rain Boots & Blossoms Stamp
HCD1-7169 Rain Boots & Blossoms Die
HCPC-3874 Purr-fect Posies Stamp
HCD1-7228 Purr-fect Posies Die
HCS1-459-3 Assorted Bead Stamens-Medium (Wire Stem)
159723 Designer Dries Clear Adhesive
D120601 Darice Adhesive Foam Strips
RACP451 Ranger Archival Ink Pad – Coffee
478455 Zig Clean Color Real Brush Markers - 36 Pack

Other Products :

Nuvo Jewel Drop Orange Marmalade, Nuvo Crystal Drops Ripened Pumpkin, Vellum Paper, White Cardstock, Versamark Embossing Ink, Heat Tool, Paper Trimmer, Die Cutting Machine, Distress ink Twisted Citron, Rusty Hinge, Dauber, Ranger embossing powder Gold Tinsel, Wow embossing Powder Perisa, Glitter Dust, Leaf Green Archival ink.


Instructions :


The ready top fold card measures, 6.2” by 9”. Cut panel of white cardstock measures 6” by 8.8” and rough the edges with Paper distresser tool and adhere on card, choose second panel from paper collection measures 5.8” by 8.4” adhere layer on first panel. Layer the panel using foam tape.

Stamp elements of Home set and ready die cuts with distressing and shading with zig clean brush markers. I stamped mini door and window extra for layering on main picture. Next! I heat embossed my posies flowers with gold tinsel. After shaping I layered and glued my flower. I used green stamens as a center of my flowers.
 I die cut my regal frame and heat embossed the center of regal frame with wow embossing powder and glued in the center of my card using 3D foam and cut the sentiment from paper collection, arranged all ready elements as showed. To finish off I embellished with glitter dust and Nuvo Crystal and Jewel Drops.


I hope you enjoyed!


Wednesday, 5 June 2019

“Best Father Card” for PAZZLES


“Best Father Card”

Again it’s time to share inspiration for Pazzles. So, today I’m sharing a masculine themed card for Father’s Day with some gears, beautiful net cutting files with elegant flower touch.
 Love it!


Download all instructions and cutting files from HERE.


I hope you enjoyed!

Nida Tanweer