Monday, 15 August 2022

Vintage Frame Card - Scrapaholics


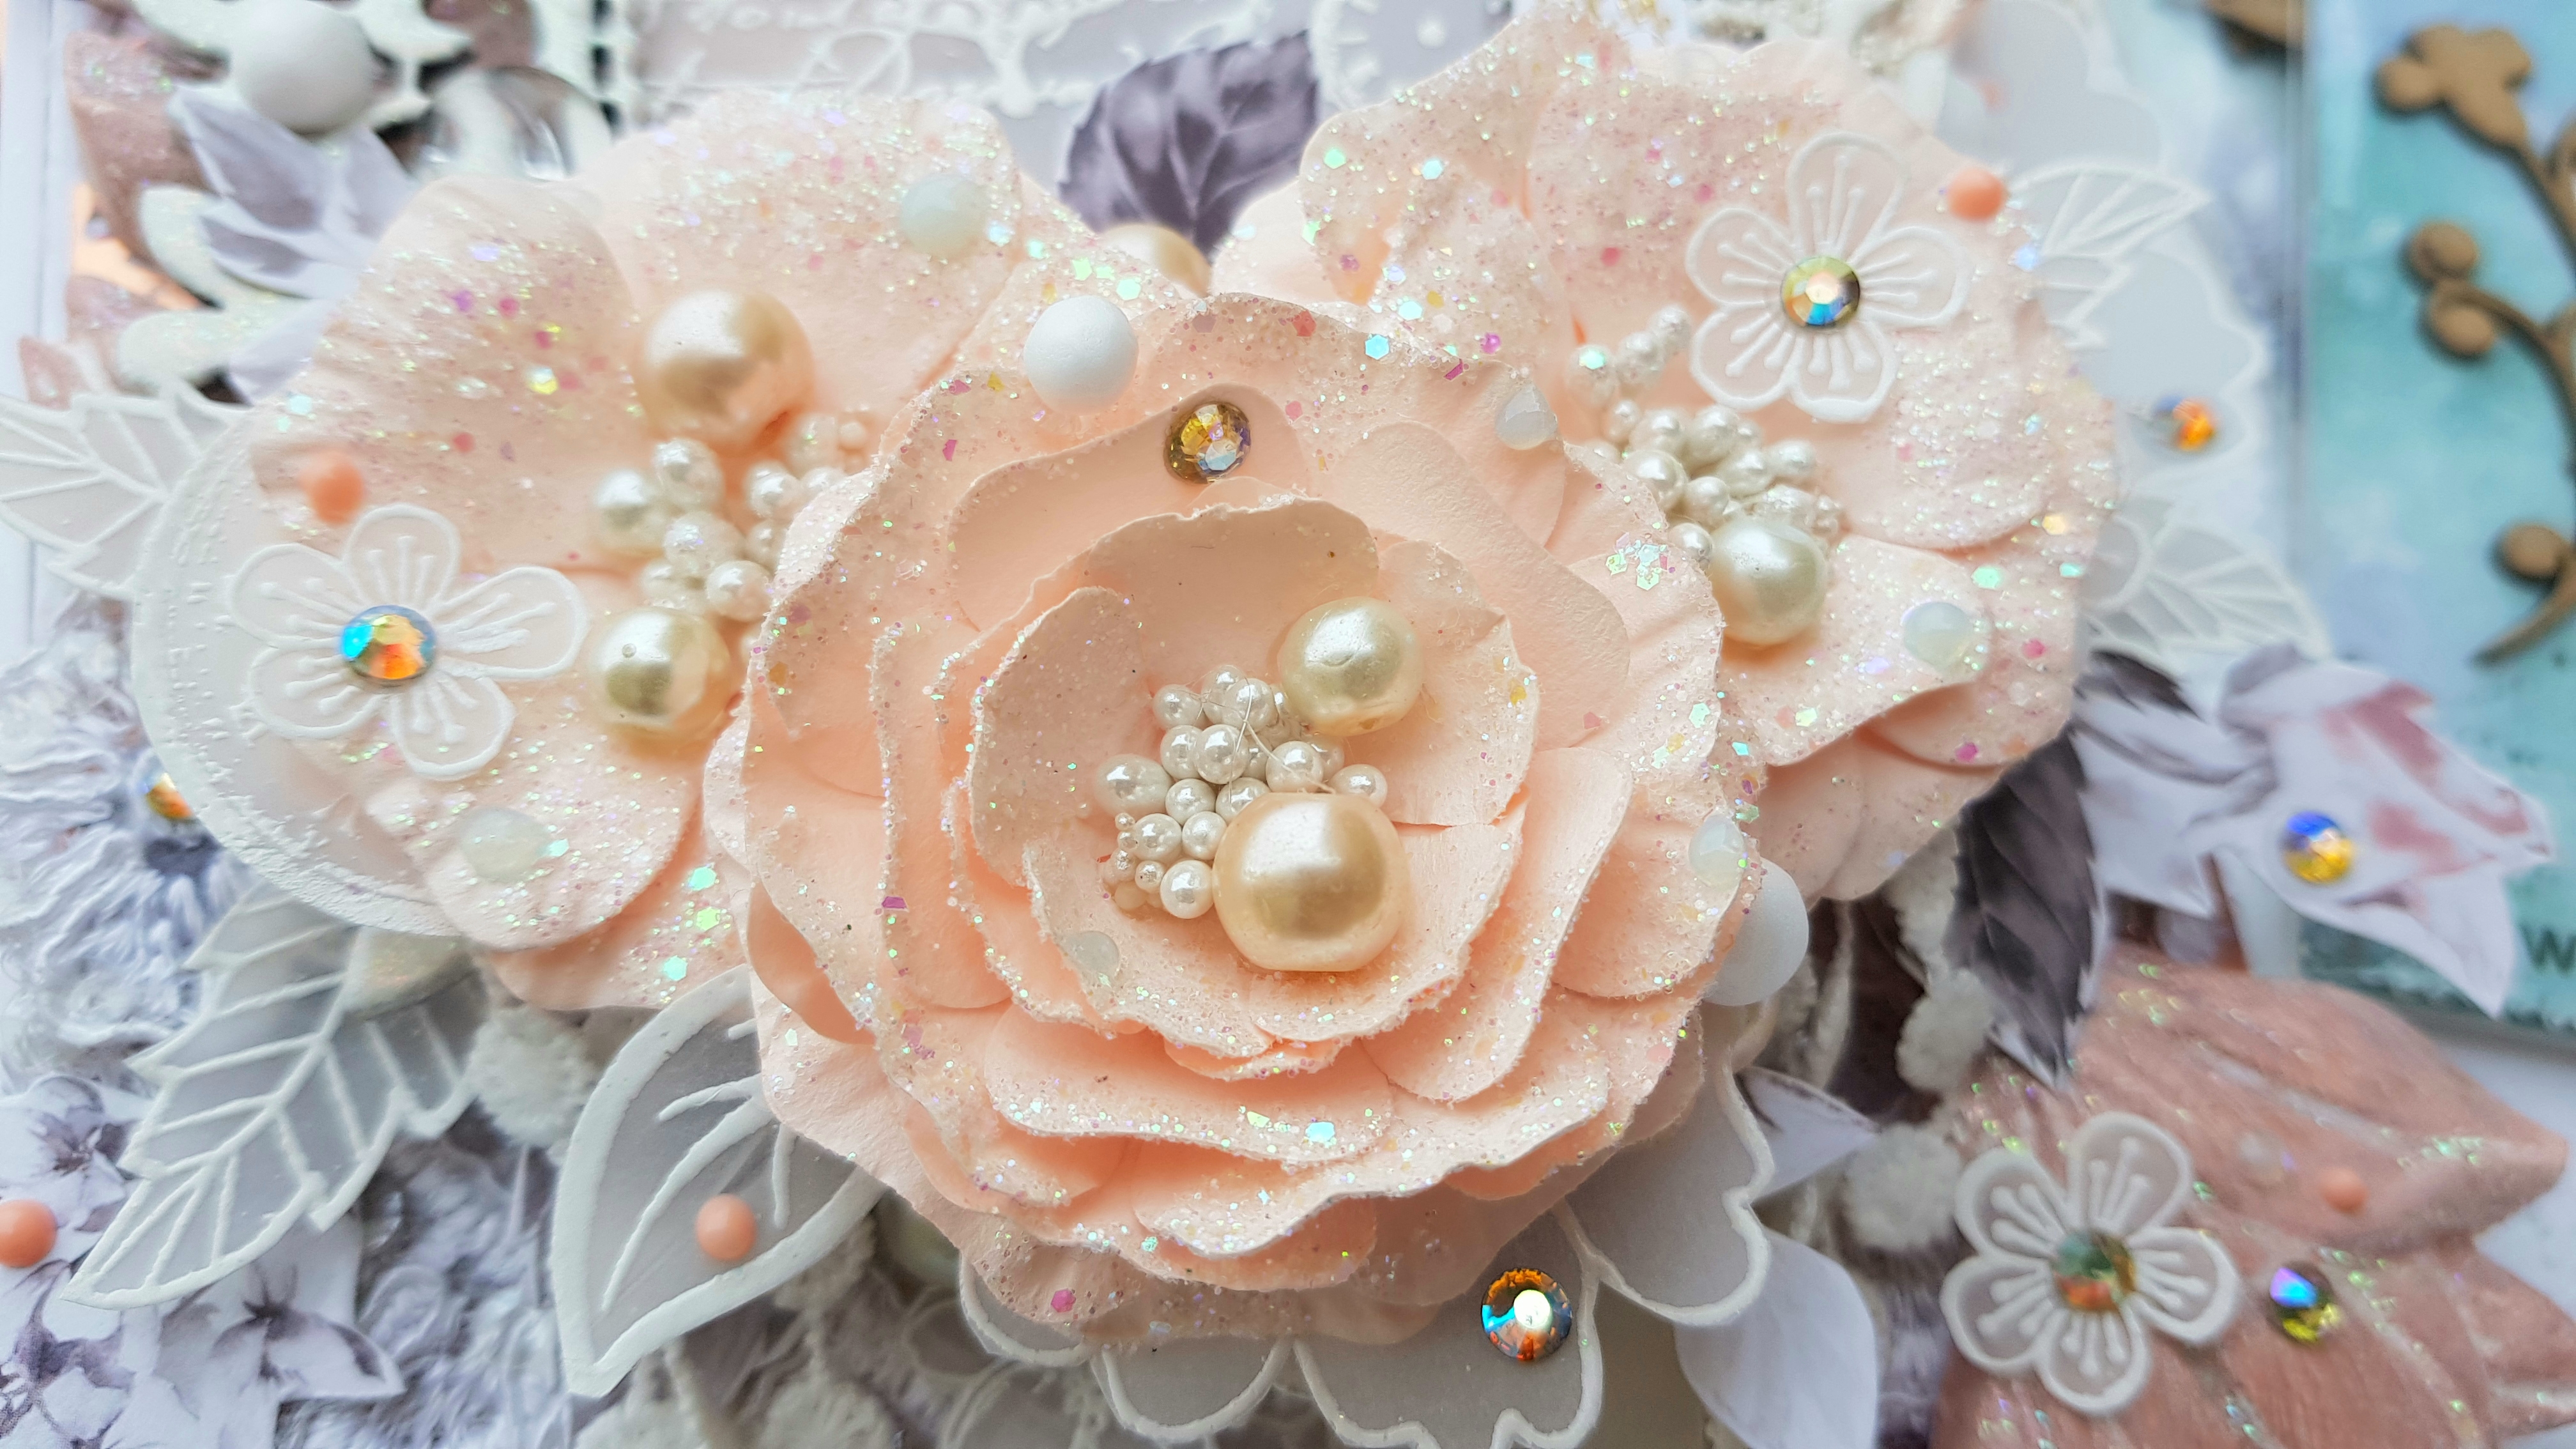
I'm so excited to share the first project from this month's Guest Designer, Using Vintage Lace Frame Chipboard piece from Scrapaholics Chipboard Supplies beautifully into this Shaker Card & it turned out absolutely stunning!


They sent me all these beautiful goodies!


I love this Vintage Lace Frame!


Using Nida Handmade Flowers!


Using Prima Marketing Paper Collection with Finnabair Art Studio's Products.


Wednesday, 10 August 2022

Dreamy Land - Heartfelt Creations

Hello Everyone...
Happy Wednesday!
Debuting Heartfelt Creations Joyous Noel Collection.


Check complete Heartfelt Creations product list HERE!


Its a ready folded card measures 9 1/2" by 6", cut panel on Deluxe Paper measures 9 1/4 by 5 3/4 and adhere it on the card base using dimensional tape. Cut another panel from Joyous Noel Paper Collection measures 8 3/4 by 5 1/4 sheet number 4B and adhere onto the card base using clear glue. Trim another panel on deluxe paper measures 8 1/4 by 4 1/2 and adhere on the card center using dimensional tape, trim panel from paper collection sheet number 5B measures 8 by 4 1/4 inches and adhere on the card using clear glue.

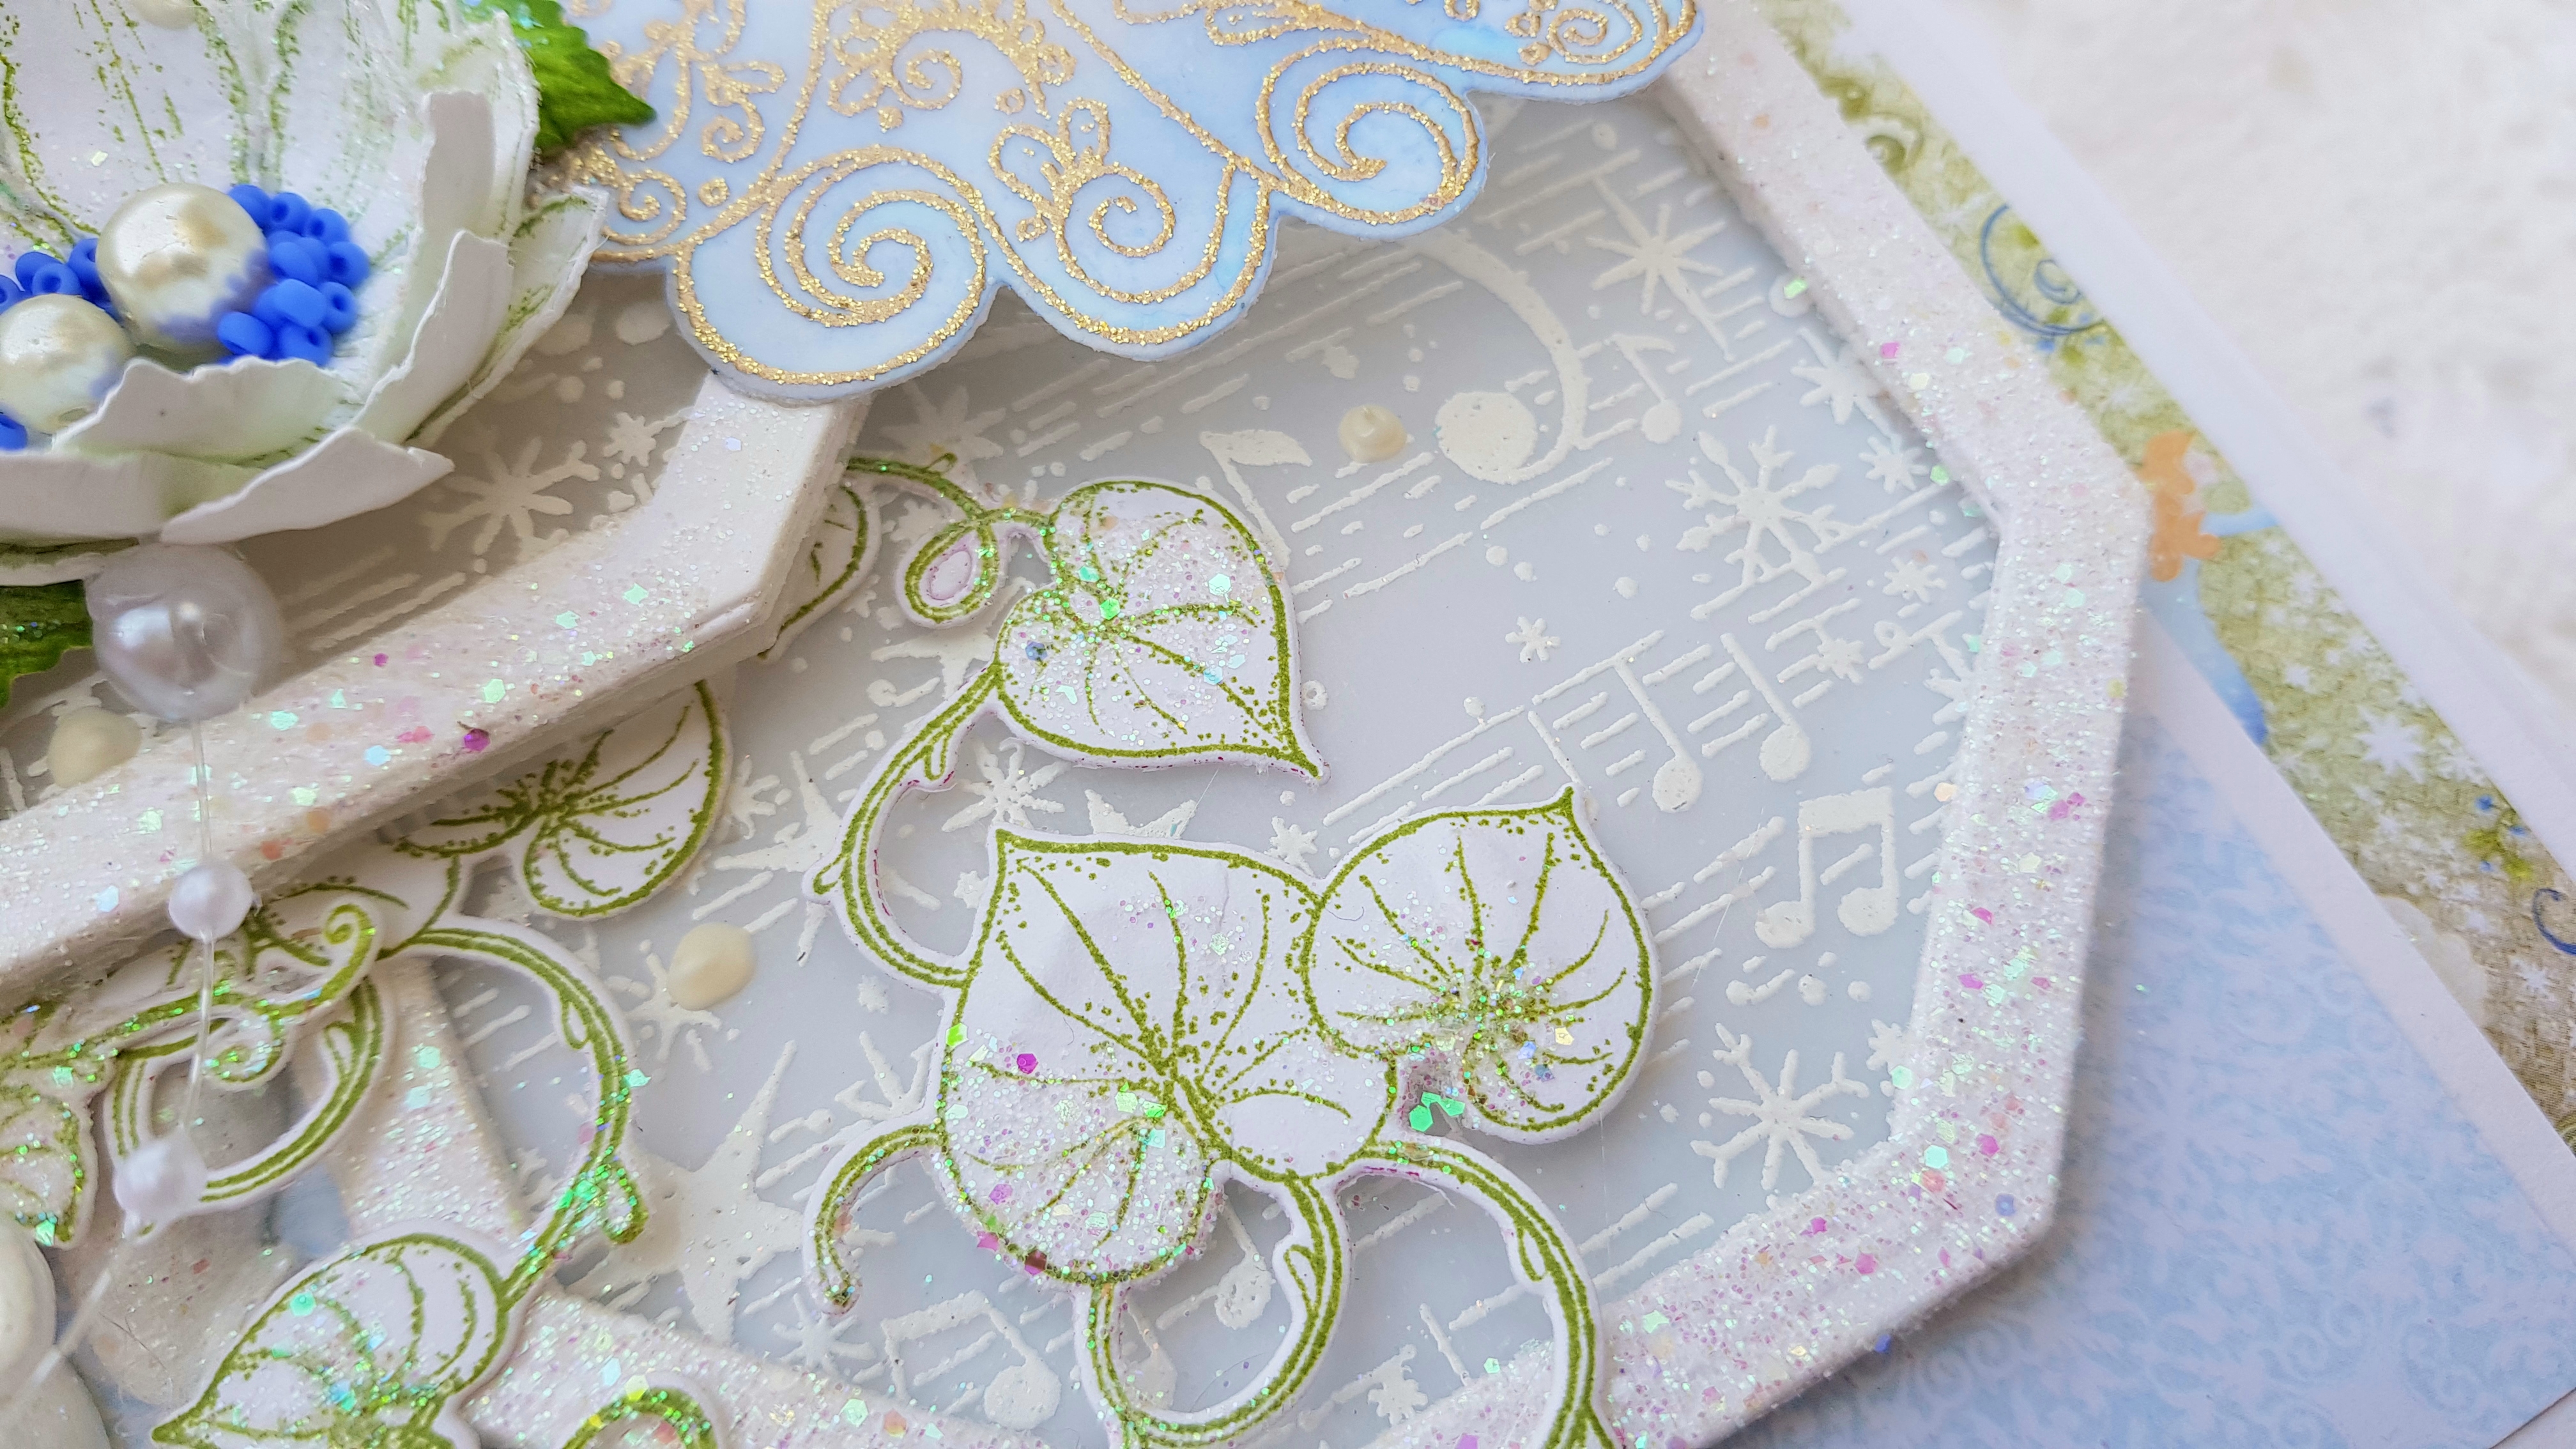
Use 2 sizes of octagon dies, use 6 & 7 largest dies from simple centerpiece die set and place on the deluxe paper together and cut 6 frames, adhere 3 3 frames together using clear glue, stamp the image from Joyous Noel Background Cling Stamp Set on the vellum paper die cut the 2 vellum octagon using 6th largest size and add this octagon shape under the octagon frames using hot glue.

Stamp the angel and harp image from Joyous Noel Angel Die using versamark embossing ink on the vellum and cover with gold tinsel powder heat it using heating tool, die cut using coordinating dies, color the image from the background randomly with periwinkle ink using dauber, add shadow layer of angel and harp by cutting deluxe card and add under the vellum image using clear glue.

Stamp the flower image on deluxe paper using leaf green ink from Climbing Clematis flower stamp set, diecut the images with coordinating dies, shape the flowers using golf groove tool and finish the flowers using deluxe shaping kit use 3 layers of same size to make 1 flower, make few flowers using hot glue, add pearls in the centers and glass beads using clear glue, apply clear glue and cover with Nida Tanweer Magic Glitter.

Stamp leafy accents images with leaf green ink on deluxe paper and die cut with coordinating dies, color the image with leaf green ink and mowed lawn ink using daubers, shape the leaves from back with golf groove tool, apply clear glue and cover with Nida Tanweer Magic Glitter.

Stamp the vines from Large Mushroom Cottage Die using leaf green ink die cut the images with coordinating dies, and stamp few vines on the vellum using versamark embossing ink cover with white embossing powder heat it using heating tool, die cut using coordinating dies.

Next, add ready shaped mould and lace on the left side of the card using hot glue and arrange all ready elements using dimensional tape and hot glue, embellish the card with nuvo drops and pearls.

Follow me on Instagram!
 Follow me on Facebook!
Follow me on YouTube!
Pinterest!

Tuesday, 2 August 2022

Sparkling Poinsettia Flowers for Anniversary - Heartfelt Creations

Its a ready folded card measures 9" by 6", cut panel on Deluxe Paper measures 8 3/4 by 5 3/4 and adhere it on the card base using dimensional tape. Cut another panel from Holiday Star Paper Collection paper collection sheet # 5A measures 8 1/2 by 5 1/2. Cut a panel from Holiday Star Paper Collection sheet number 5A and adhere onto the card base using designer glue. Trim another panel on Deluxe Paper measures 7 1/2 by 4 1/2 and adhere onto the card base using dimensional tape, cut another panel from paper collection sheet number 5A measures 7 1/4 by 4 1/4 and adhere on to the panel using clear glue.

Die cut the 2 tag shapes from paper collection using Ornamental Tag Die Set add extra layer of tag underneath for the sturdiness using clear glue, add white twine in both tags and set aside.

Use 4 different size of circle dies from Eyelet Circles Die Set and cut different circles by placing 2 circles together and make circle frames, add extra layer under the frames for the sturdiness using clear glue, die cut the 3 vellum circles using single circle dies and add this circle shape under the circle frames using hot glue.

Stamp the start image from Holiday Star Die and smallest stars image from Large Holiday Star Cling Stamp Set on the Deluxe Paper using Versamark Embossing Ink, cover with Silver Tinsel Embossing Powder, heat it using heating tool, die cut using coordinating dies.

For the poinsettia stamp both smallest flower sizes on to the Deluxe Paper using versamark ink cover with white embossing powder heat it using heating tool. Die cut all images using coordinating dies. Color the flower centers using Archival Periwinkle Ink using dauber, shape the flowers using golf groove tool, and finish shaping using shaping kit, make few flowers, add three layers of same size for making each flower. Add clear glue in the centers sprinkle pearls and glass beads. Apply clear glue on to the flowers using hydra sponge add cover with Magic Glitter Powder.

Arrange all ready elements as shown in the picture using hot glue and dimensional tape add blue ribbon and pearl string under the flowers to embellish the card.

Stamp the sentiment "Happy Anniversary" on deluxe card from Celebrate Love Sentiment Stamp Set, using night sky archival ink, trim the tag color the edges with periwinkle ink, add glitter on the tag edges as well, next add this tag as shown using dimensional tape.

To finish the card add art pebbles using hot glue, smallest stars and snowflakes using clear glue, nuvo drops and pearls.

Other Products : Vellum Paper, Versamark Embossing Ink, Silver Tinsel Embossing Powder, Nida Tanweer Magic Glitter Powder, Pearls, Pearl String, Glass beads, Blue Ribbon, Hot Glue Gun, White Twine, Art Pebbles, Mould shape.

Follow me on Instagram!
Follow me on Facebook!
Follow me on YouTube!
Pinterest!


Tuesday, 19 July 2022

Birthday Card - Heartfelt Creations

Hello Buddies,
Hope you are doing well, 
Sharing my another cool card using Heartfelt Creations Holiday Star Paper Collection with gorgeous Poinsettia Flowers.


Its a ready folded card base measures 9 by 6 inches, trim a panel on Deluxe flower Shaping Paper measure 8 3/4 by 5 3/4 inches and adhere on to the card base using dimensional tape, trim a designer paper from Holiday Star Paper collection sheet number 5A which is slightly smaller then last panel and adhere onto the card base using clear glue.

Trim four small strips of corrugated sheet paper apply white acrylic paint roughly with brush apply clear glue after dry the paint and cover with Magic Glitter Powder, adhere these corrugated strips on the card base as shown using hot glue.

Die cut the shadow die from Fancy Classic Oval Frame Die on vellum and third largest die from the same set on Luxe Silver Card adhere this shape on the vellum shape using clear glue, cut the oval shape on corrugated sheet paper using oval die from Fancy Classic Oval Frame Die Set and apply white paint, next apply magic glitter and adhere this oval shape onto the silver frame using hot glue.

Die cut the oval shape using second and third largest die from Eyelet Oval Basic Large Die Set on Deluxe Card 2 adher together for the sturdiness apply versamark ink on it and cover with Blue Embossing Powder and heat it using heat tool, Add this oval frame on the oval corrugated shape using hot glue.

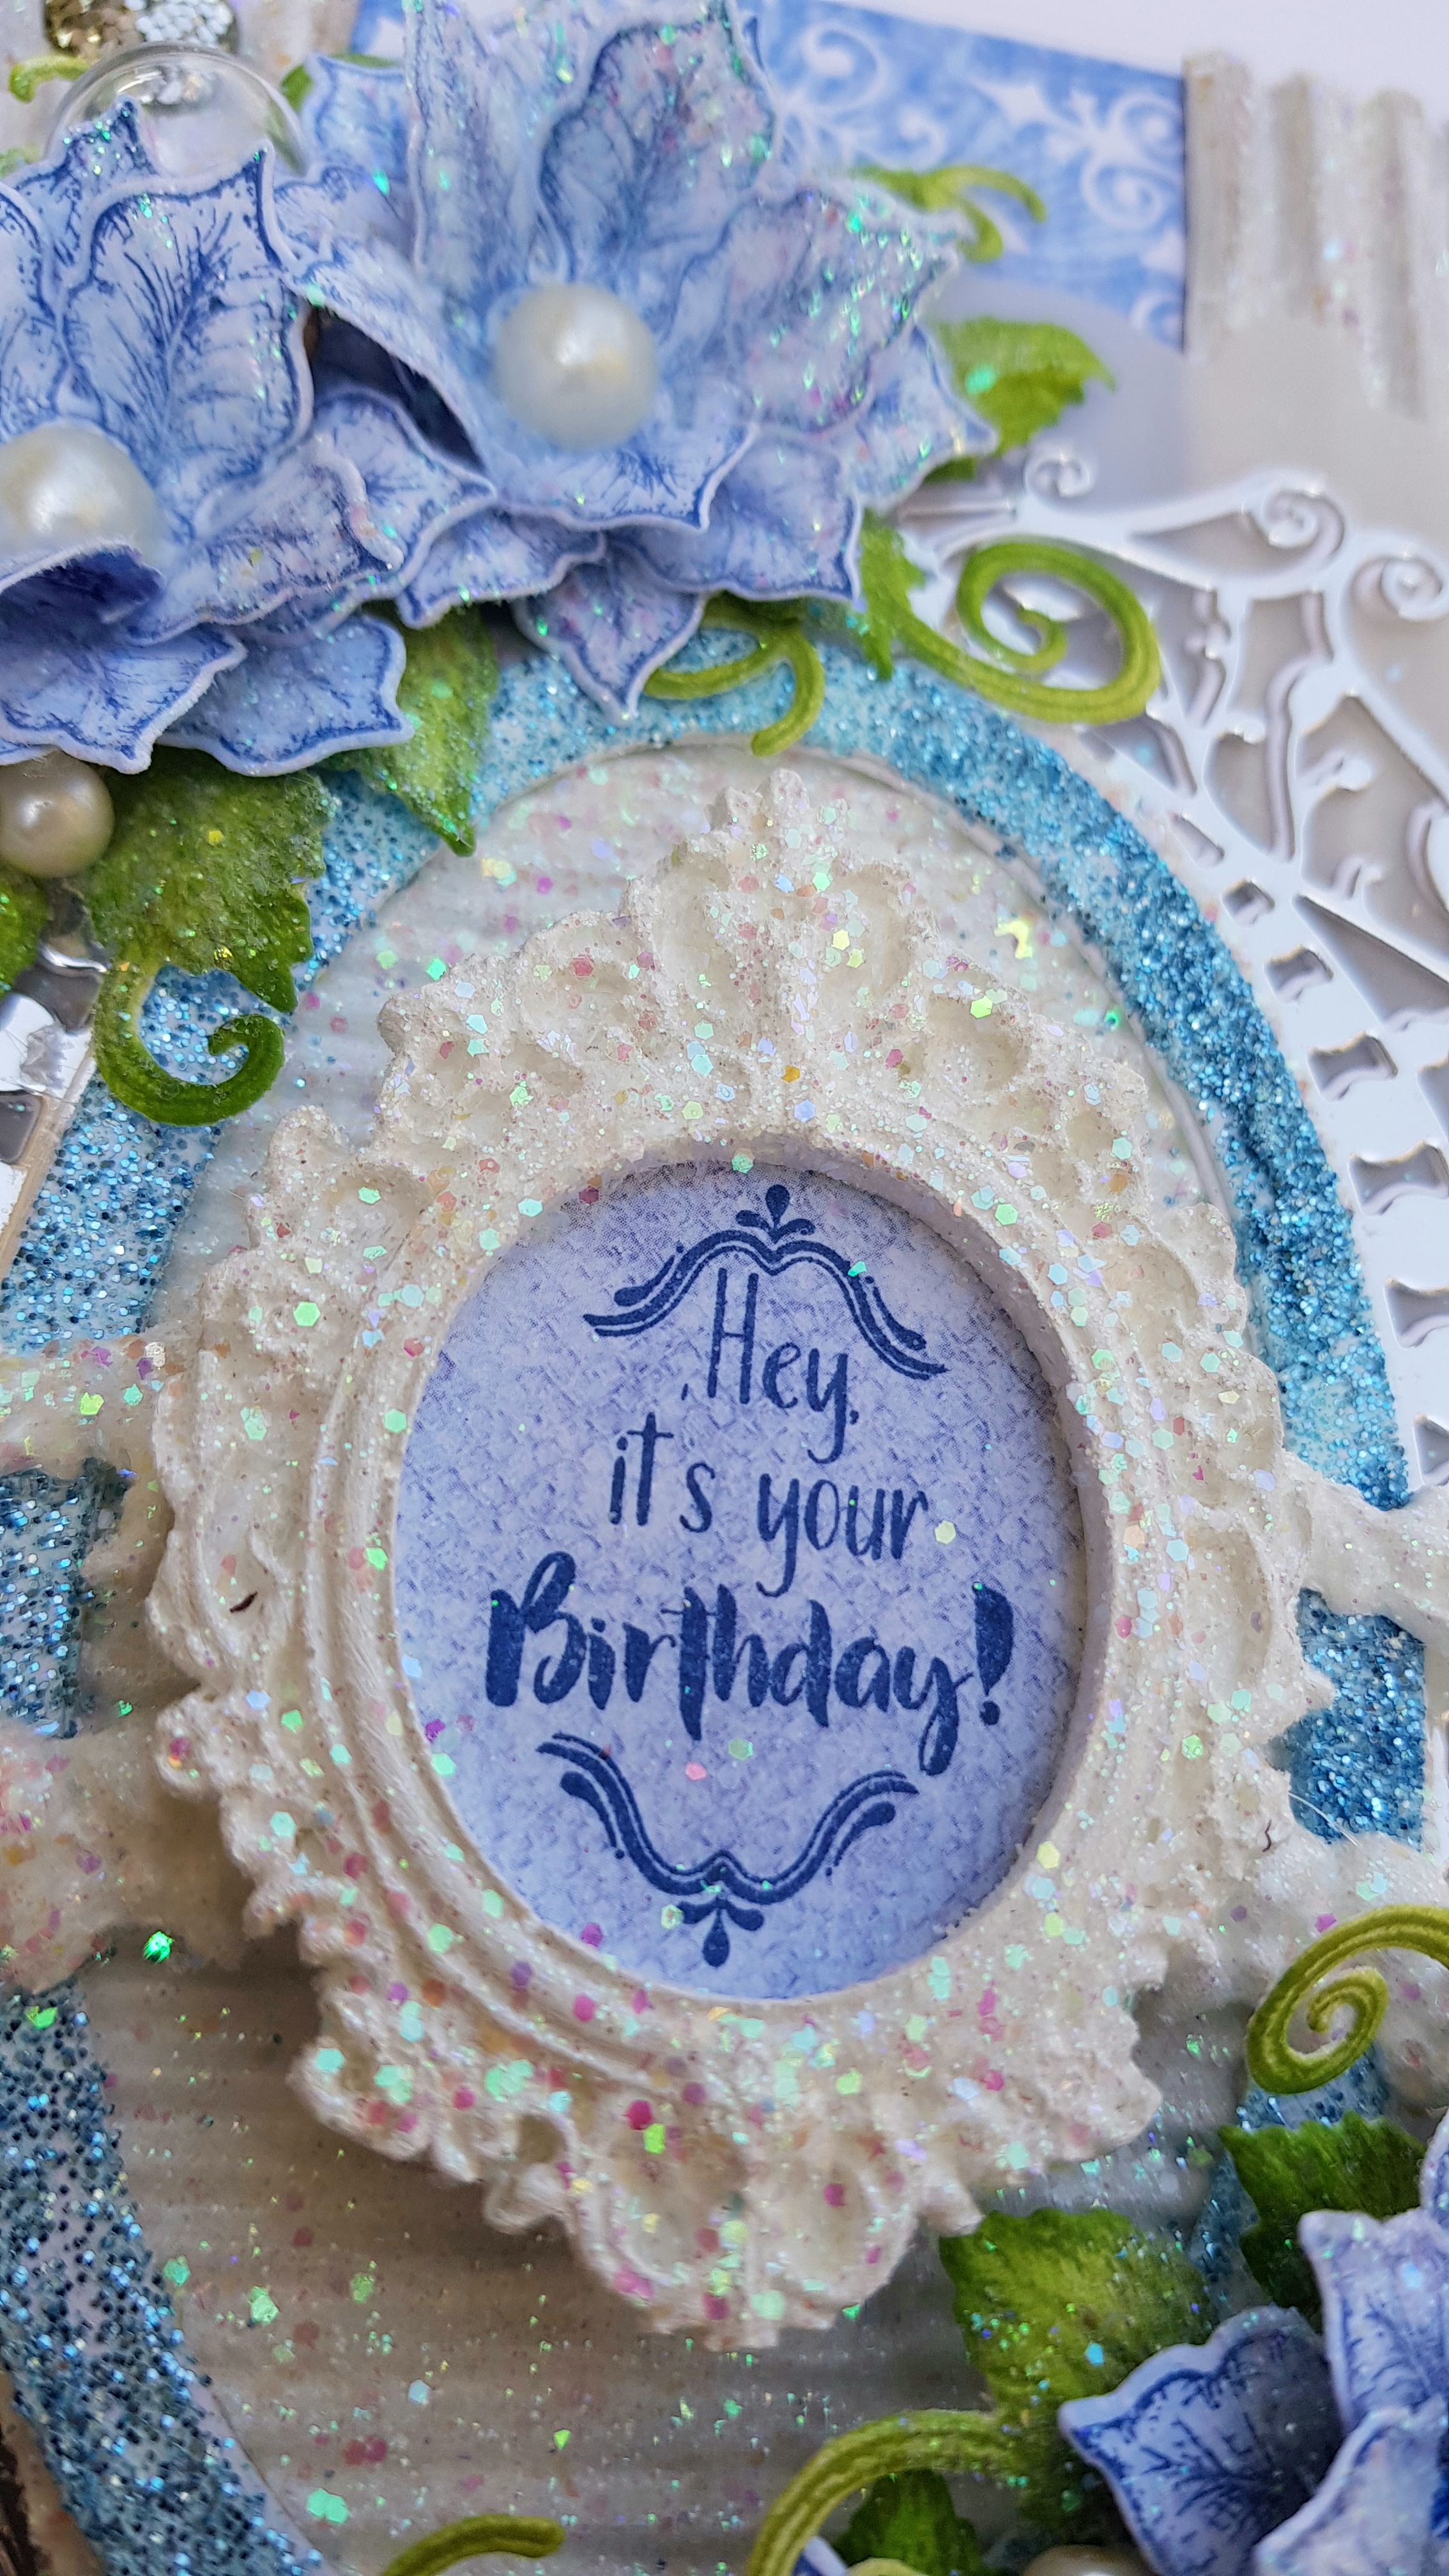
Cover the moulds with white paint and magic glitter, Stamp the sentiment from Birthday Sentiment Stamp Set using Night Sky Archival Ink on the designer paper and add insde the mould as shown, adhere moulds on the frame using hot glue.

Stamp the smallest poinsettia flowers from Large Festive Poinsettia Cling Stamp Set on designer paper sheet number 11 B using Night Sky Archival Ink die cut using coordinating die shape the flower using Golf Groove Tool and finish shaping using Deluxe Flower Making Kit, add pearl beads in the centers and make few flowers apply clear glue with sponge and cover the flowers with Nida Tanweer Magic glitter Powder.

Stamp The Leafy Accents on Deluxe Card using Leaf Green Archival Ink, color it using Vivid Chartreuse ink die cut using coordinating dies shape it in the shaping mould and cover with magic glitter powder.

Arrange all ready elements as shown using hot glue, add bridal stamens under the flowers in empty space and finish the card by adding resign silver beads.

Other Products:
Vellum Paper, corrugated sheet paper, Hot Glue, Nida Tanweer Magic Glitter Powder, Dimensional Tape, Moulds, White acrylic paint, Brush, Peal Beads, Adhesive Silver Beads, Versamark Embossing Ink, Blue Fern Embossing Powder, glass tussles.


           Nida Tanweer Link Tree